The Cost of Older RV Updates: Replacing the RV Range Vent Cover
Please note that some of our links are affiliate links, which means at no additional cost to you, we will earn a commission if you click through & make a purchase. Happy clicking!
Every year, we can always count on an original rattle-while-you-drive noise to come out of Axl Roads, our 1997 Ford Four Winds Class C RV.
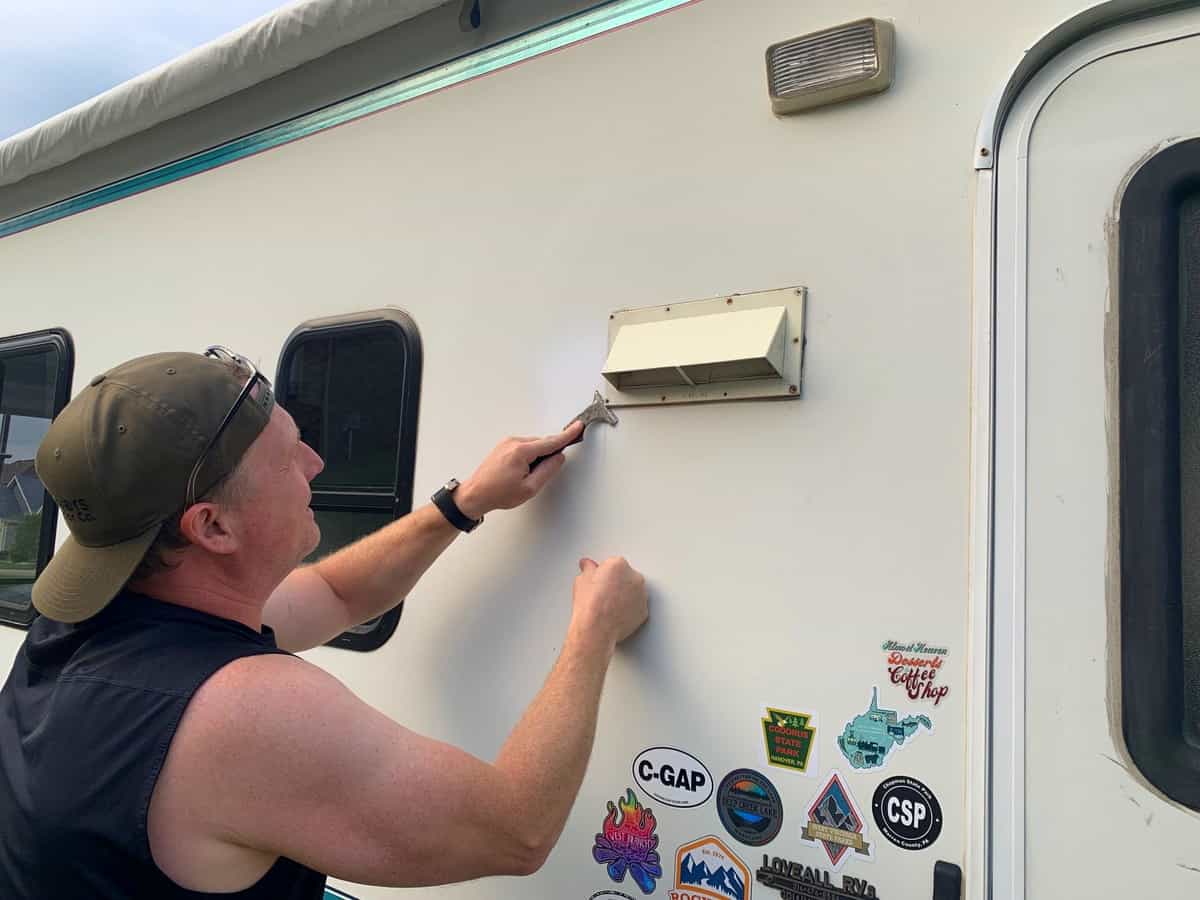
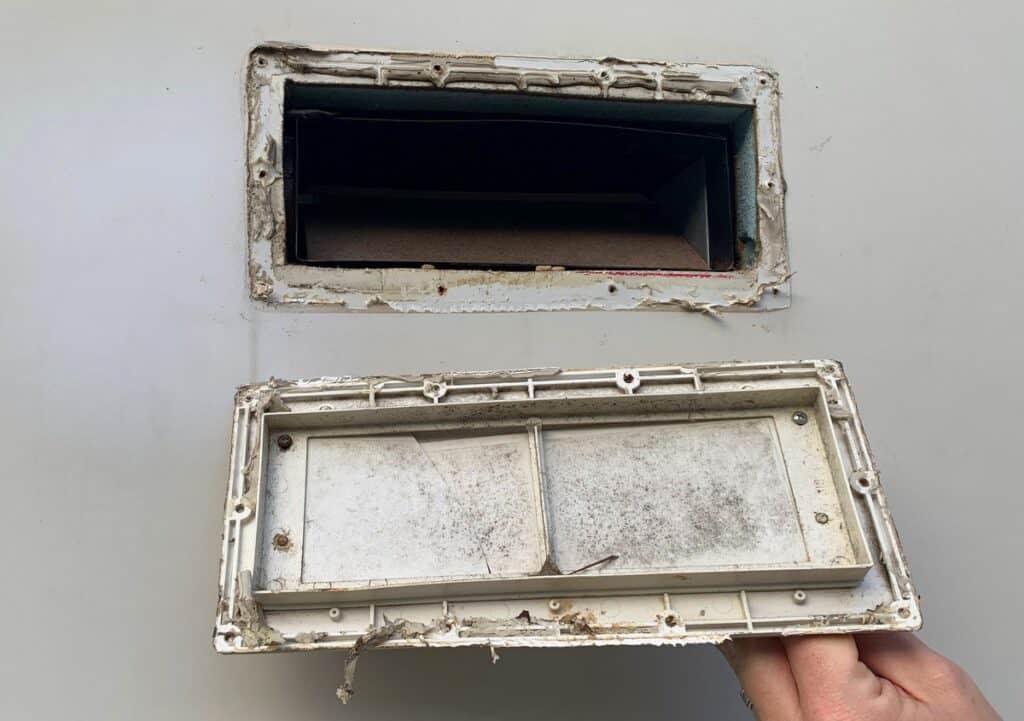
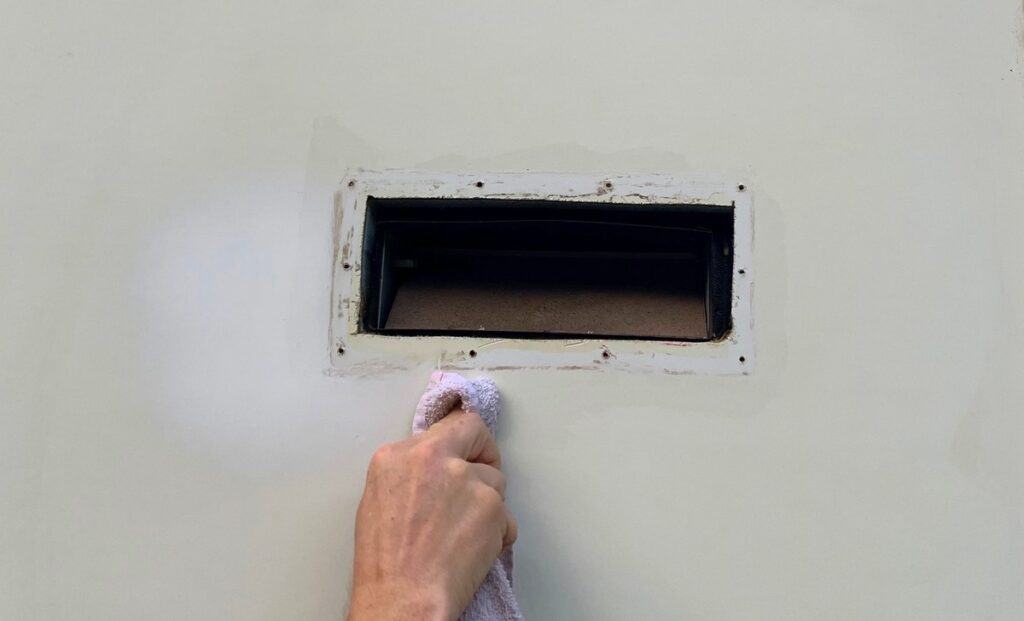
This season, the RV range vent just outside the door began to rattle. Although it took a while to pinpoint where the new noise was coming from, a quick walkaround inspection revealed our RV range vent cover had cracked.
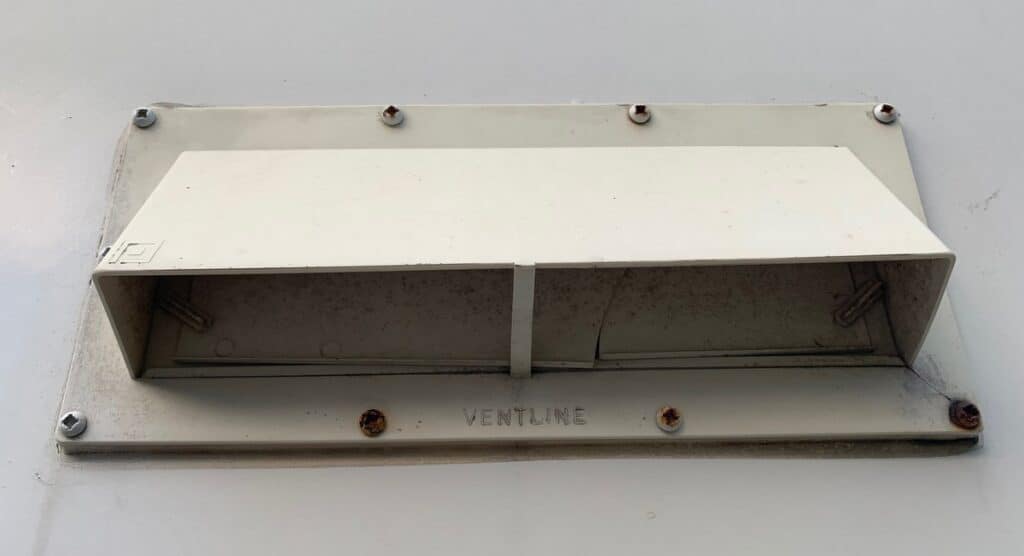
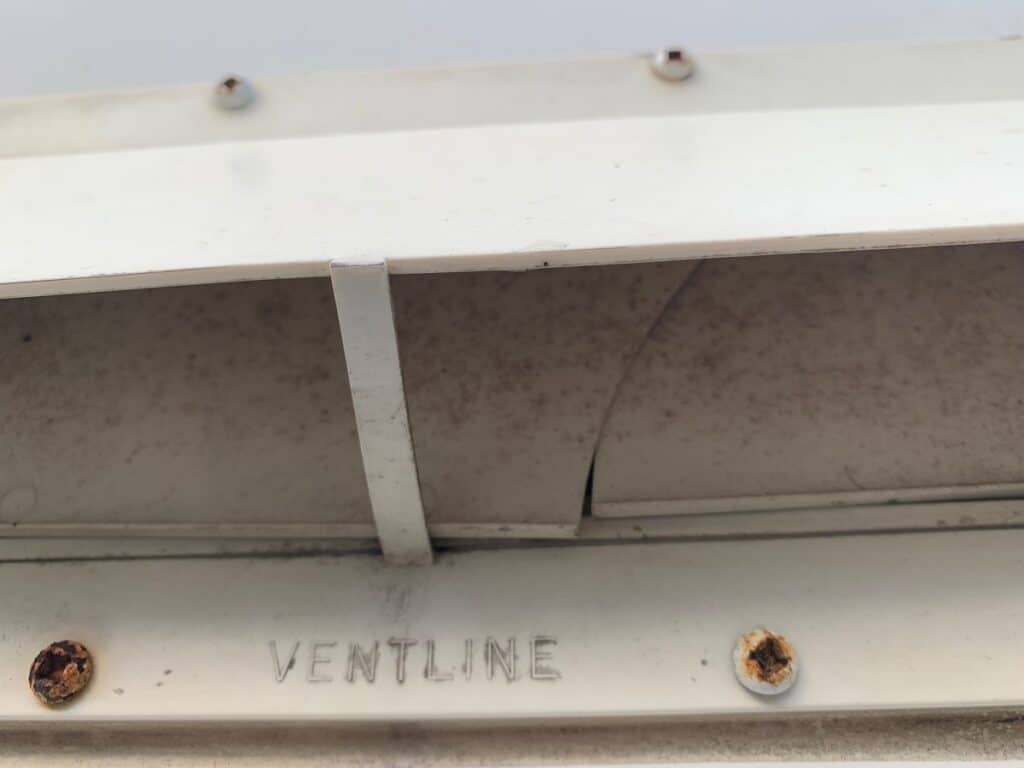
The RV range vent was showing it’s age – yellowingj plastic with rusted screws and rotted caulking – and looked even more askew close up:
Old RV Range Vent Cover Removal and New Cover Mod
If your RV range vent cover looks like ours and you’re ready for a fix, you’ll be surprised how inexpensive and easy it is to replace!
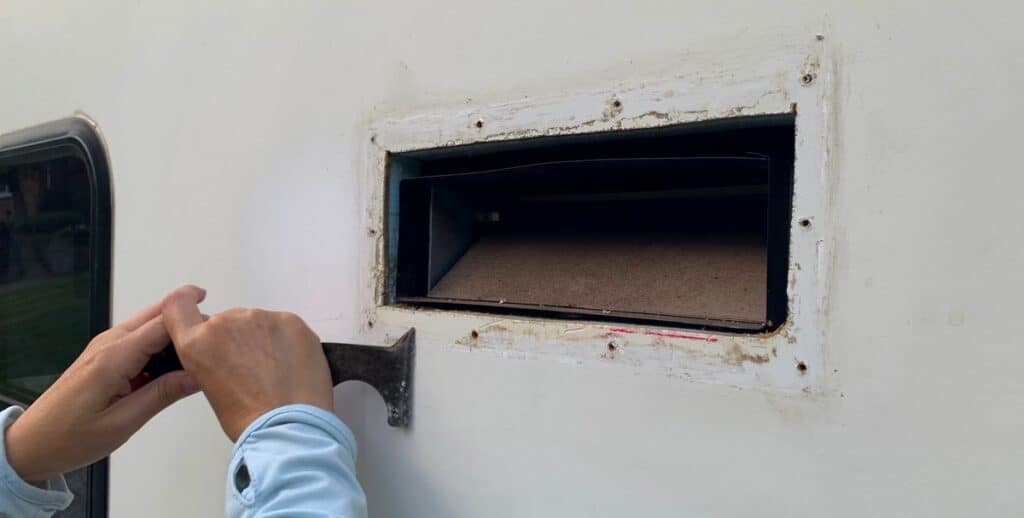
Next, you’ll need to remove the old RV range vent cover. Russ used the drill to take out the screws, and then pried off the vent using the edge of the painters tool.
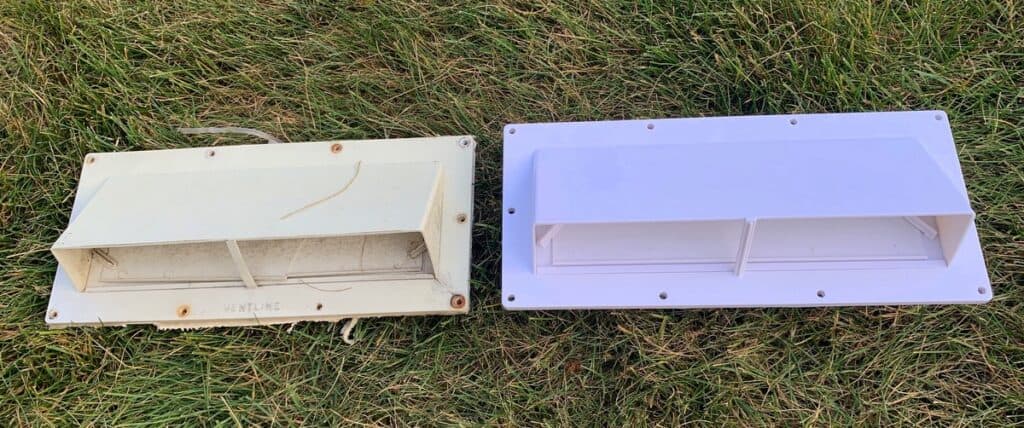
Here’s a side-by-side comparison of the old RV range vent cover versus the new cover, showing just how aged ours really was:
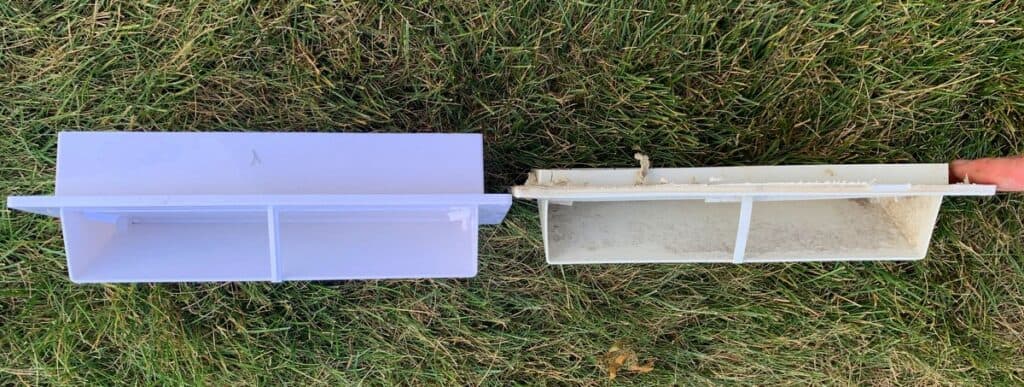
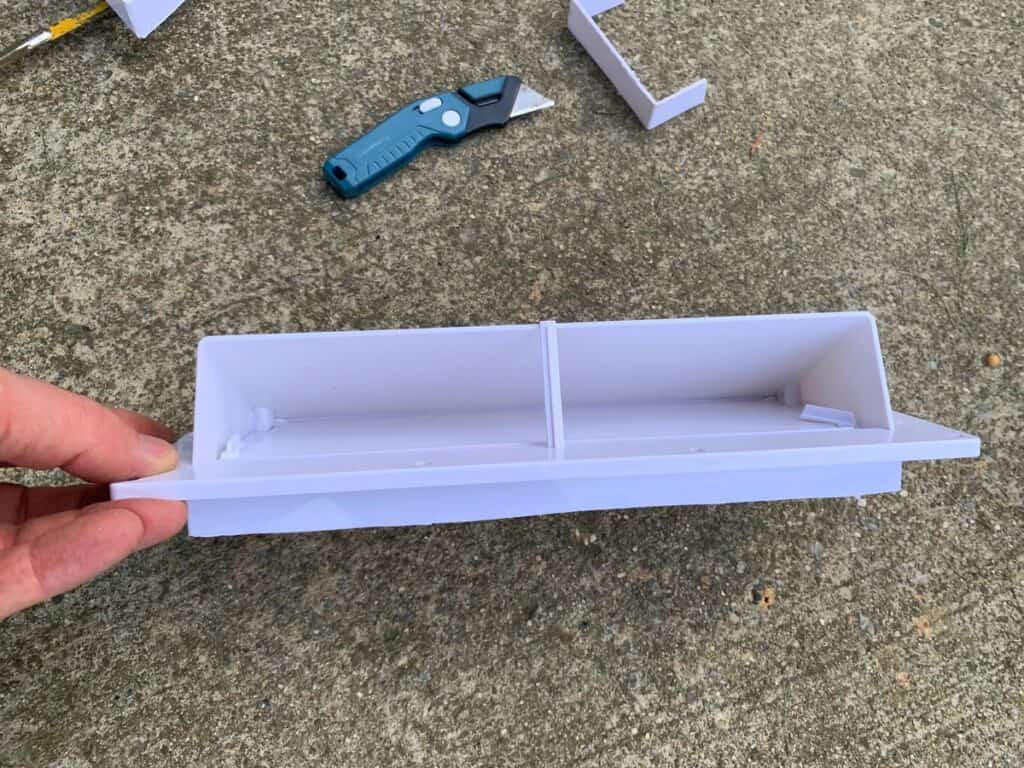
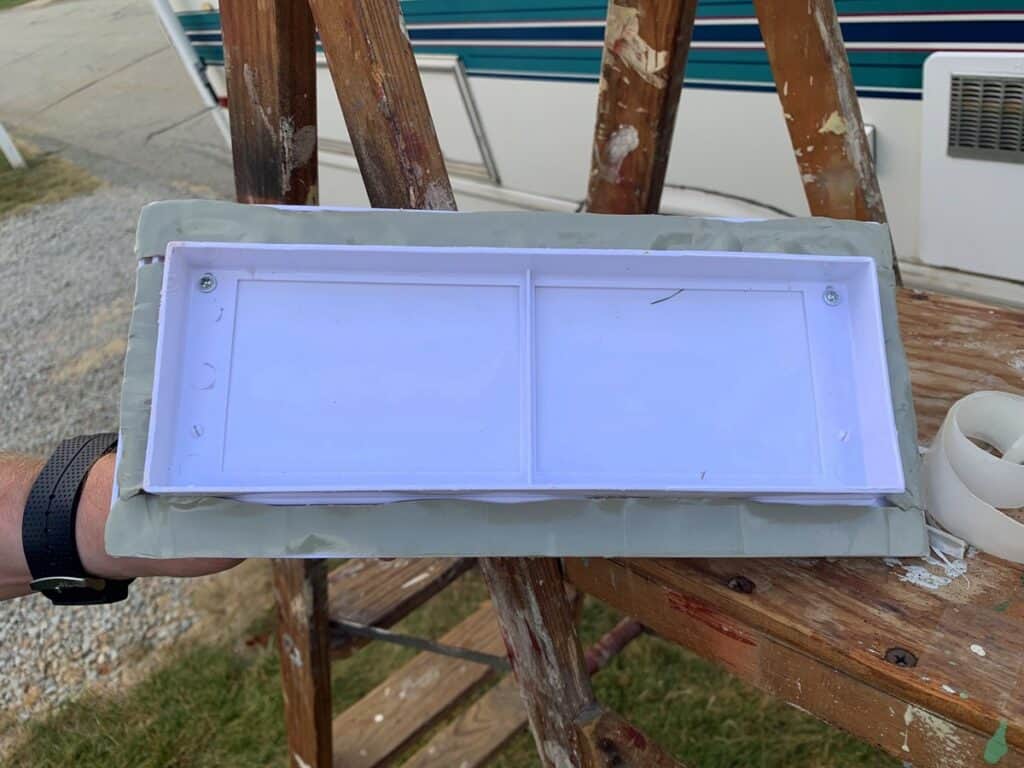
You probably noticed that the square part on the back of the new vent on the left side is much longer/deeper than the original. Indeed, the new vent back went much too deep to fit into the side of the RV.
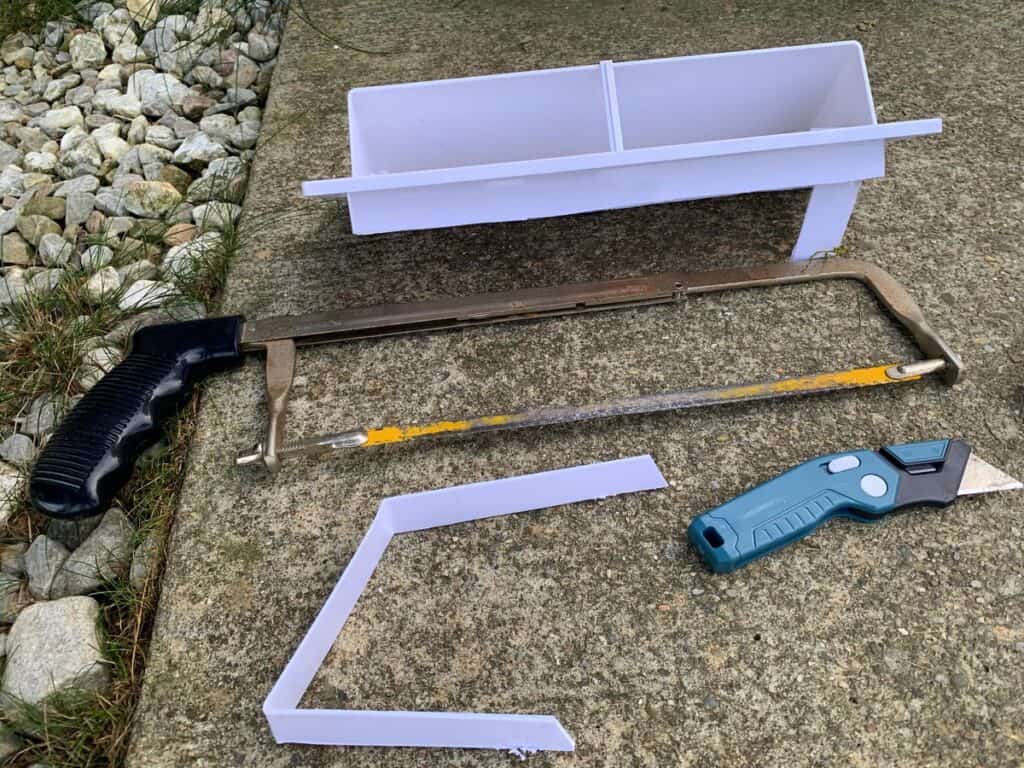
To make it fit, Russ took a hacksaw and chopped off some of that square part. The cut wasn’t perfect, but it worked!
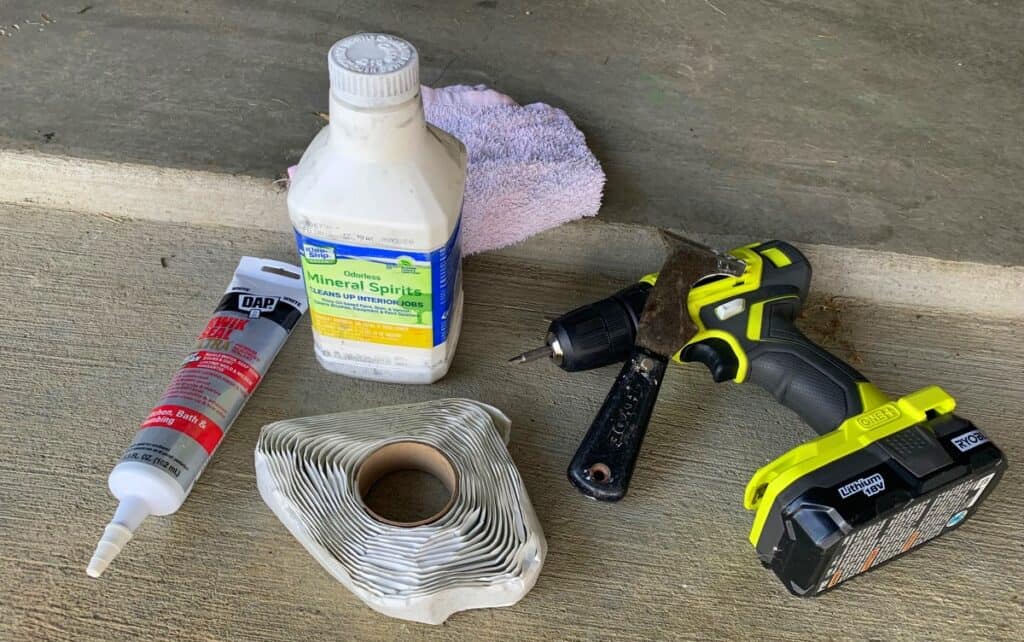
While he modified the new vent, I went to work cleaning the old caulk off the side of the RV by gently rubbing with mineral spirits and scraping patiently with the painters tool.
Installing the New RV Range Vent Cover
Once the old vent cover is off, the caulk has been scraped clean, and the new vent cover is modified, you can really get moving!
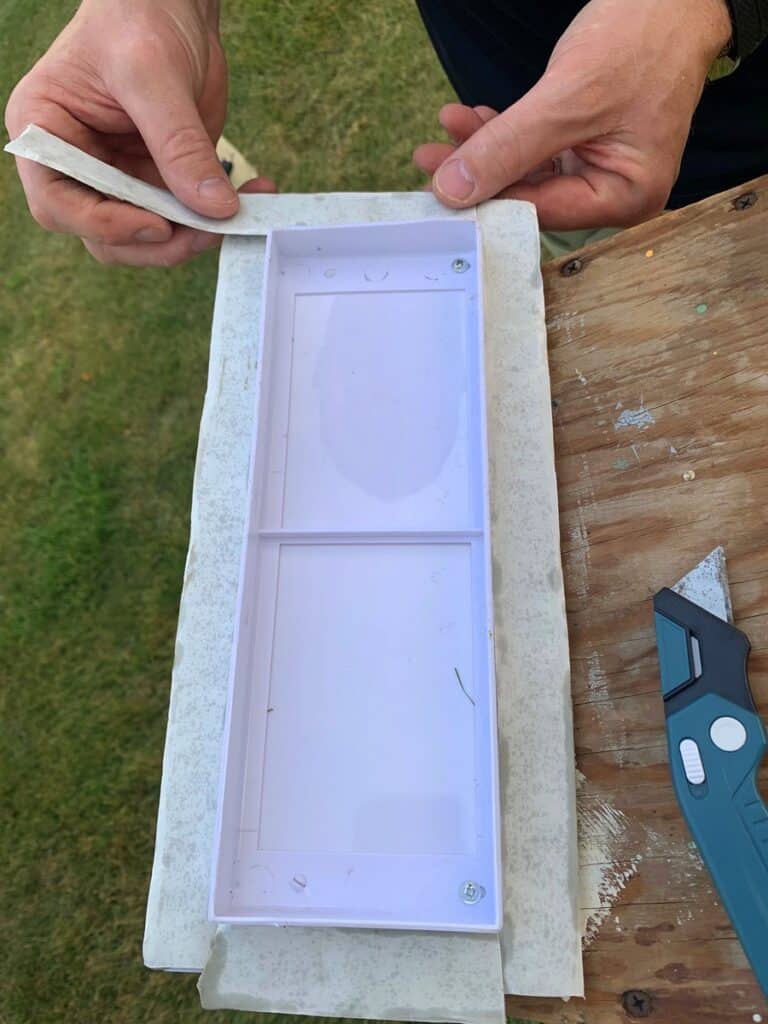
Remove the backing from one side of the two-sided butyl tape and stick it to the back edges of the new RV range vent cover, like this:
Once the butyl tape is stuck well to the back of the vent cover, remove the backing from the side facing you. The sticky gray part will be exposed, like this:
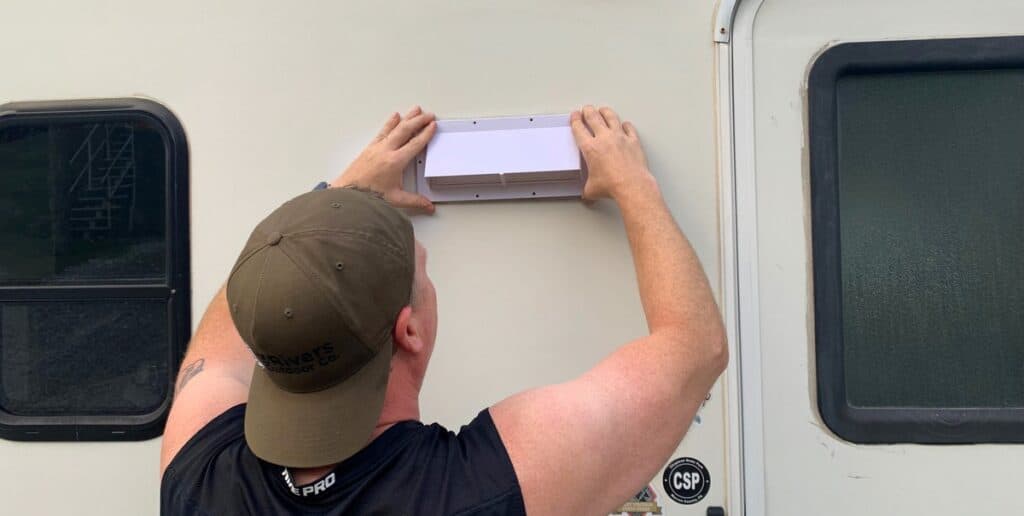
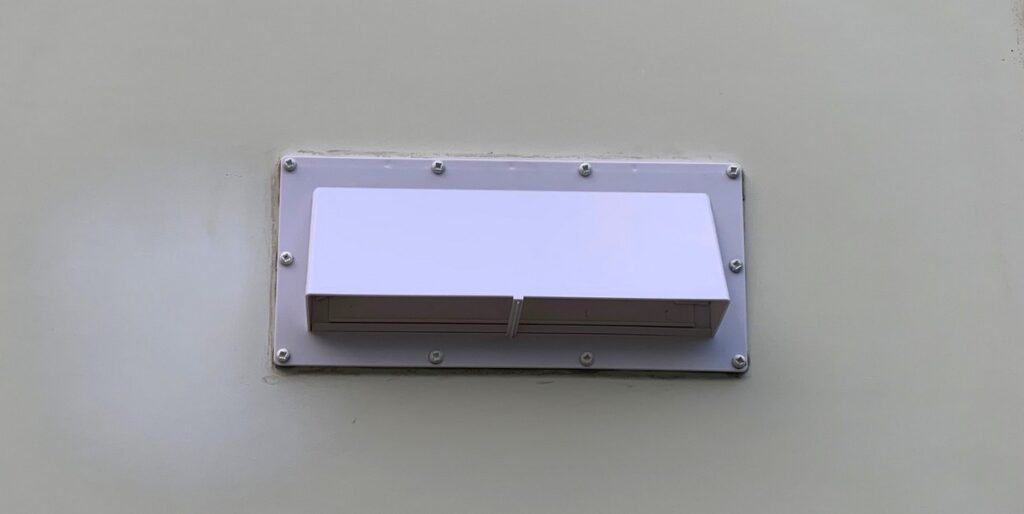
Then carefully stick the new vent cover into place and press firmly.
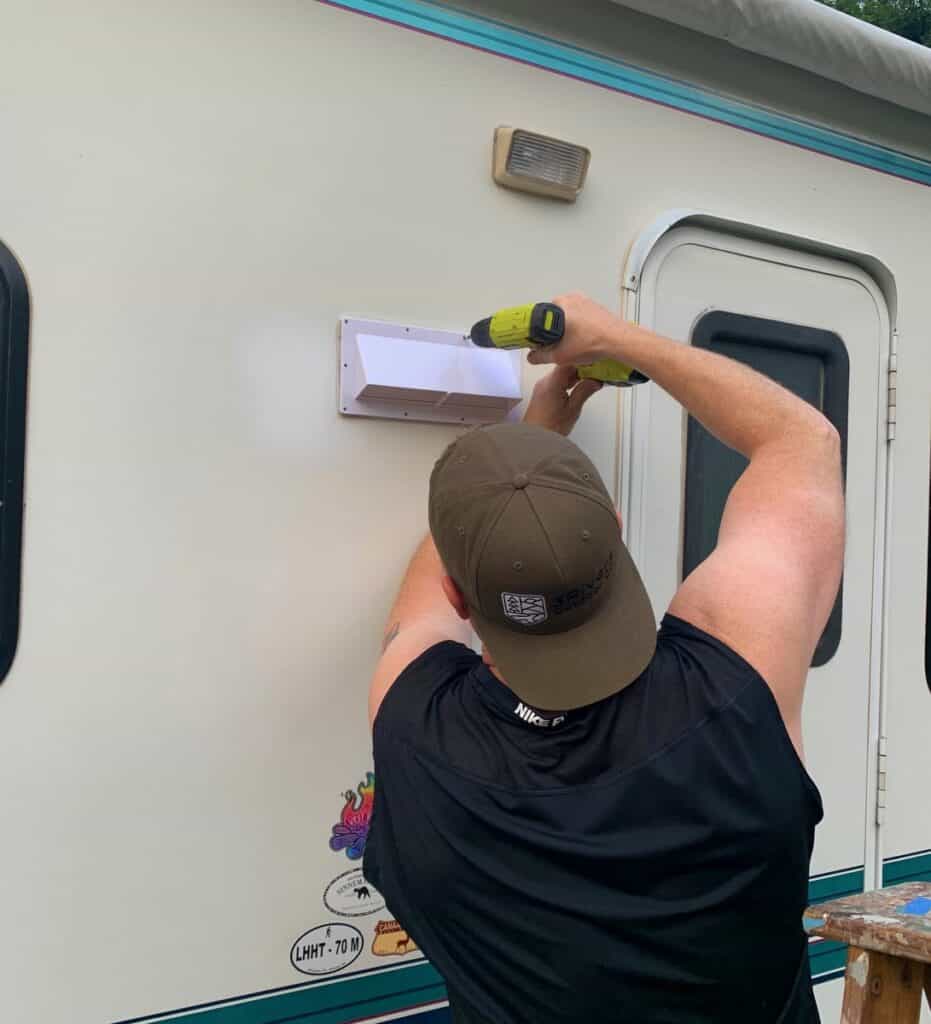
The screws that came with our new vent cover didn’t appear to be as long as the old ones, so we reused those…
…but see the problem? Look at those crappy, rusty screws!
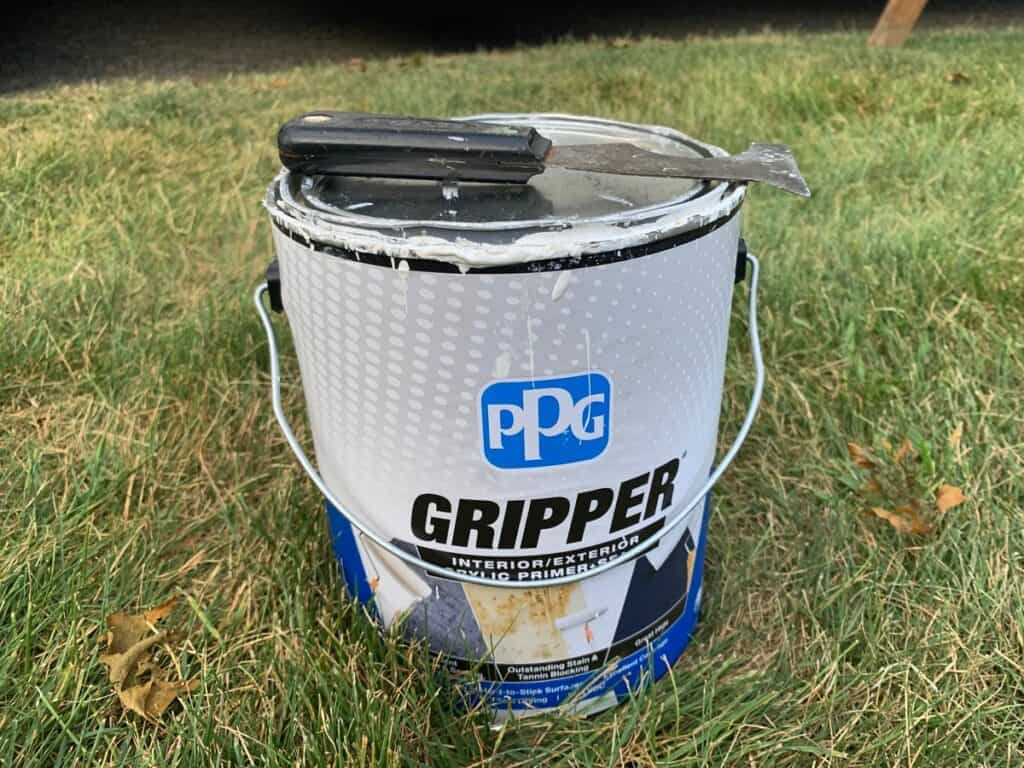
If you’ve never used Gripper, it is a thick primer that can seal up all kinds of bad things – like crazy cabinets and RV walls – and even rust.
You can apply it to the screw heads with a q-tip, so they match up and look like new.
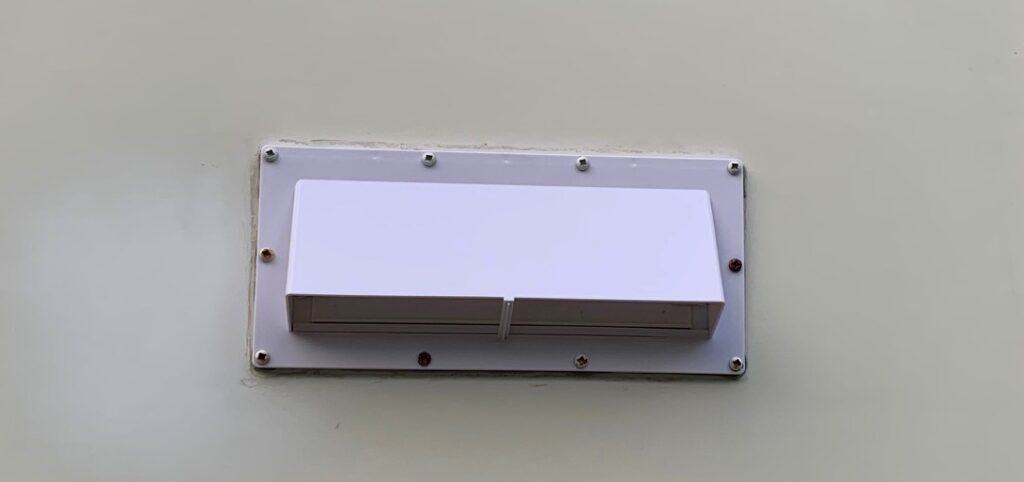
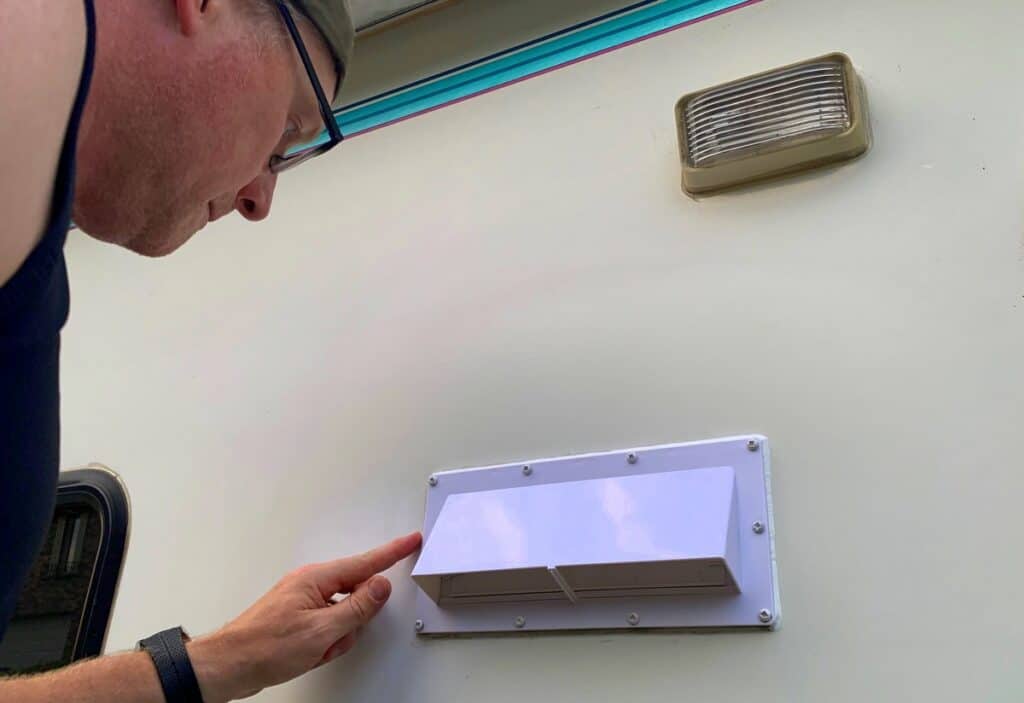
The last step to installing your new RV range vent cover is caulking the edges to make sure no rain or moisture gets into the walls or vent area.
Russ has a steady hand, so he was in charge of carefully outlining and sealing the vent cover with caulk.
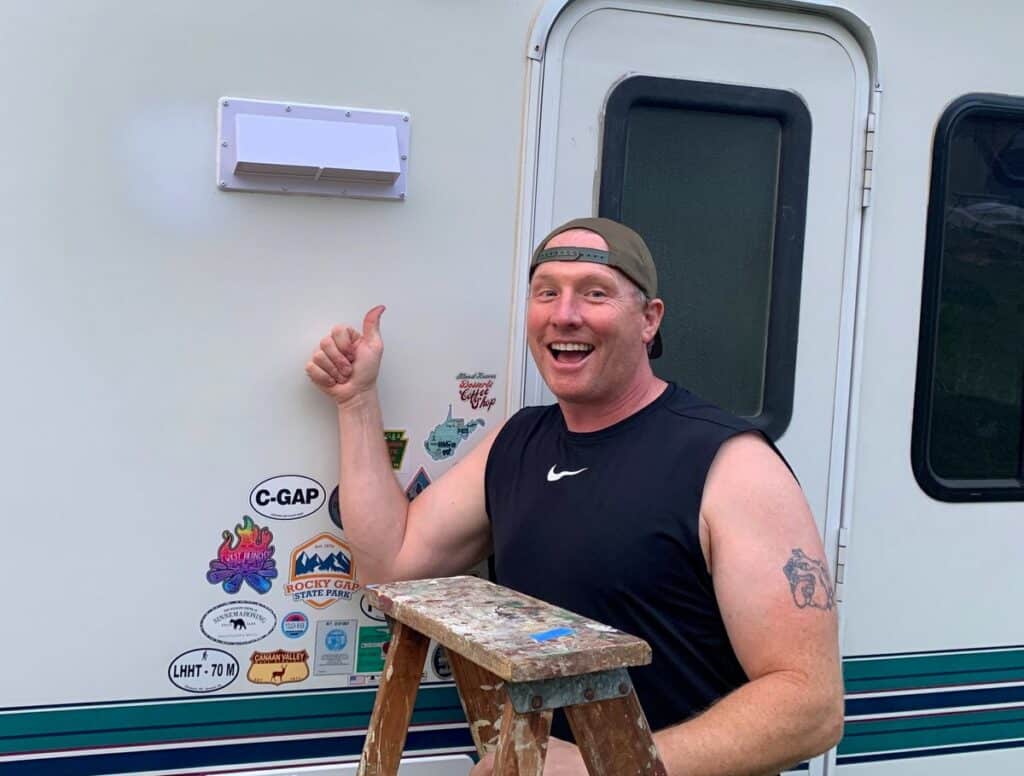
Finally, we let the caulk dry for a few days, and then got Axl right back out on the road for the weekend!
Lessons Learned
While some older RV fixes can throw you for a loop and impact your budget, installing a new RV range vent cover isn’t one of them!
With the exception of the new vent, you likely have most of the other materials for this fix on hand. Most new vents are around $20, and any of the materials run between $5-30 each – so this fix will not break the bank.
But it will quiet a rattle!
Do you have other tips for this fix? Share them in the Comments!