Please note that some of our links are affiliate links, which means at no additional cost to you, we will earn a commission if you click through & make a purchase. Happy clicking!
Here is a quick RV makeover you can do cover your RV step in a more durable & cleanable way for very little time & money.
Background & Before
Before our 1997 Ford Four Winds RV, Axl Roads, had his makeover, he was teal.
Real teal, including carpeting, cushions, and curtains!
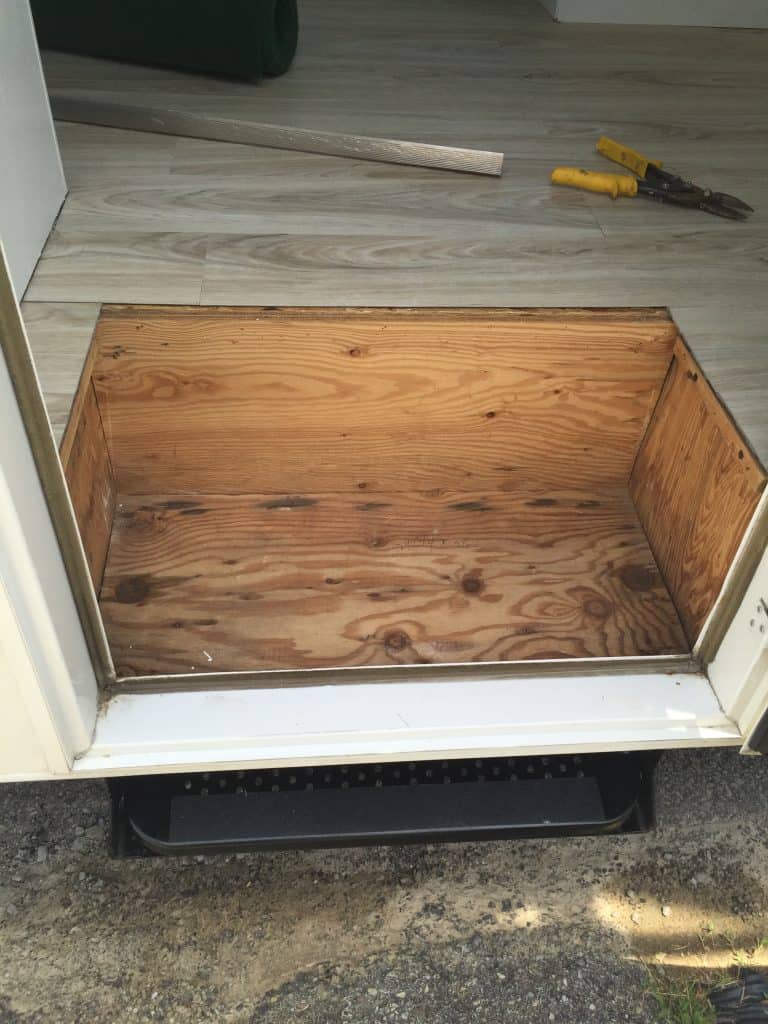
If you read our earlier post, we removed the carpet and installed a new floor from Home Depot.
But what to do with that step…

The Easy RV Step Quick Fix
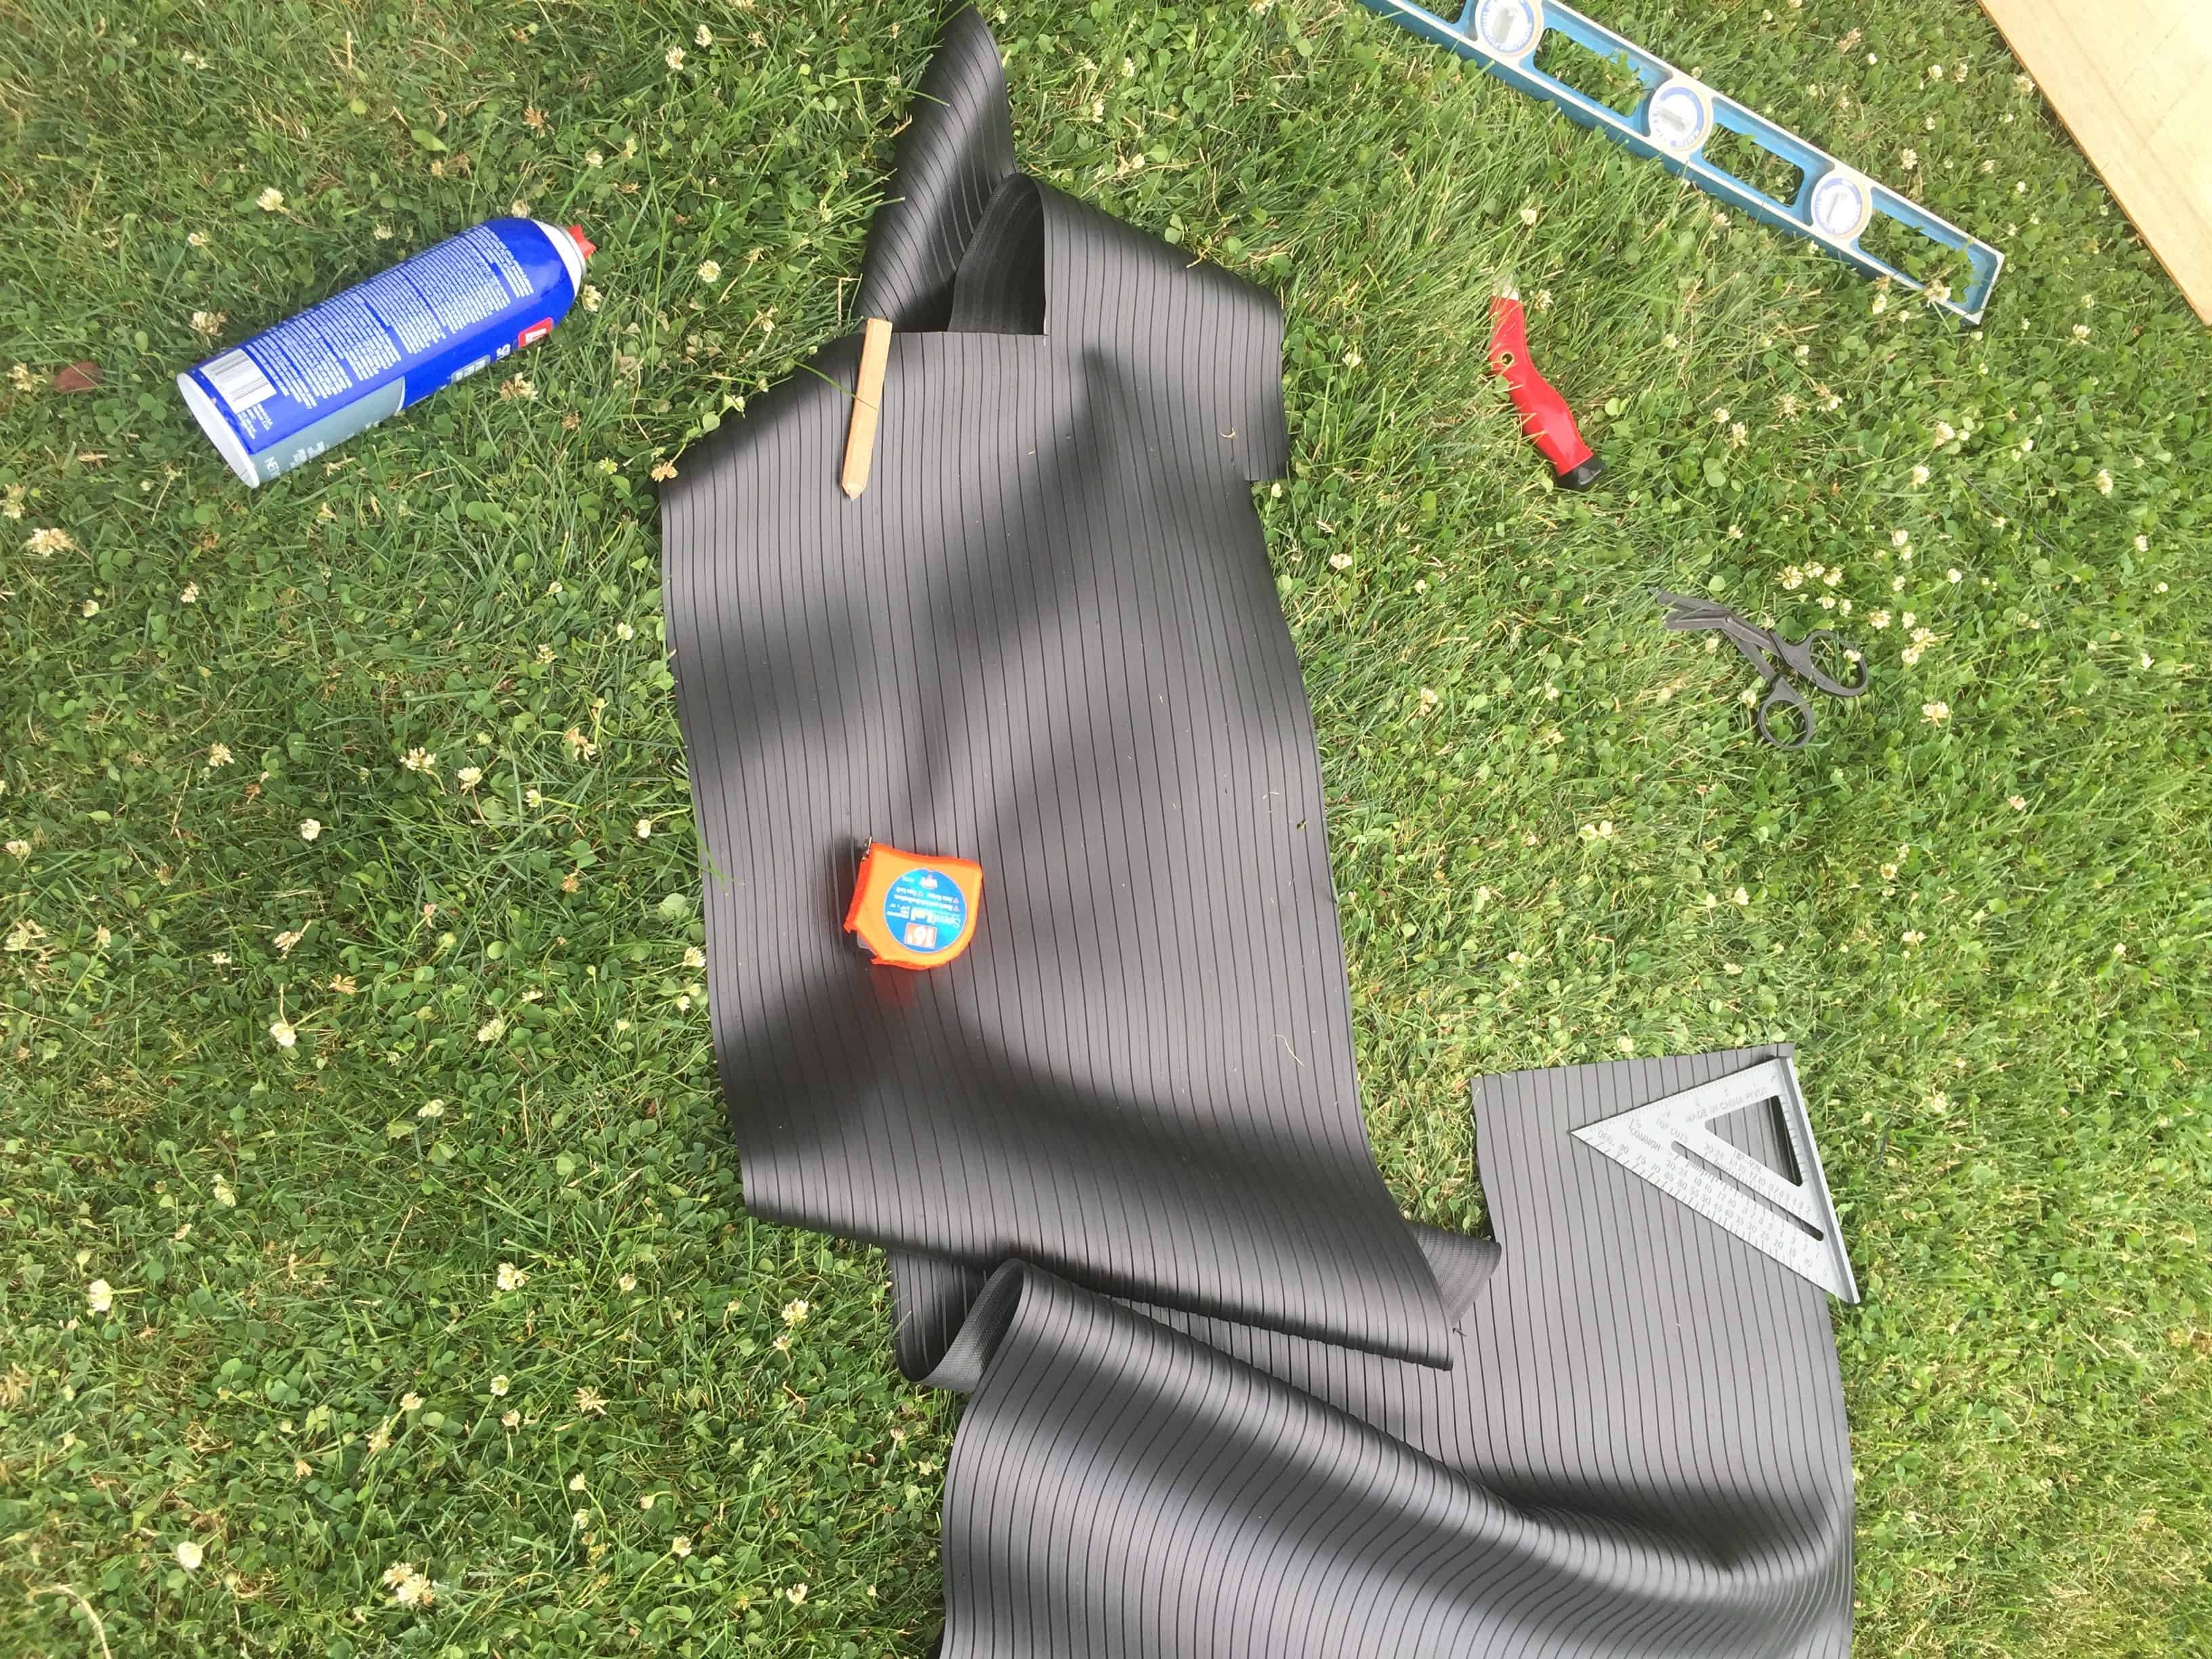
With these materials, you can transform your old RV step into something more attractive than old carpet or bare wood & much more cleanable (especially after putting your muddy hiking shoes in it):
Grab your tape measure, marking pencil, utility knife, and something that will help you make right angle (90 degree) cuts straight- we used a level & triangle ruler- plus some small pin nails & a hammer (and maybe some small screws- read on).
Then, get to work:
- Take the measurements of the two sides, back, and tread of your step CAREFULLY.
- Unroll the corrugated rubber onto a hard, flat surface, and mark your measurements on the back (the side without the treads). You know how they say, “Measure twice, cut once”? In this case, measure three times, think about cutting, measure one more time, THEN cut!
- Dry fit them onto the actual step and make sure your measurements were accurate. You may need to do a little trimming depending on how even (or uneven) your RV step is.
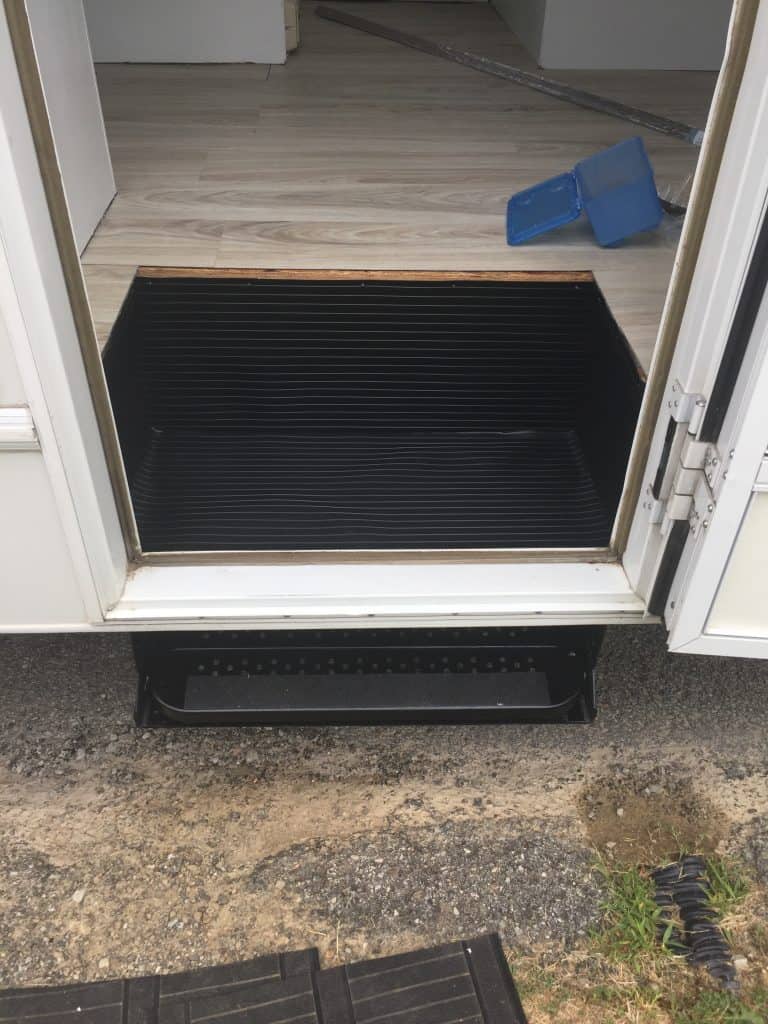
- Use a few rags to protect the edges of your flooring near the step from the spray glue adhesive. Shake the can and spray a thick coat of adhesive onto the bare wood surface of your step. We got aggressive and also sprayed the rubber pieces to make sure no surface went un-adhesived.
- Quickly & accurately place the rubber tread pieces onto the wood surface of your RV step. Apply pressure to every nook & crannie, and keep pressing consistently for a few minutes.

We also nailed pin nails along the back of the step & sides at the top as insurance those pieces wouldn’t slip as they dried.
The Finishing Move
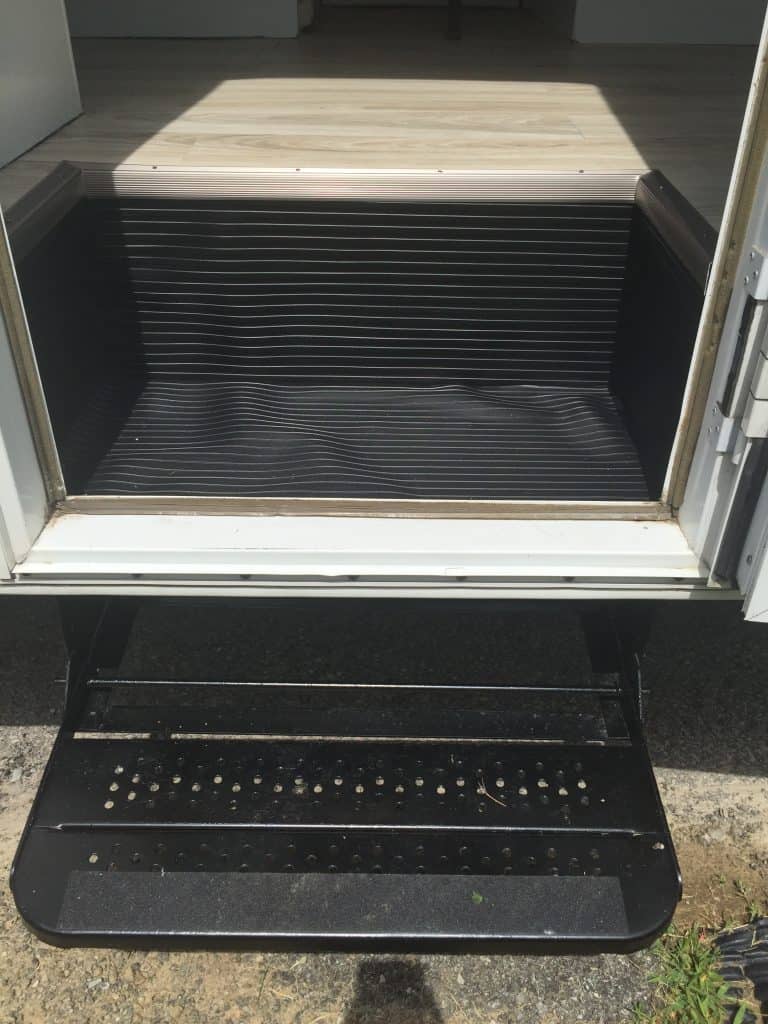
Finally, measure the top of the step for your stair tread edge (three times!), and carefully cut the edging to size- watch out for sharp ends!
We installed ours with pin nails, but wish now we had used tiny screws. The pin nails pop up all the time and have to be re-hammered in. Not a big deal, but we’d like to save you the trouble!

The rubber expands & contracts a little in the heat & cold- but don’t get worried! Ours has held up for three years already!
This quick RV modification will make your RV step much easier to wipe out- and you won’t feel bad leaving your muddy hiking shoes in it!


