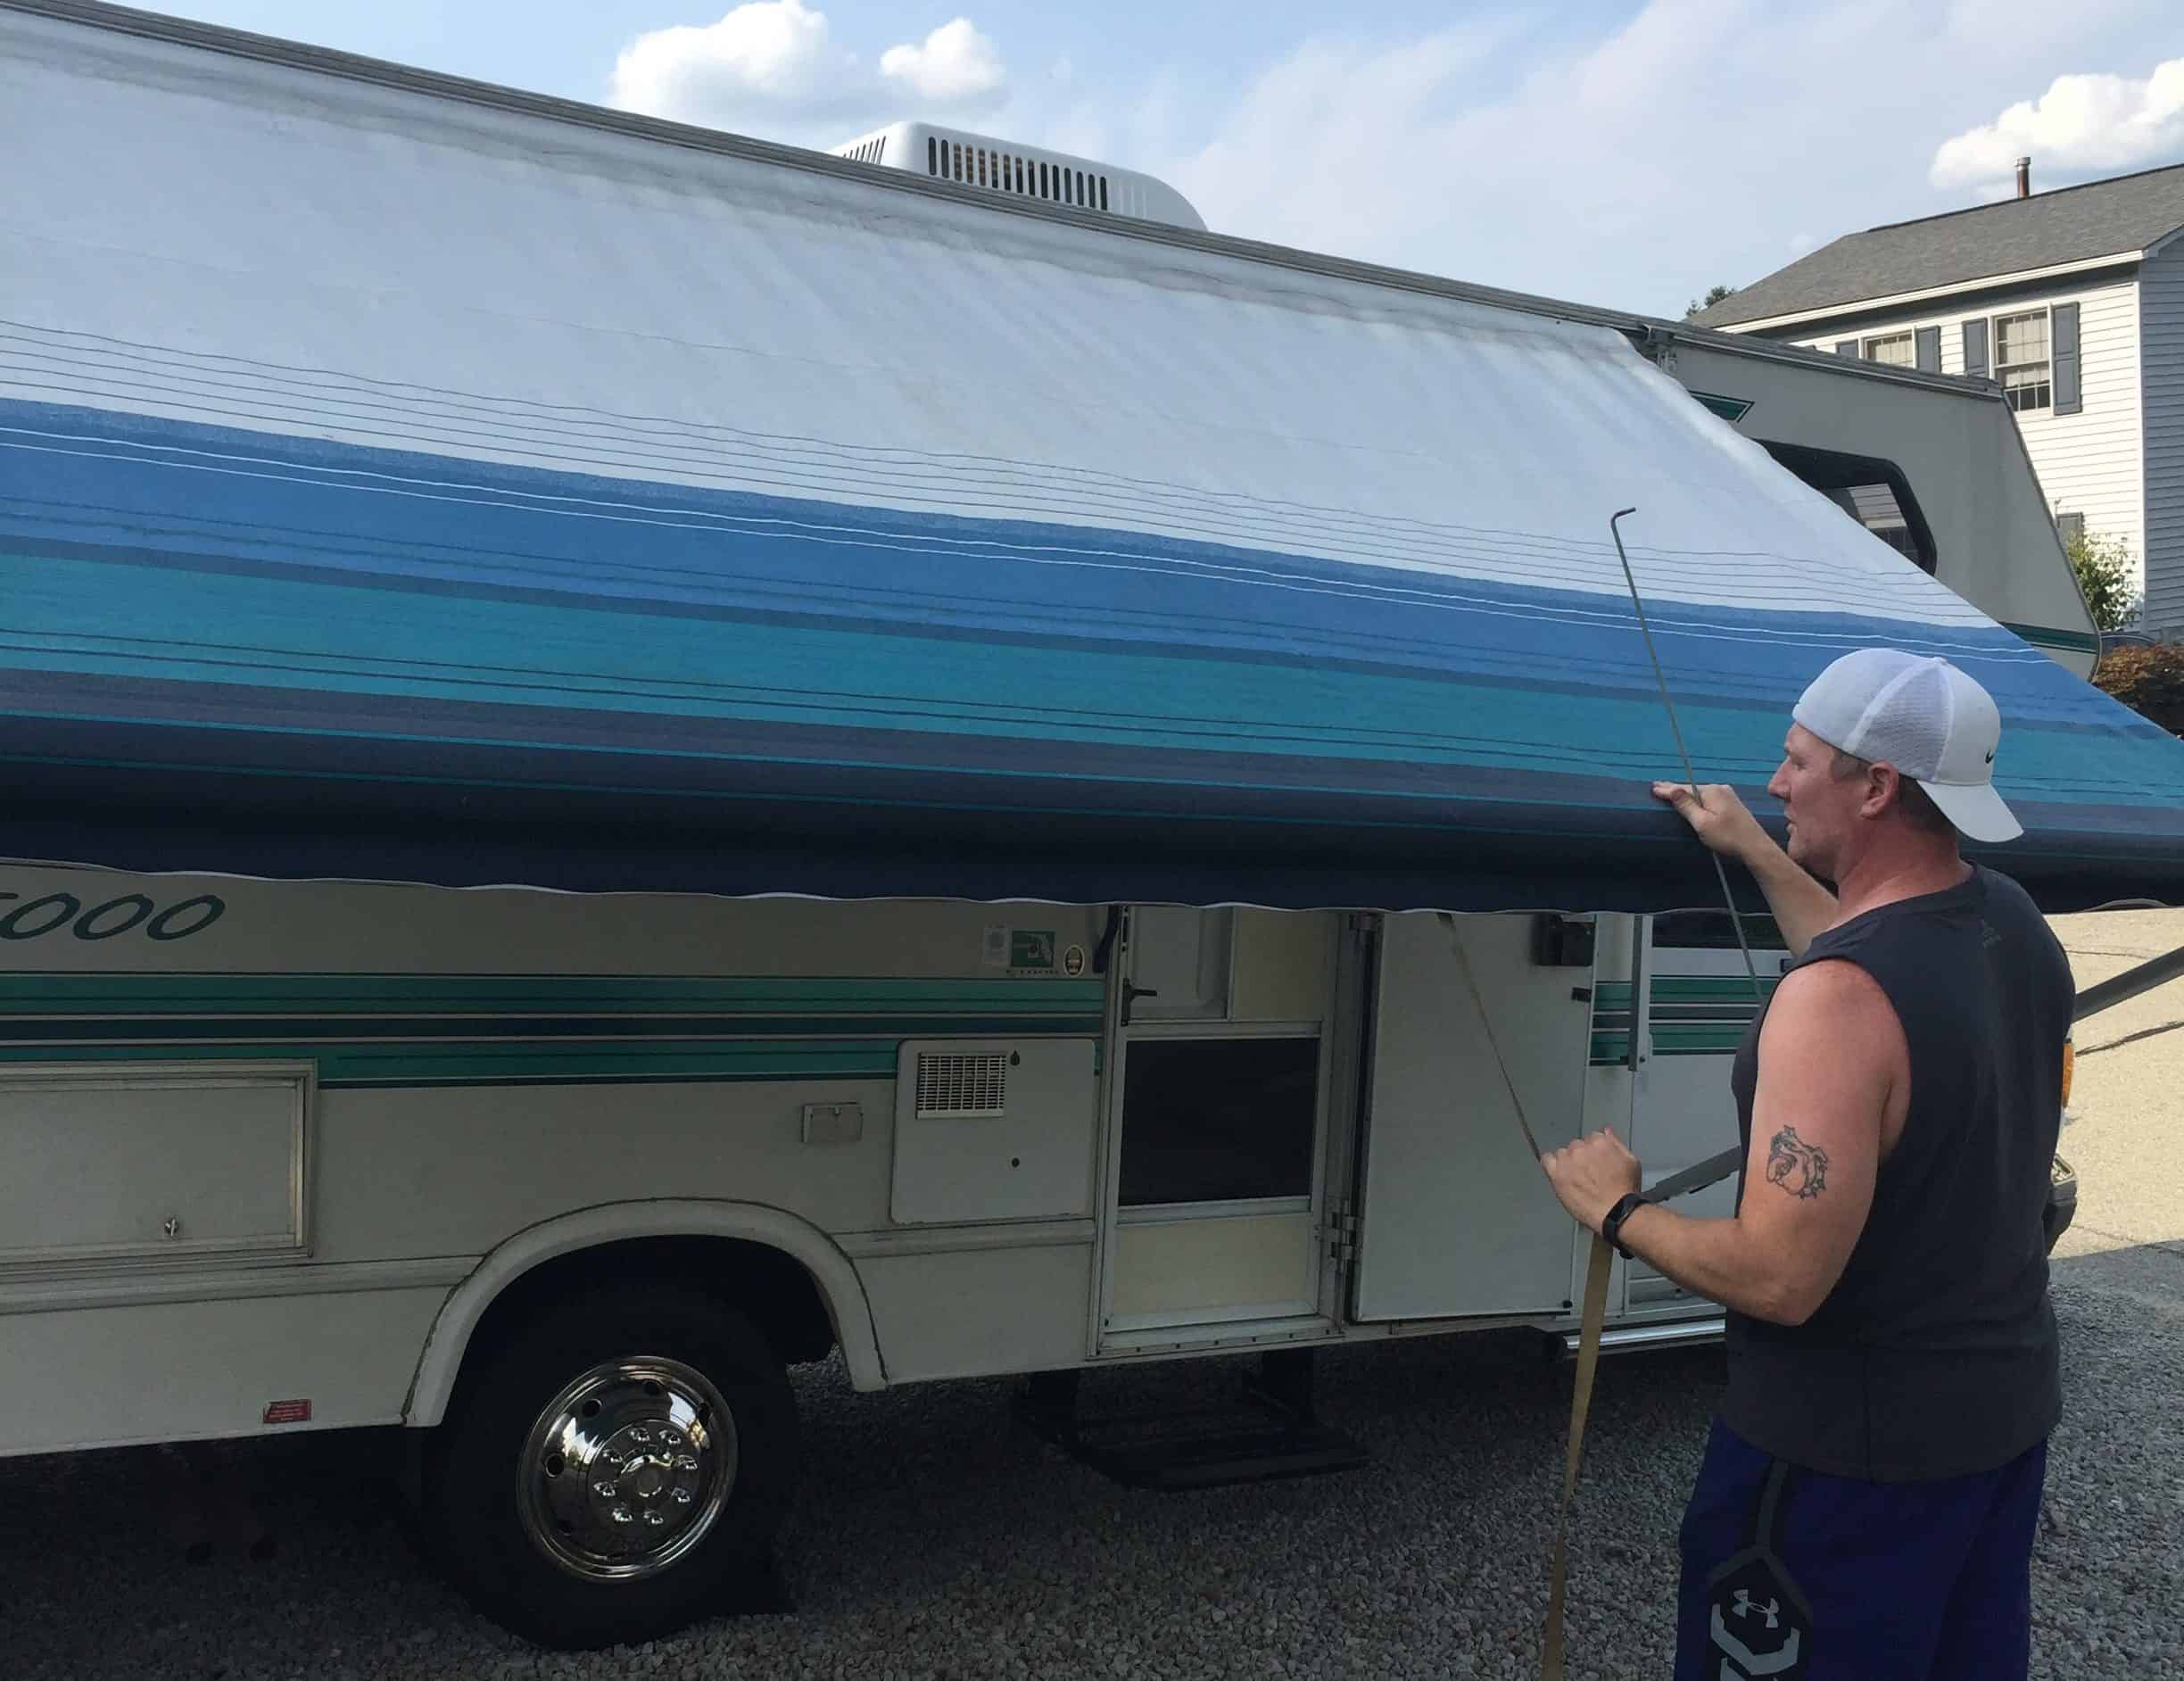
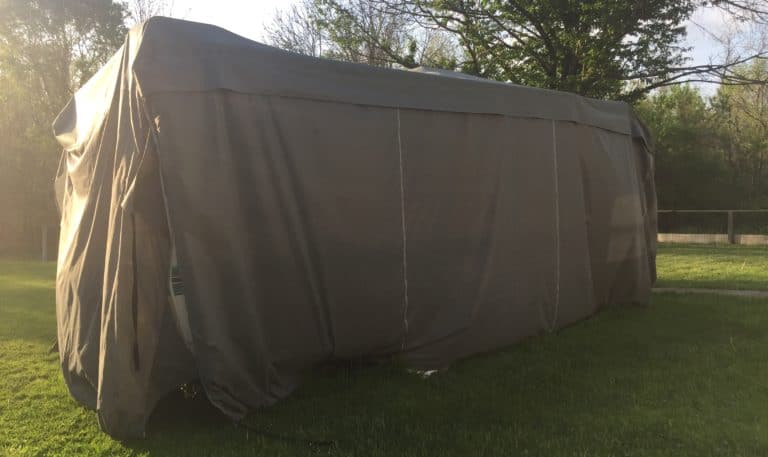
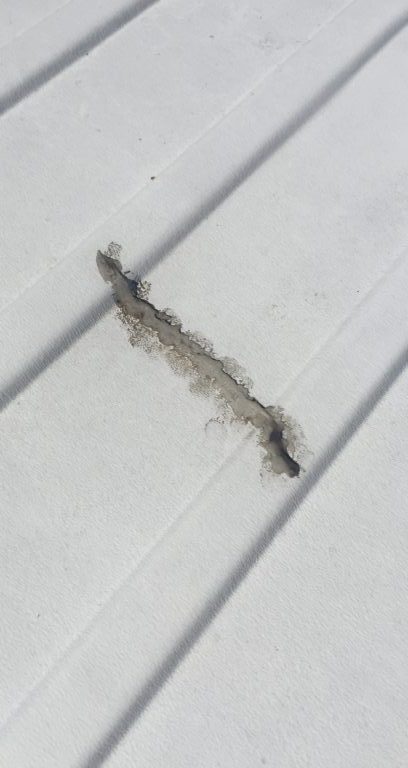
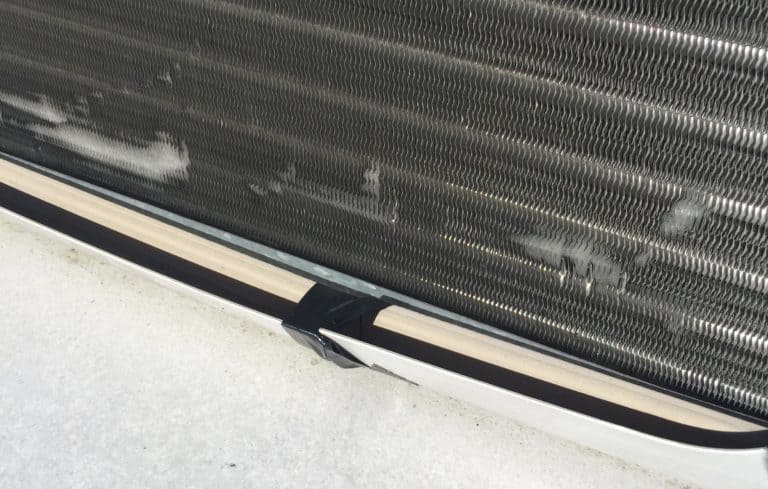
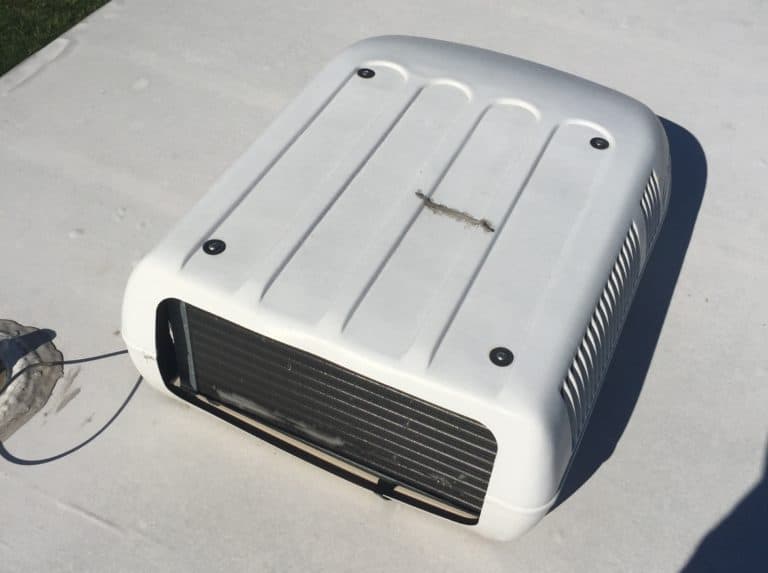
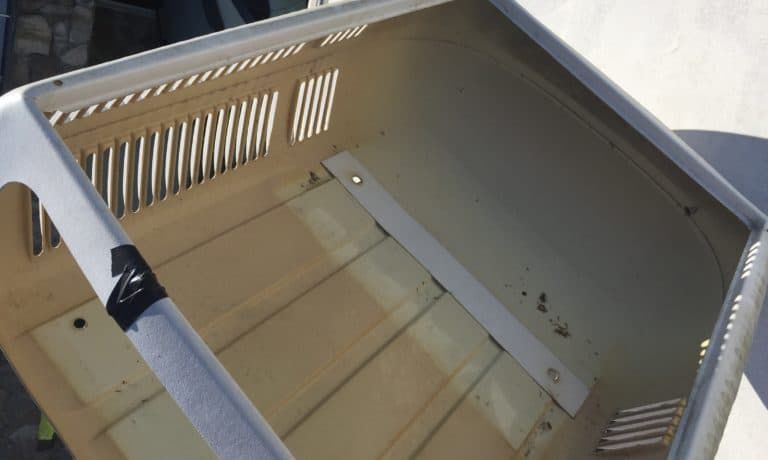
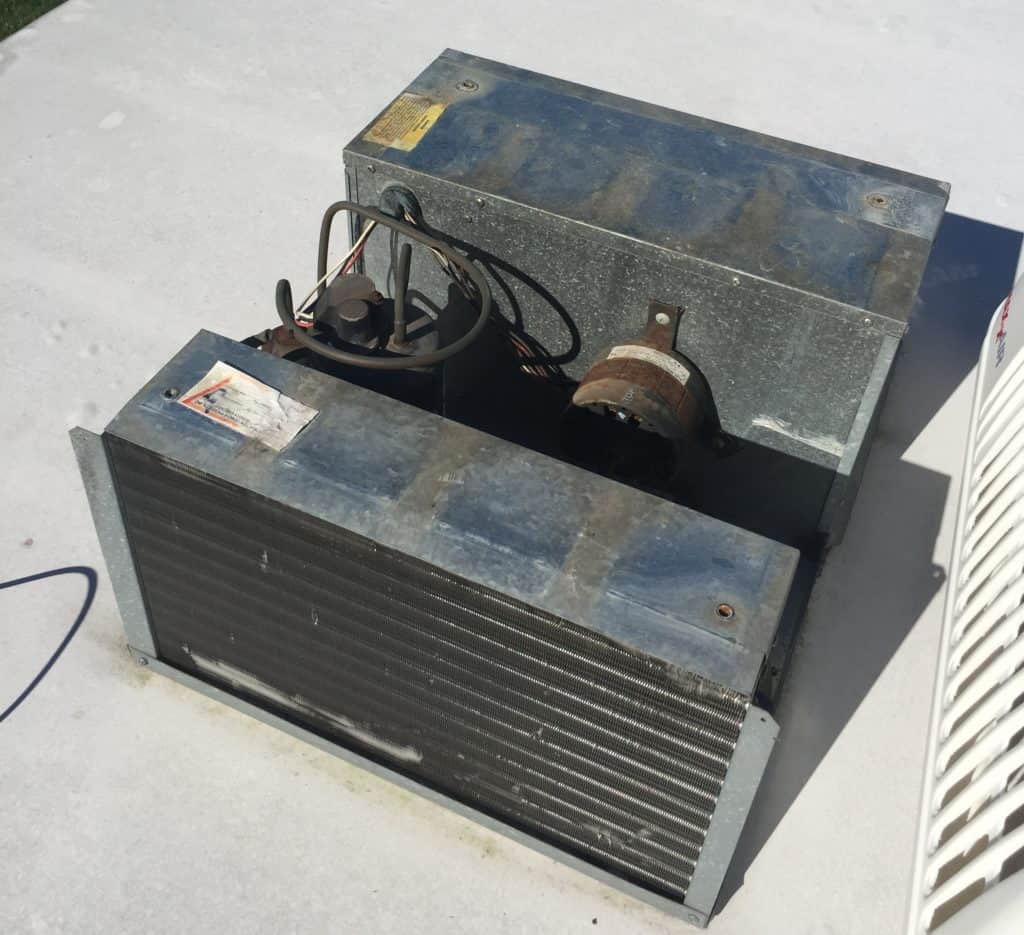
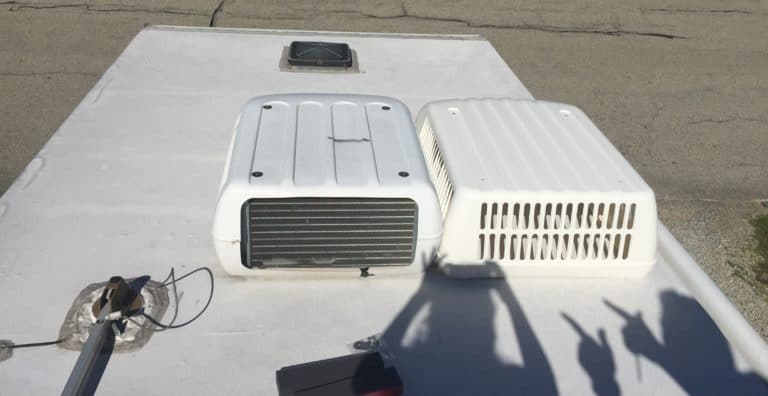
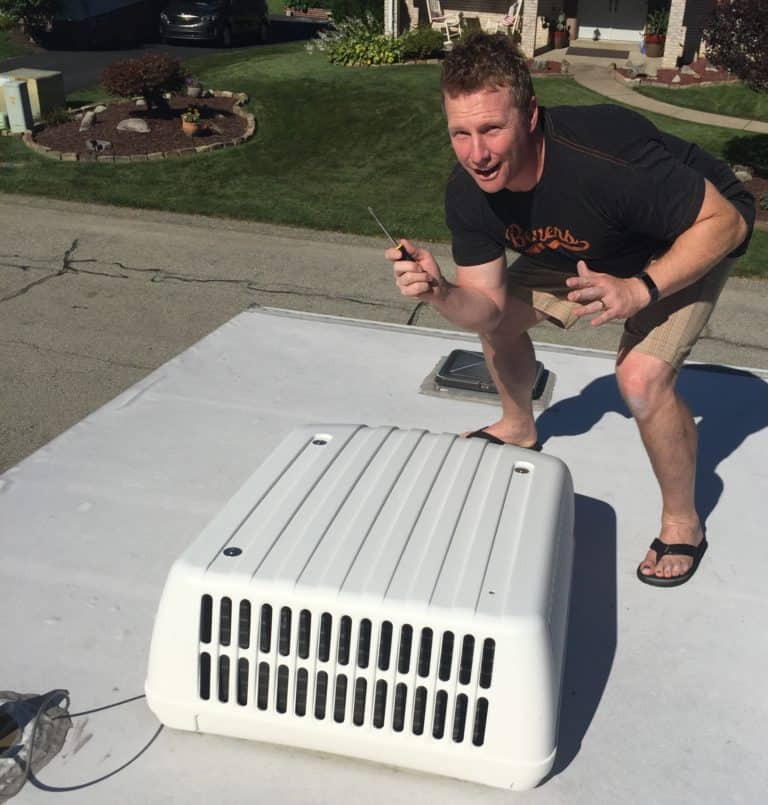
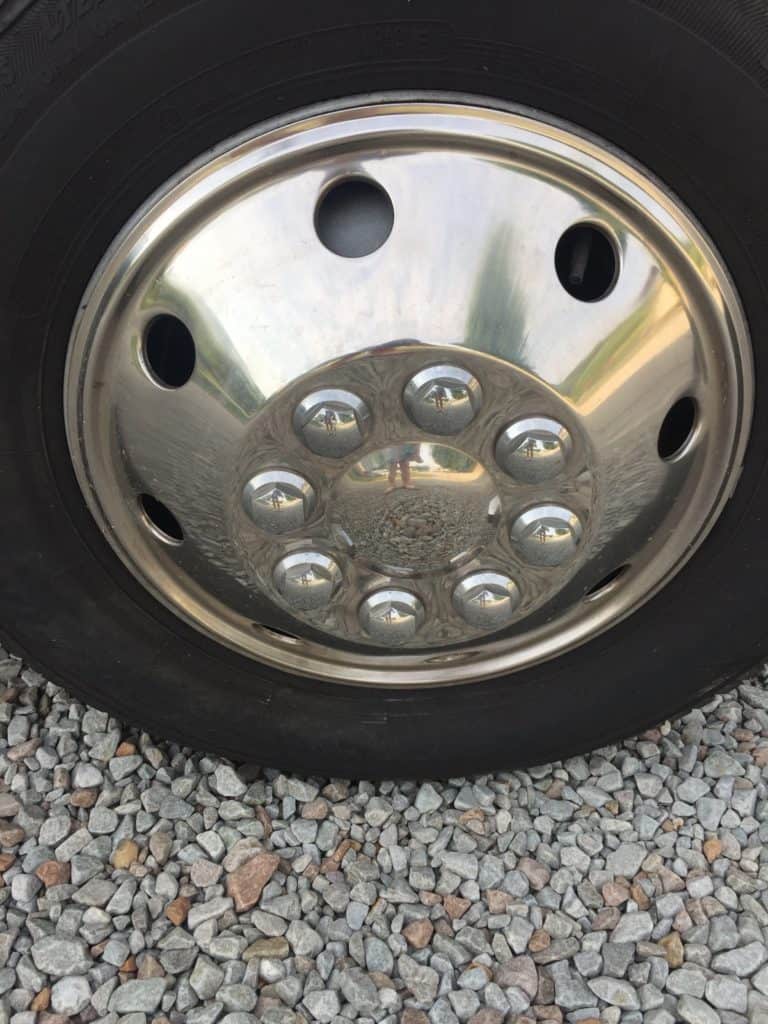
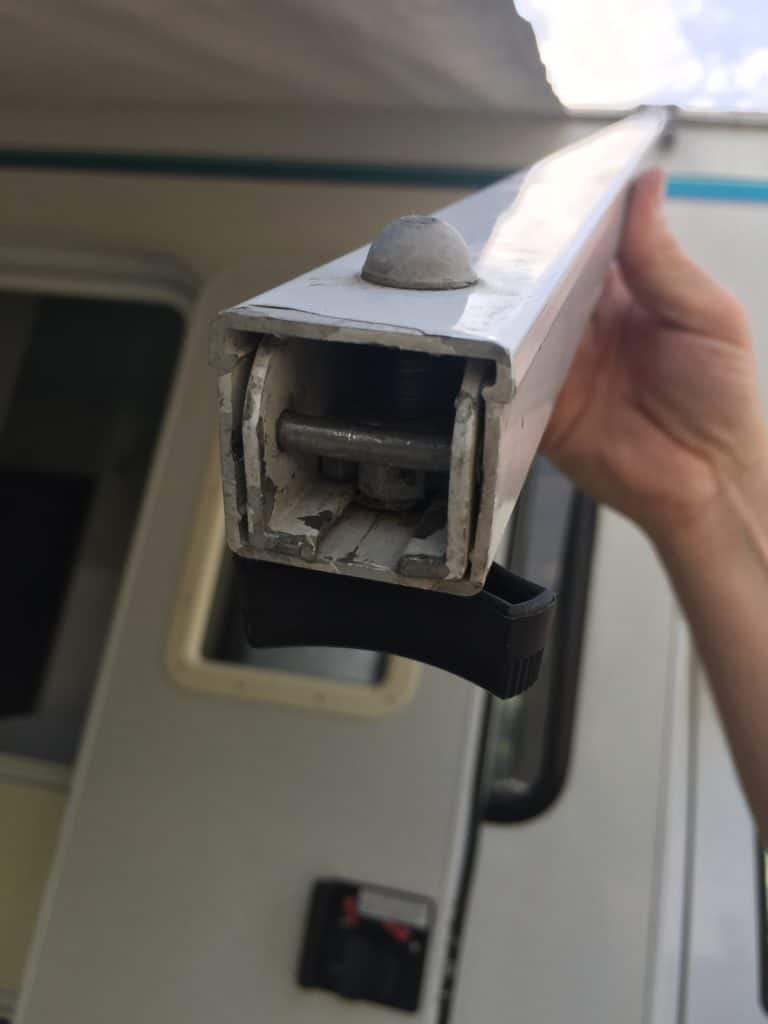
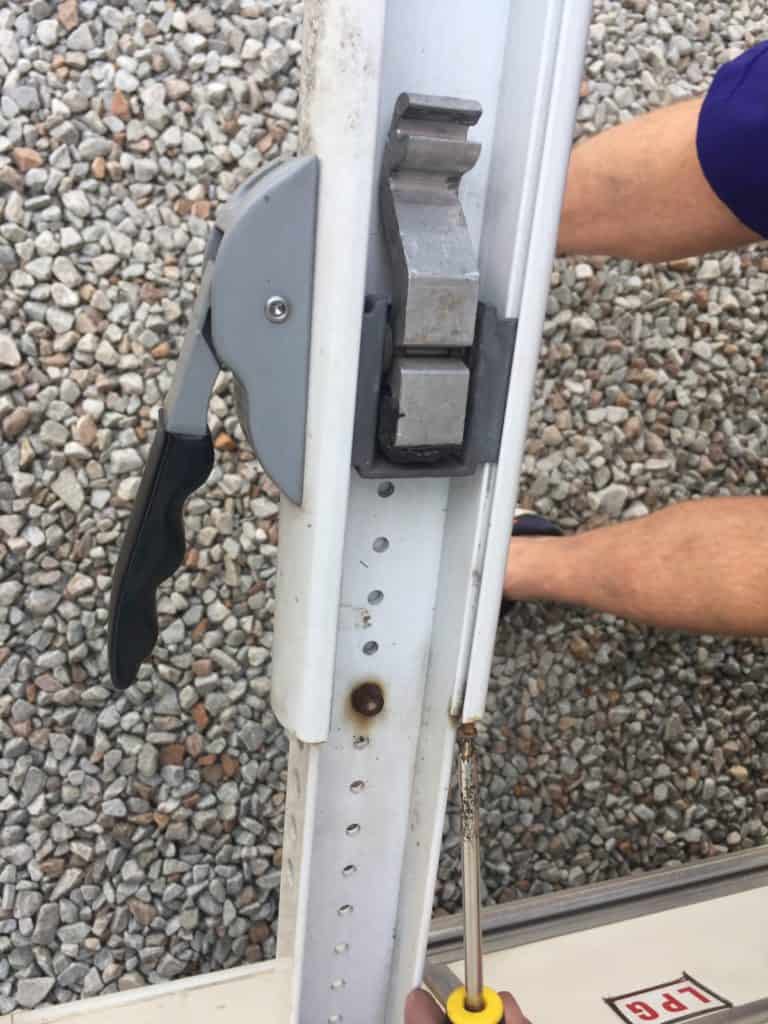
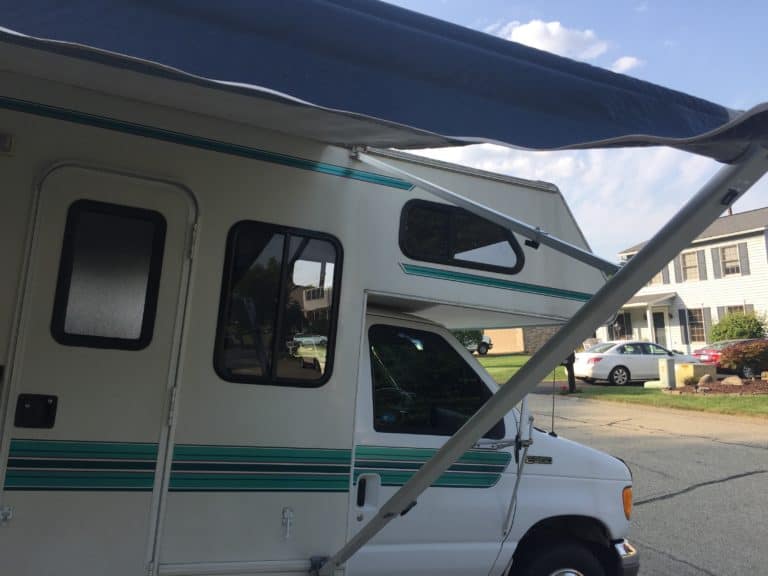
Owning an older RV comes with a price tag – not only for any updates you want make and mechanical repairs you need to keep it moving along, but also for cosmetic repairs you might not expect!
A trio of unfortunate incidents recently left
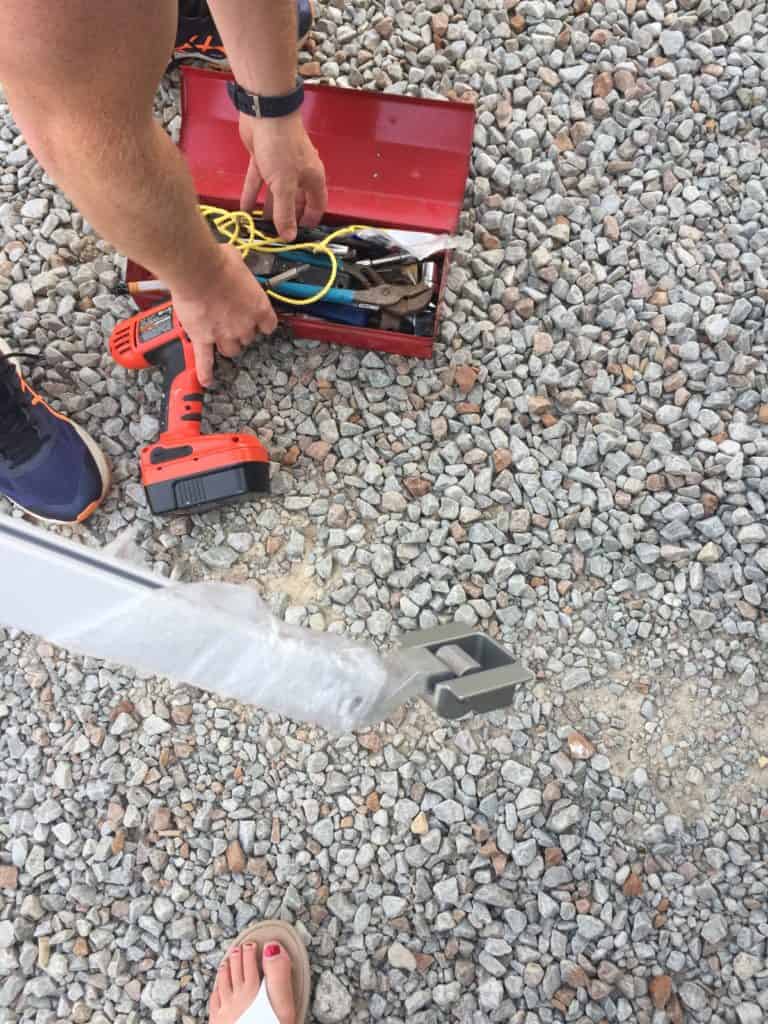
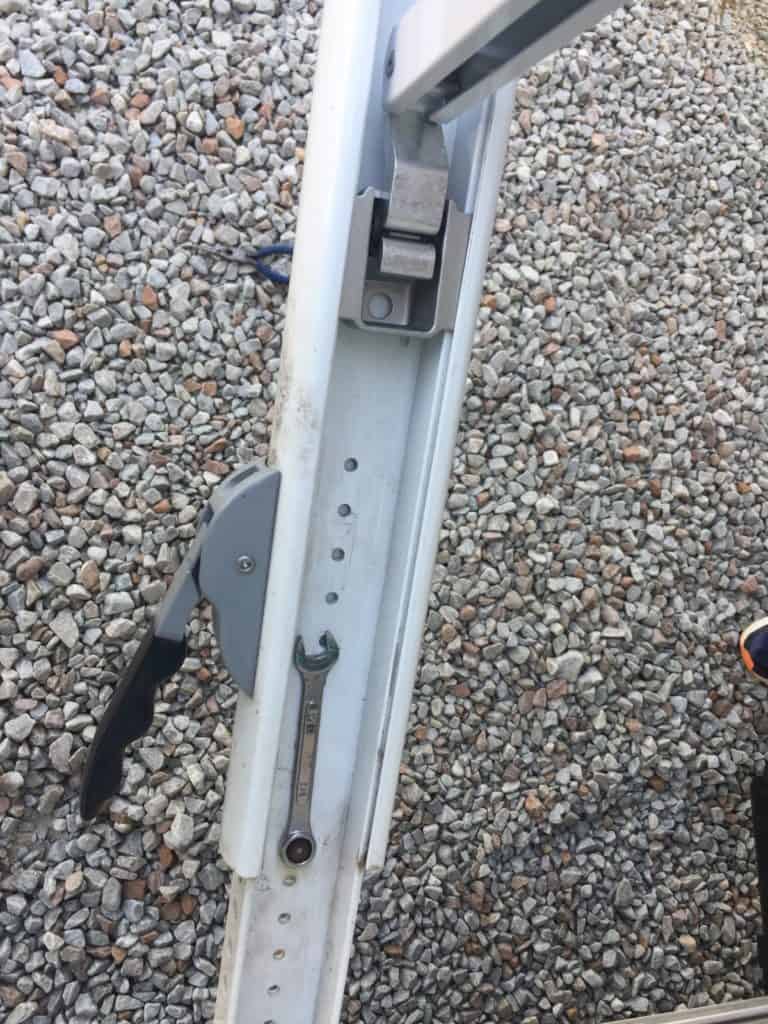
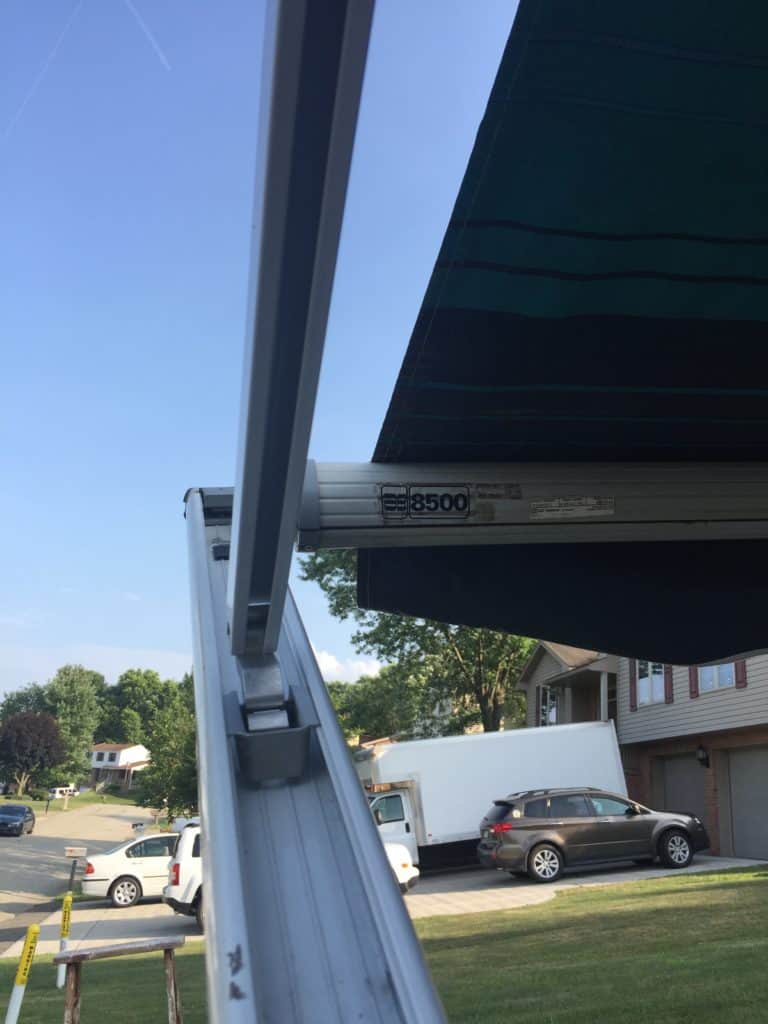
Axl Roads needing a few touch ups, giving us the chance to show how a few minor boo-boos can add up to a few hundred dollars.
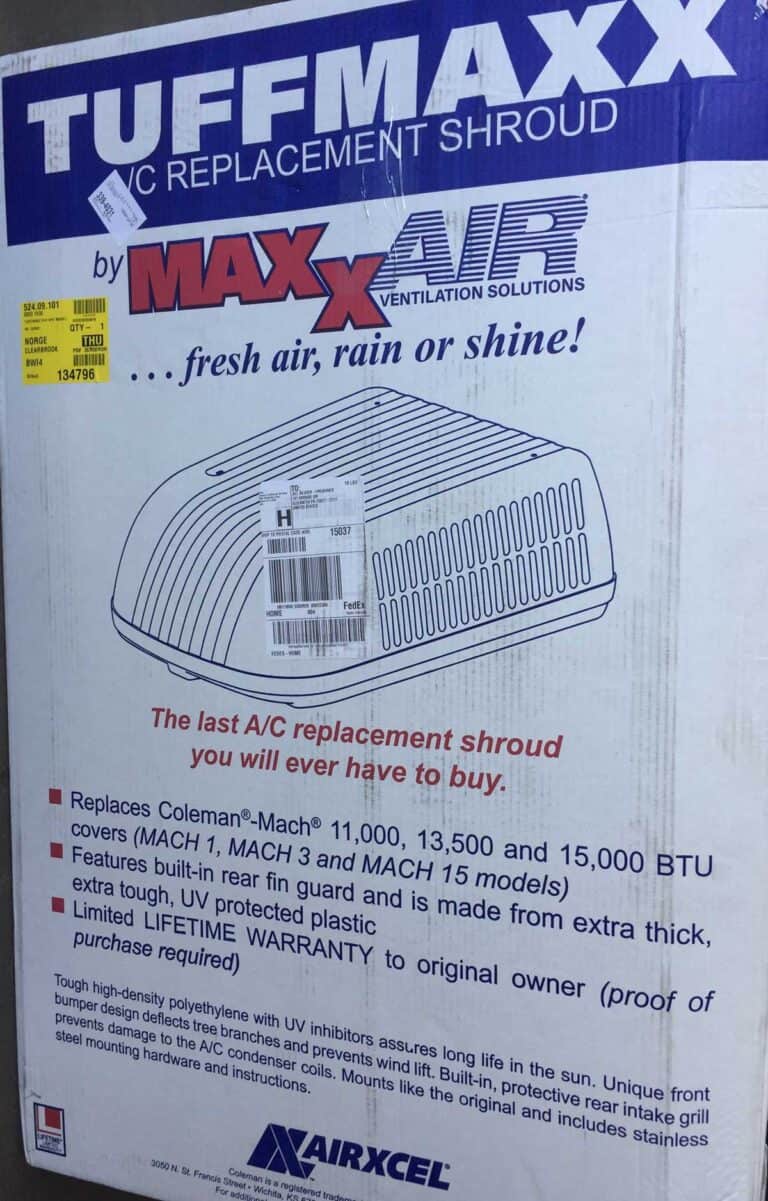
The total cost for Axl Roads’ mini-makeover came in around $240. All the parts were researched & purchased through
Amazon. I’ve been an Amazon Affiliate for years, and I find their product reviews to be very helpful in comparing product ratings, sizes, fits & features for older RV updates.


I have a 2000 Holiday Vacationer. I ran across you on the internet through a browser. I was looking for questions about the new brakes I will have to have replaced in order to get a state inspection.
Glad you found us and hope you got some insight from our experience!