Please note that some of our links are affiliate links, which means at no additional cost to you, we will earn a commission if you click through & make a purchase. Happy clicking!
Originally posted in September 2018
Updated in 2026: We used this booth for more than seven years on trips throughout Pennsylvania, Ohio, West Virginia, and beyond. It held up remarkably well, and we’d definitely do it all over again. We no longer own Axl Roads, but we kept this post because the booth makeover was one of our favorite RV projects. We’re sharing what we learned—and how the project held up—in case you’re considering a similar makeover for your own RV.
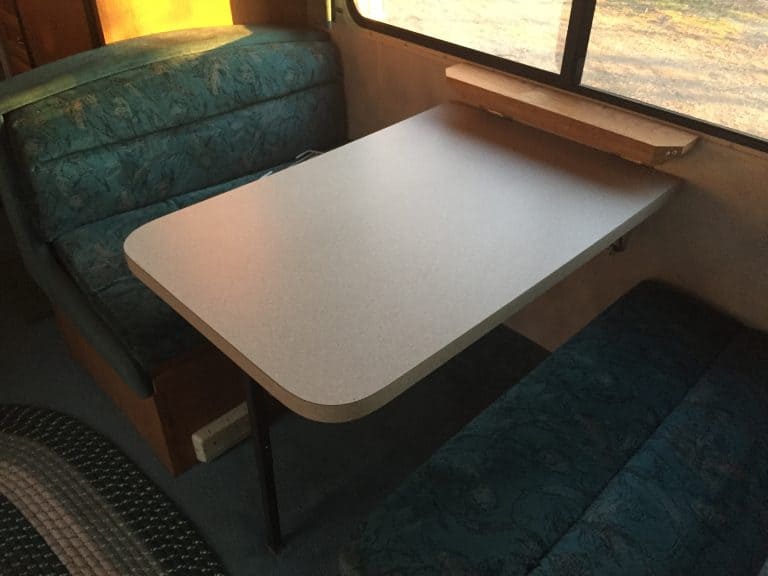
You may recall from previous posts, our 1997 Ford Fourwinds Class C RV, Axl Roads, started out extremely TEAL, complete with a very interesting (read: not found in nature) wood finish when we brought him home.
The RV booth carried that teal-and-wood theme through the seats, topped off with a boring whitish-gray tabletop.
Here’s a throwback photo of the booth before we gave it a makeover:
As the carpet was ready to come up and before the new floor was down, we removed most of the RV booth and table for this remodeling project (even though I wasn’t sure we’d ever see it back together the same again).
If you’re in the middle of a larger RV remodel—or are simply interested in updating the booth itself—it makes sense to remove as much of it as you can.
First, removing the booth gives you more room to work on larger areas like the windows, walls, and floors.
Second, it lets you easily reach the edges, backs, and bottoms of pieces without twisting yourself into strange positions—or accidentally dripping primer and paint onto your walls and floors.
RV Booth Disassembly, Prep, and Painting
We found the easiest thing to remove was the RV booth tabletop. By unscrewing eight fat screws, it came right off the wall without a problem.
PRO TIP for Any Disassembly Project
Make sure you put the screws into a zip-lock bag and mark it with as much detail as possible (i.e., left-side booth, right-side seat, top part of back, etc.) with a Sharpie so you can find them later!
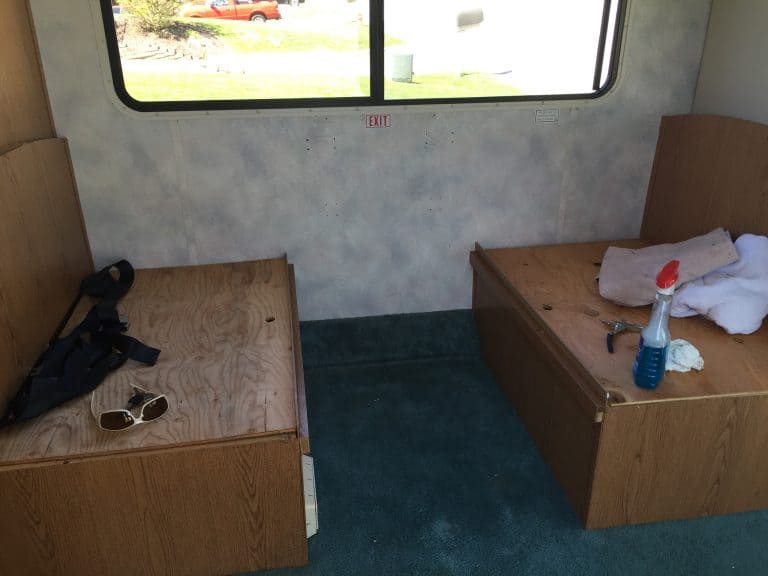
Next, we moved on to removing the seating, and decided to leave the left base in place, as it was housing a bunch of seat belts, electric components, and ventilation tubes that made us nervous—plus it was strangely bolted to the side of the refrigerator.
Not things we felt comfortable messing with!
RVs are all different, but typically one side of the booth seating holds more “guts” than the other. Be sure to check that out before you get too demo-happy!
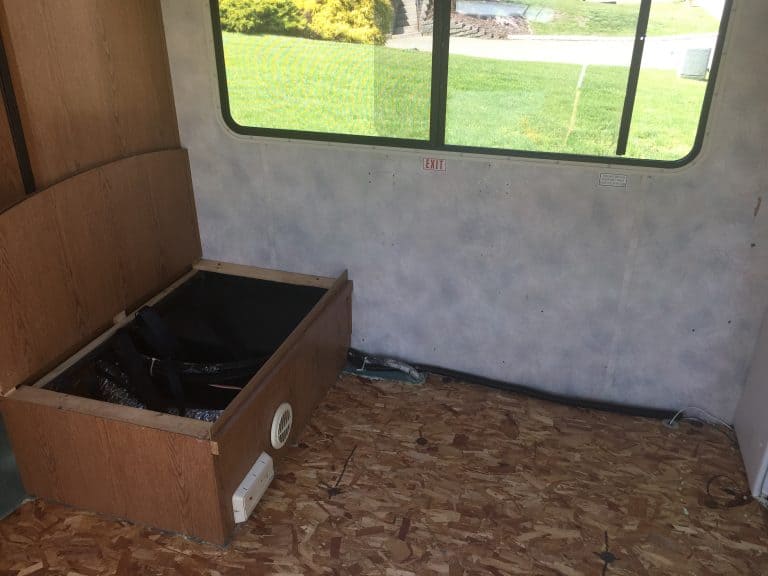
We roughed up the wood surfaces we wanted to paint with block sanding sponges and primed them with Glidden Gripper, our absolute favorite crappy surface primer.
We decided on white for the base booth color and used three coats to be safe.
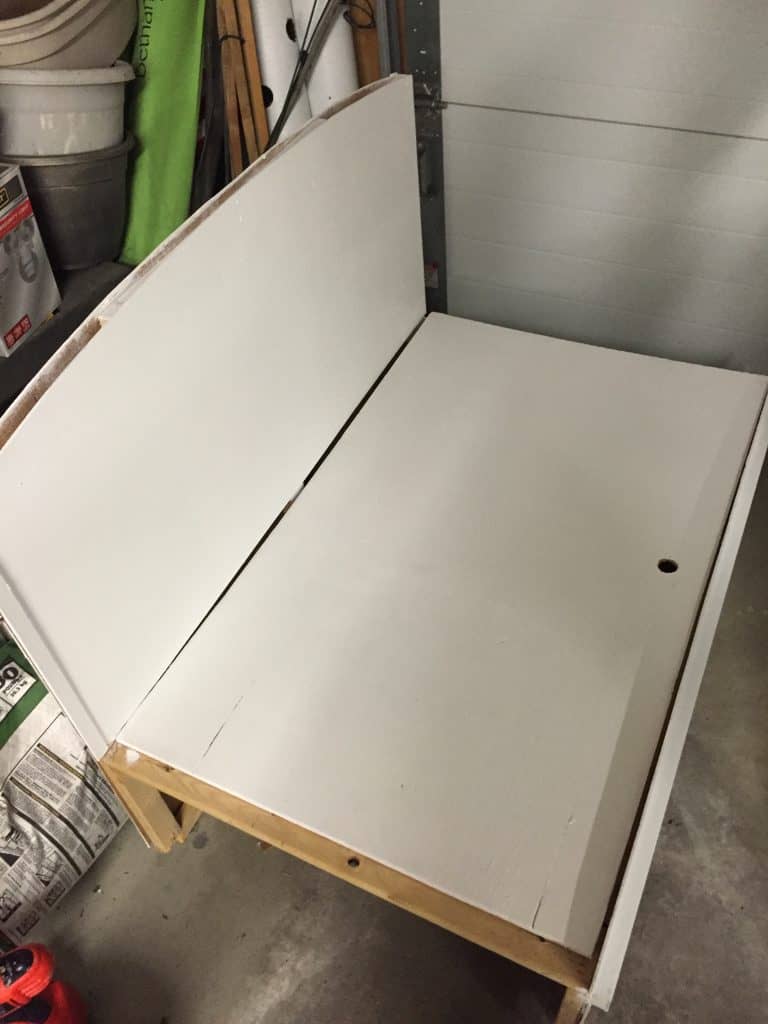
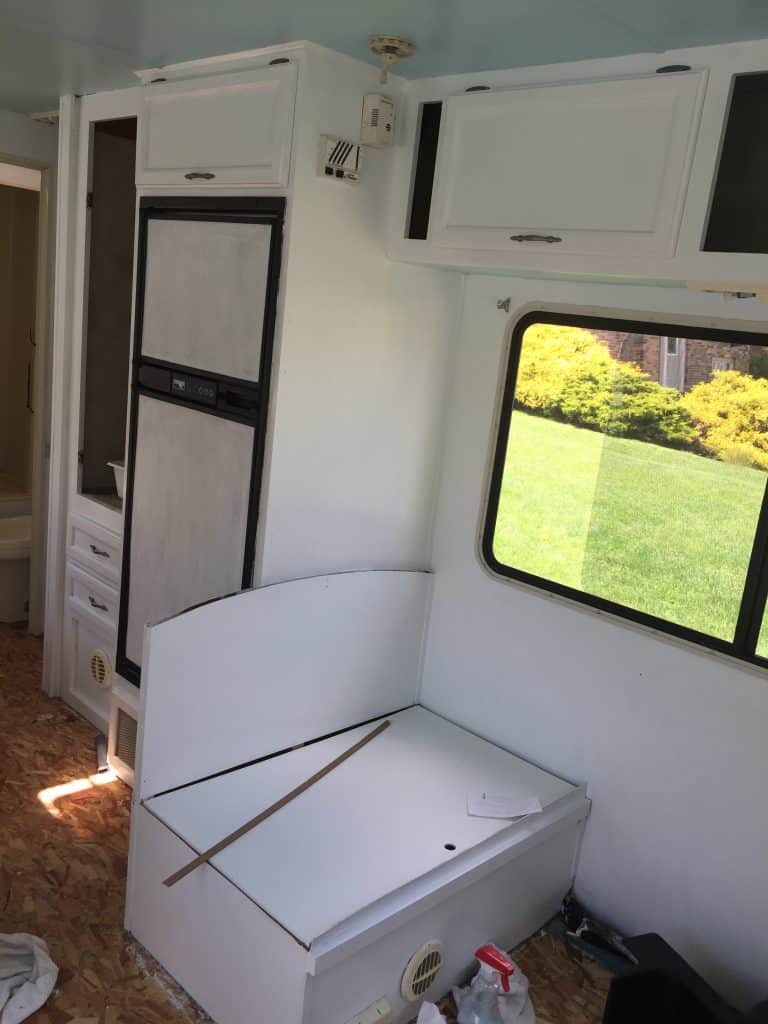
While those are drying, it’s time to think about what you’ll actually be sitting ON…
RV Booth Cushions: Decisions and Construction
Here are some things to keep in mind when planning your RV booth cushion replacements:
- How much wear & tear will they go through & how much weight will they be holding? This will determine how strong of a cushion you’ll want.
- What activities will take place in the booth? Eating? Reading? Playing? Plan your material accordingly!
- Do you want to be able to take them apart for washing? Consider how simple the construction should be if you want to remove the covers.
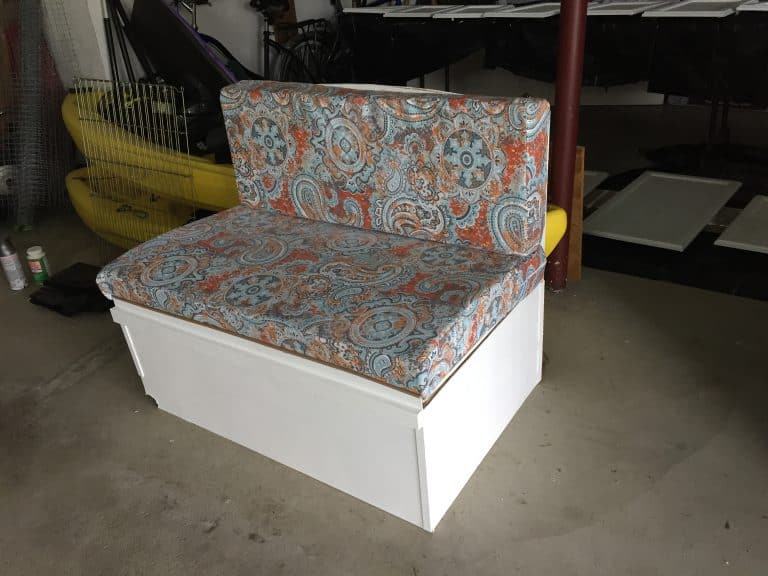
Because it was just the two of us and the dogs, we felt comfortable choosing a cushion foam from the giant selection at our local fabric store. We went with a 5-inch thick, heavy-duty slab.
We also chose a durable, 100% cotton (read: very washable!) fabric with a WILD print to disguise the dirty dog paws, pizza crumbs, and hiking mud we knew it would encounter.
Honestly, it already looks like we’ve dropped pizza and wiped mud on it, so I’d say it’s doing its job!
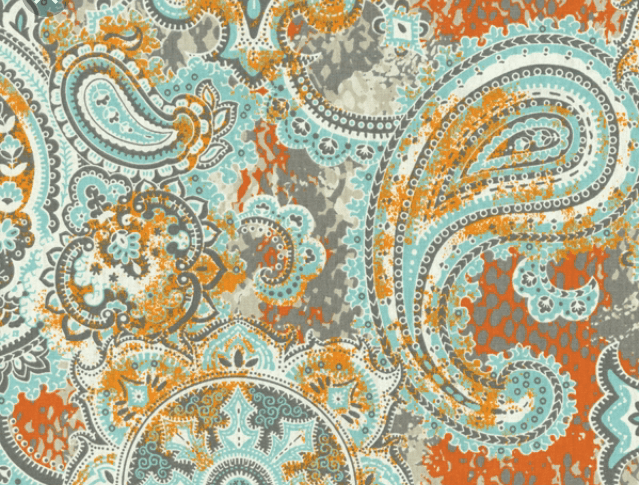
There’s a fabric and print out there that is perfect for your RV. It could be a very durable outdoor fabric that can withstand plenty of wear and tear or a dressier upholstery fabric if that’s your style. There are so many choices, you’ll get dizzy trying to pick one!
If you have sewing-machine skills, you can make the covers yourself (so jealous!) with all of your pattern-making, pinning, and bobbin-wrangling talent.
Another option for covering RV cushions is the gift wrapping method described here—but the covers aren’t easily removable for washing. If you’re super-clean campers—or you use a really durable, surface-washable material—this method might work well for you.
Since I have no talent in that area, we sent our foam and fabric to a local seamstress to construct the covers. We asked her to include zippers along the long edges of the cushions so we could easily remove them for washing.
Our Custom RV Booth Table Map Project
The final piece of the puzzle was the tabletop! This is where we really got to make the RV booth our own.
We went with a Mod Podge-and-epoxy approach that let us turn the table into something completely unique.
The great thing about this part of the project is that you can cover your table with almost anything. Here are just a few ideas:
- Fabric
- Photos
- Baseball or football cards
- Newspaper articles
- Drawings or sketches
- Calendar pages
- Heavy wrapping paper
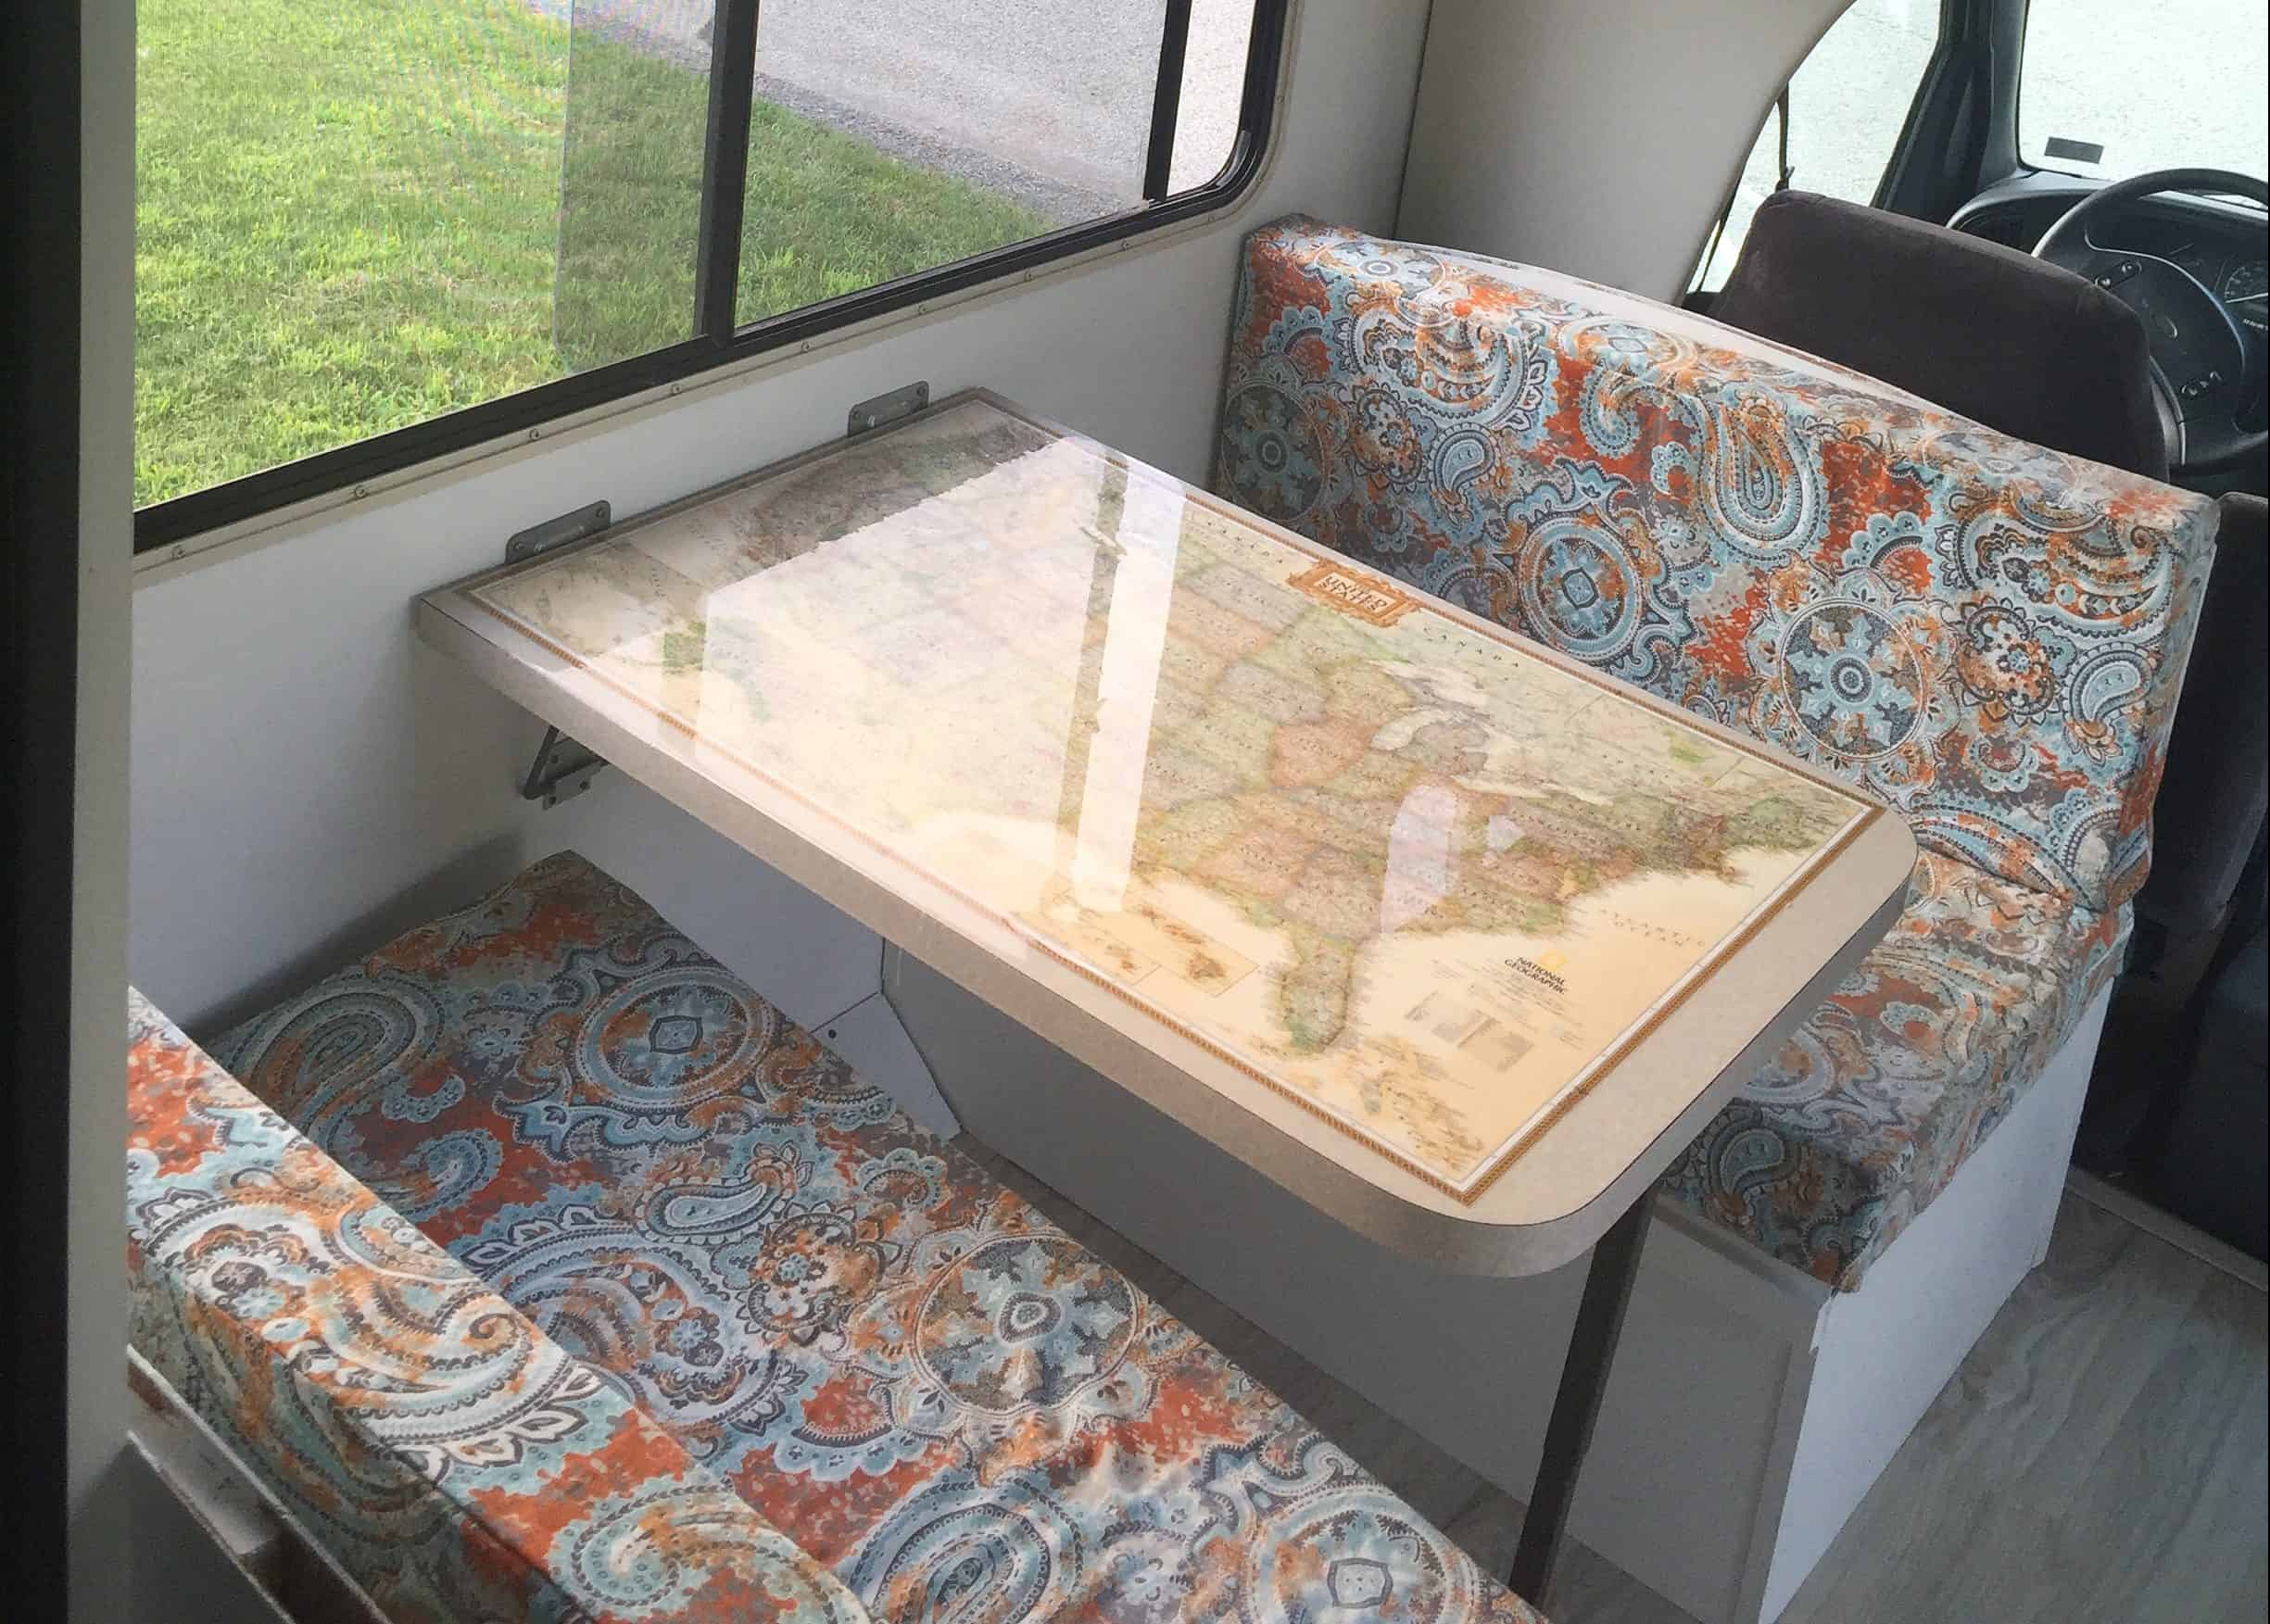
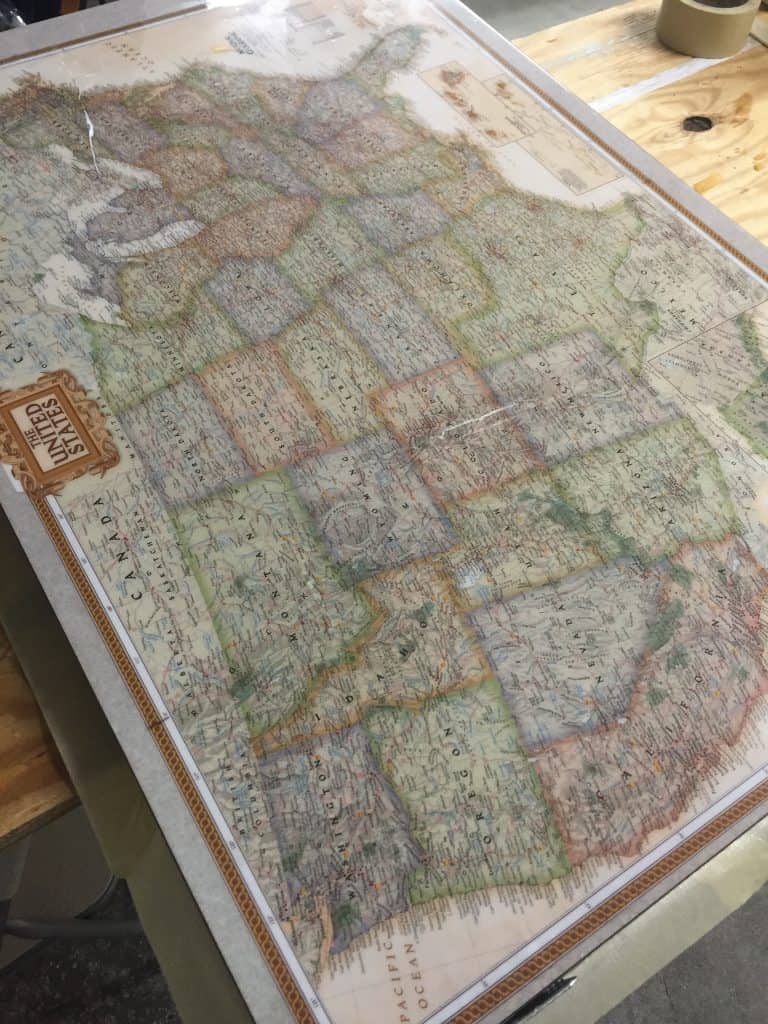
We decided on a map of the United States to help inspire us to plan even MORE adventures.
Luckily (NERD ALERT), I’d saved every map National Geographic had included in its magazine during my adult life, and one of them happened to be a highway map of the United States. Perfect!
After thoroughly cleaning the tabletop & letting it dry, we carefully Mod Podged the map to it. We had to touch up a few edges (a few times), but overall, the Mod Podge part was easy.
Next, we used thick masking tape to edge the sides of the tabletop, leaving just a little sticking up to create a little barrier so the epoxy wouldn’t run over the edges.
Finally, we slowly and carefully mixed the epoxy mixture (8 oz. of epoxy + 8 oz. of hardener) and then slowly poured it over the map. SLOOOOOOOWLY. The epoxy mixture ended up about half an inch thick over the map.
We used a small blowtorch to pop any bubbles that arose after the pour, like the instructions indicated.
Be sure to read the epoxy directions a few times before starting, because you only have a limited time to pour it so it sets correctly.
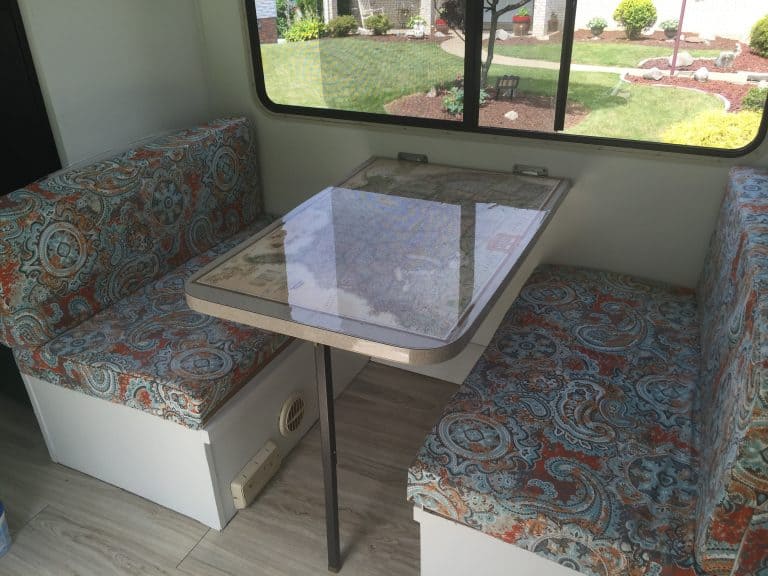
We let it dry for two days, and BOOM! Perfect map table to complete our RV booth makeover!
The RV booth makeover project took a few weeks to finish completely (with full-time jobs and all!), but we were happy with the final result:
Living with the New RV Booth
We used this table the entire time we owned the RV (over 7 years!), and we were still happy with how it turned out when we sold Axl Roads. The epoxy held up well, and the map remained one of our favorite parts of the RV. If we were doing the project again, we’d make the same choices.
Unzipping the cushions and throwing the covers in the wash when we needed to was convenient—plus the map tabletop was durable and easy to clean.
If there’s one thing we would change, it would be how to affix the back cushions to the bench. When we were driving, they sometimes fell over (even with the velcro on the back).
BUT—the cushions are really comfortable and firm. We wouldn’t change that!
And the map table was one of our favorite features because it always made us think about—and plan—where we might want to visit next.
FAQs
How much does an RV dinette remodel cost?
This one, including paint, fabric, cushions, sewing, and epoxy, cost us around $200.
Can you replace an RV booth yourself?
Yes…mostly. We needed help with the sewing for this project, but we handled the other parts ourselves.
What wood did you use?
We used the original booth construction as a base, so we didn’t need any additional wood.
How long did it take?
We worked on the project over a few weekends, with the sewing happening in between.
Does the table still convert into a bed?
Yes, it still had the same capability, although we never used it as a bed.
How heavy is the new table?
The epoxy didn’t add much weight at all. I’d estimate less than two pounds to the original weight.
Do you have plans to remodel your RV booth? Or did you already do it? Share below!

Can you post a video of the table top epoxy layering if you have one?
Sorry! I didn’t take a video- I was glad I even got a pic because we were concentrating so hard on all the instructions & warnings that came on the Epoxy packaging & bottles! It was a very serious operation.
How much epoxy did it take to cover your table?
Just one box (with the two bottles you mix up) was plenty for this size table. We used it all.
How well did your epoxy table hold up
So far so good- I think we’re at close to 7 years!
Where do we buy the map?
That particular map was FREE in an old National Geographic! They have a similar one on Amazon for $20 at https://amzn.to/3FM8oB0.
You say one box of epoxy. How big were the bottles in it? Also how thick did the epoxy end up on the table?
The one we used was 8 oz of epoxy and 8 oz of hardener (https://amzn.to/4tQNvI2). We combined them in a large cup with small pour edge that came with the kit. The epoxy finished on the table is about 1/2 of an inch thick.