RV Makeover: Removing Your RV Carpet to Install Vinyl Planks (or not)
Please note that some of our links are affiliate links, which means at no additional cost to you, we will earn a commission if you click through & make a purchase. Happy clicking!
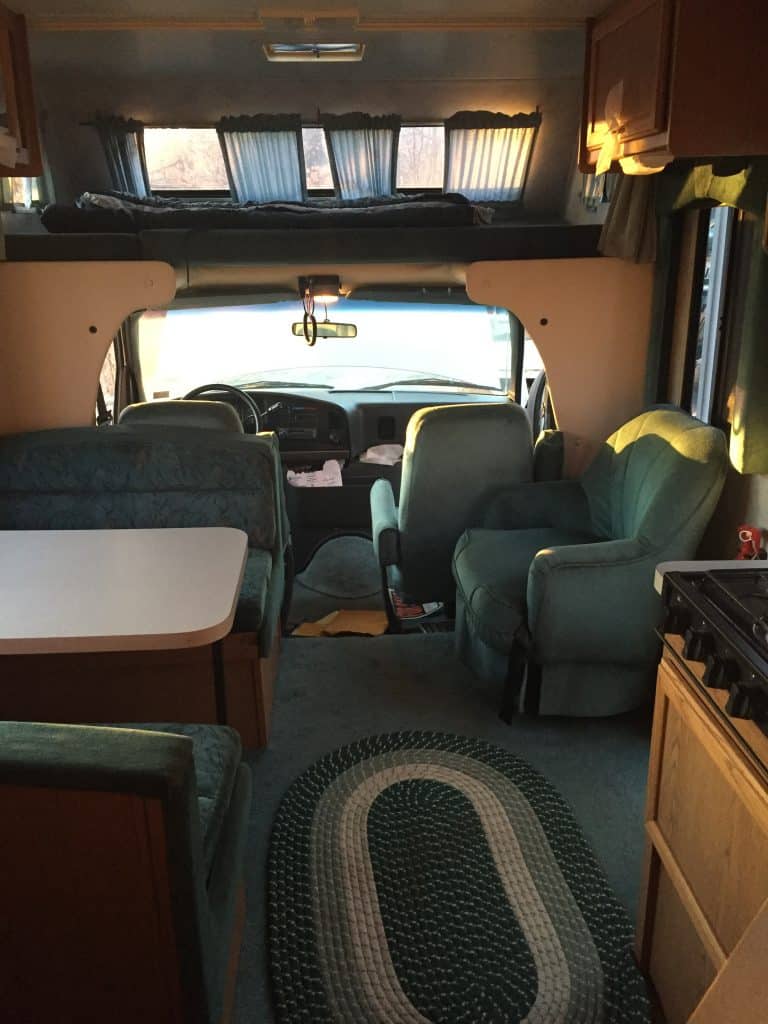
Teal, teal, teal!
That was all we saw when we walked into our 1997 Ford Four Winds RV, Axl Roads.
Right after we tossed the curtains, cushions, armchair and mattress, we knew the carpet would be the next casualty of our remodel.
Are you thinking about removing your RV carpet, too?
No wonder!
For people who like to hike in the mud, snack on chips, or travel with shedding pets, RV carpet isn’t the best option! It:
Holds a scent, just like the curtains and cushions
Memorializes stains no matter how hard those stain lifters try
Gets discolored from the sun (especially this one, since it’s circa 1997)
Lets crumbs, sand and tiny rocks get buried in its depths- and you can’t ever give it a good shake
Gets wear marks and paths worn into it
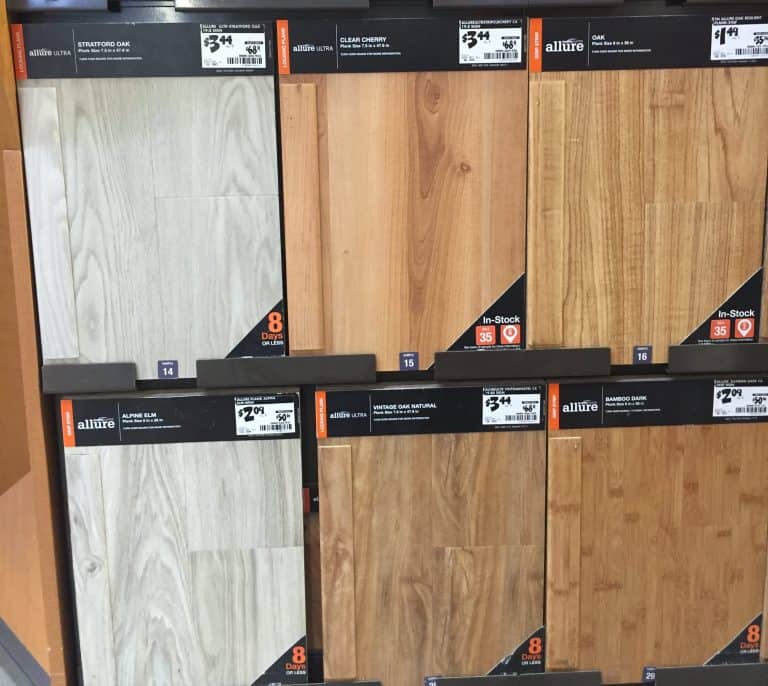
RV Flooring Considerations
Once we knew we’d be removing the RV carpet, we needed to examine alternatives.
While we shopped, we considered:
What texture should it have? Too smooth could be slippy (picture dog pinball) and too textured could be mildly uncomfortable.
What sticking power did it need? How would it adhere? Some brands stick completely to the floor, others only on the edges, and some just float.
What color or pattern would look best?
Were there a lot of edges to navigate & cut out? That determines whether the edges should run length- or width-wise- or totally crazy, lay diagonally.
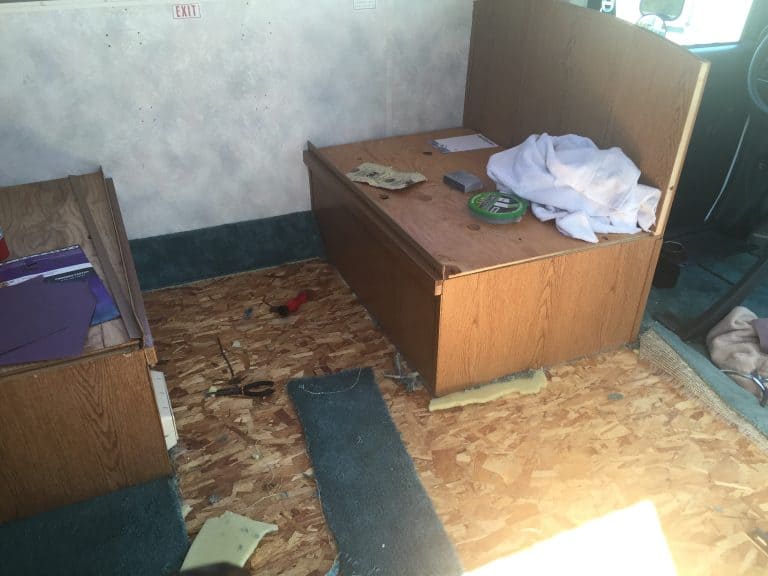
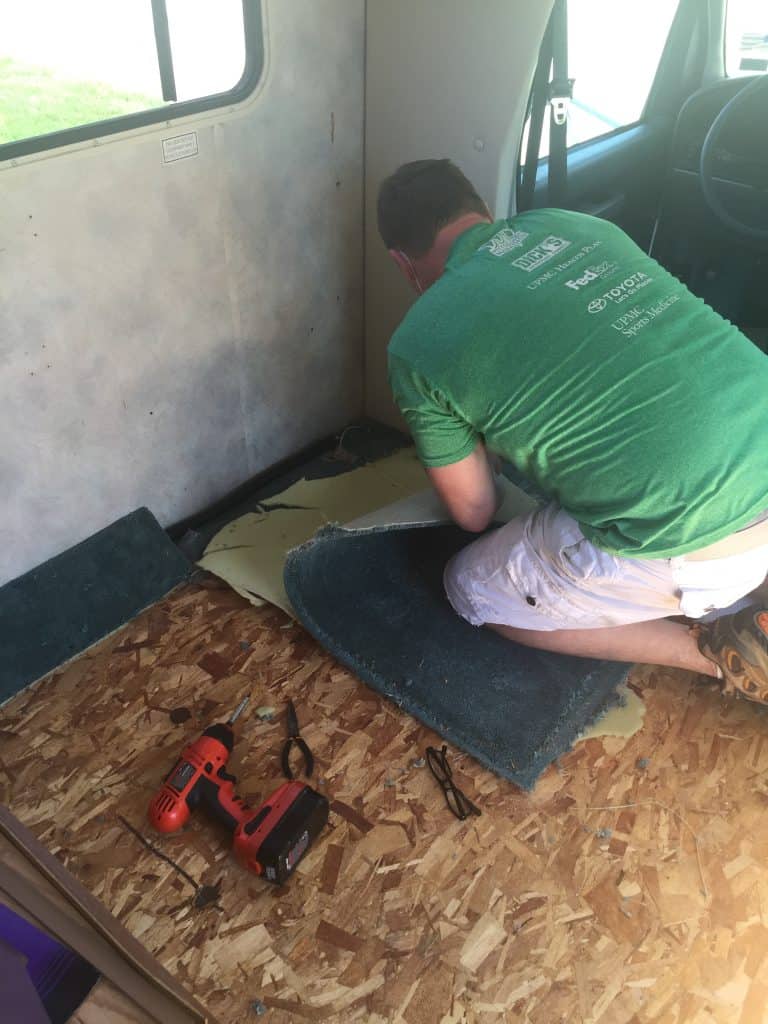
Before we finally decided, we gave the floor some time to air out- plus we had a chance to look at the area minus the carpeting.
It’s not every day you get to see a naked RV floor!
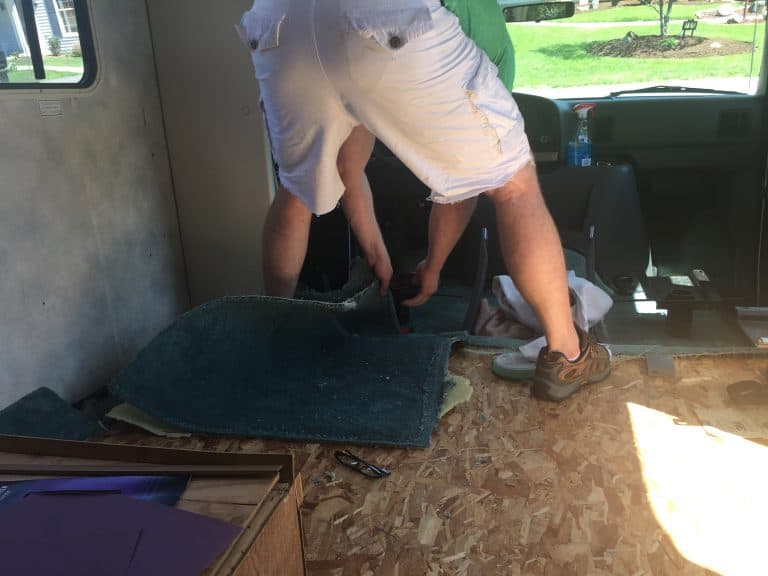
We were thrilled to find nothing under our RV carpet- thankfully there were no holes, rot, or other damage to worry about. But we were surprised to find how incredibly thorough the person who had riveted in the edges of the carpet had been!
Ugh!
Removing tiny bits and strands of carpet from the riveted edges was time consuming, but worth it to see that big, empty, teal-less floor!
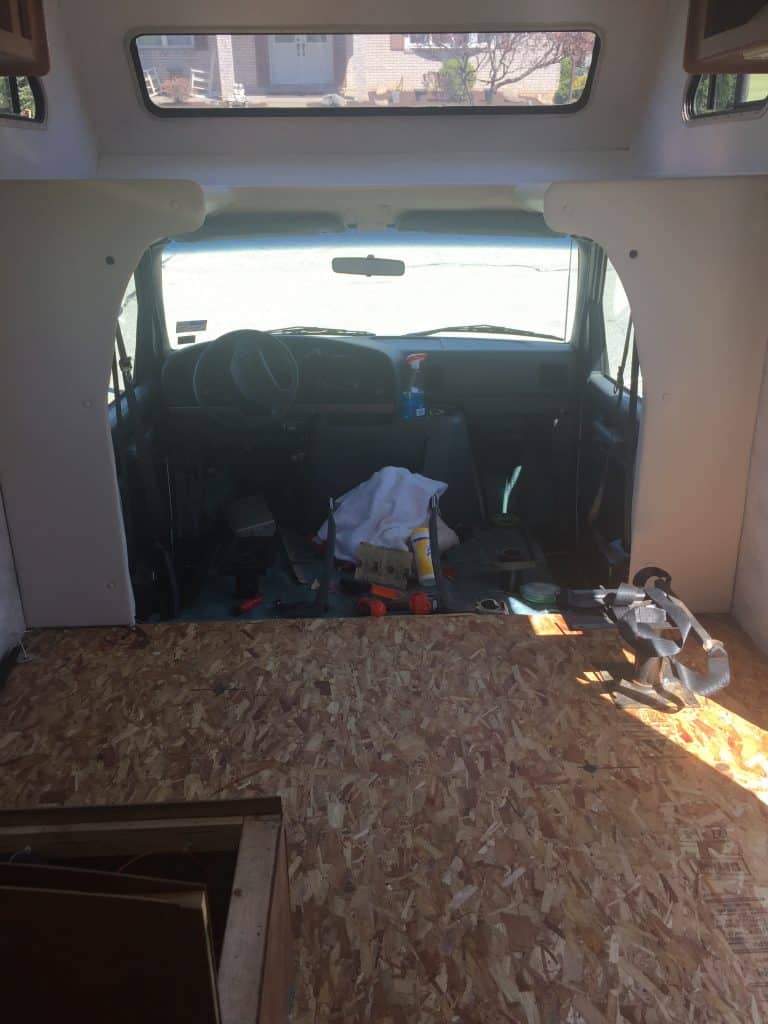
PRO TIP! After pulling up the carpet, put a new container of Damp-Rid out for a few days, then run a fan inside for a day- just to make sure the floor is absolutely postively devoid of moisture before you put the new floor down.
Carpet-free time is also the best time to do other repairs and painting!
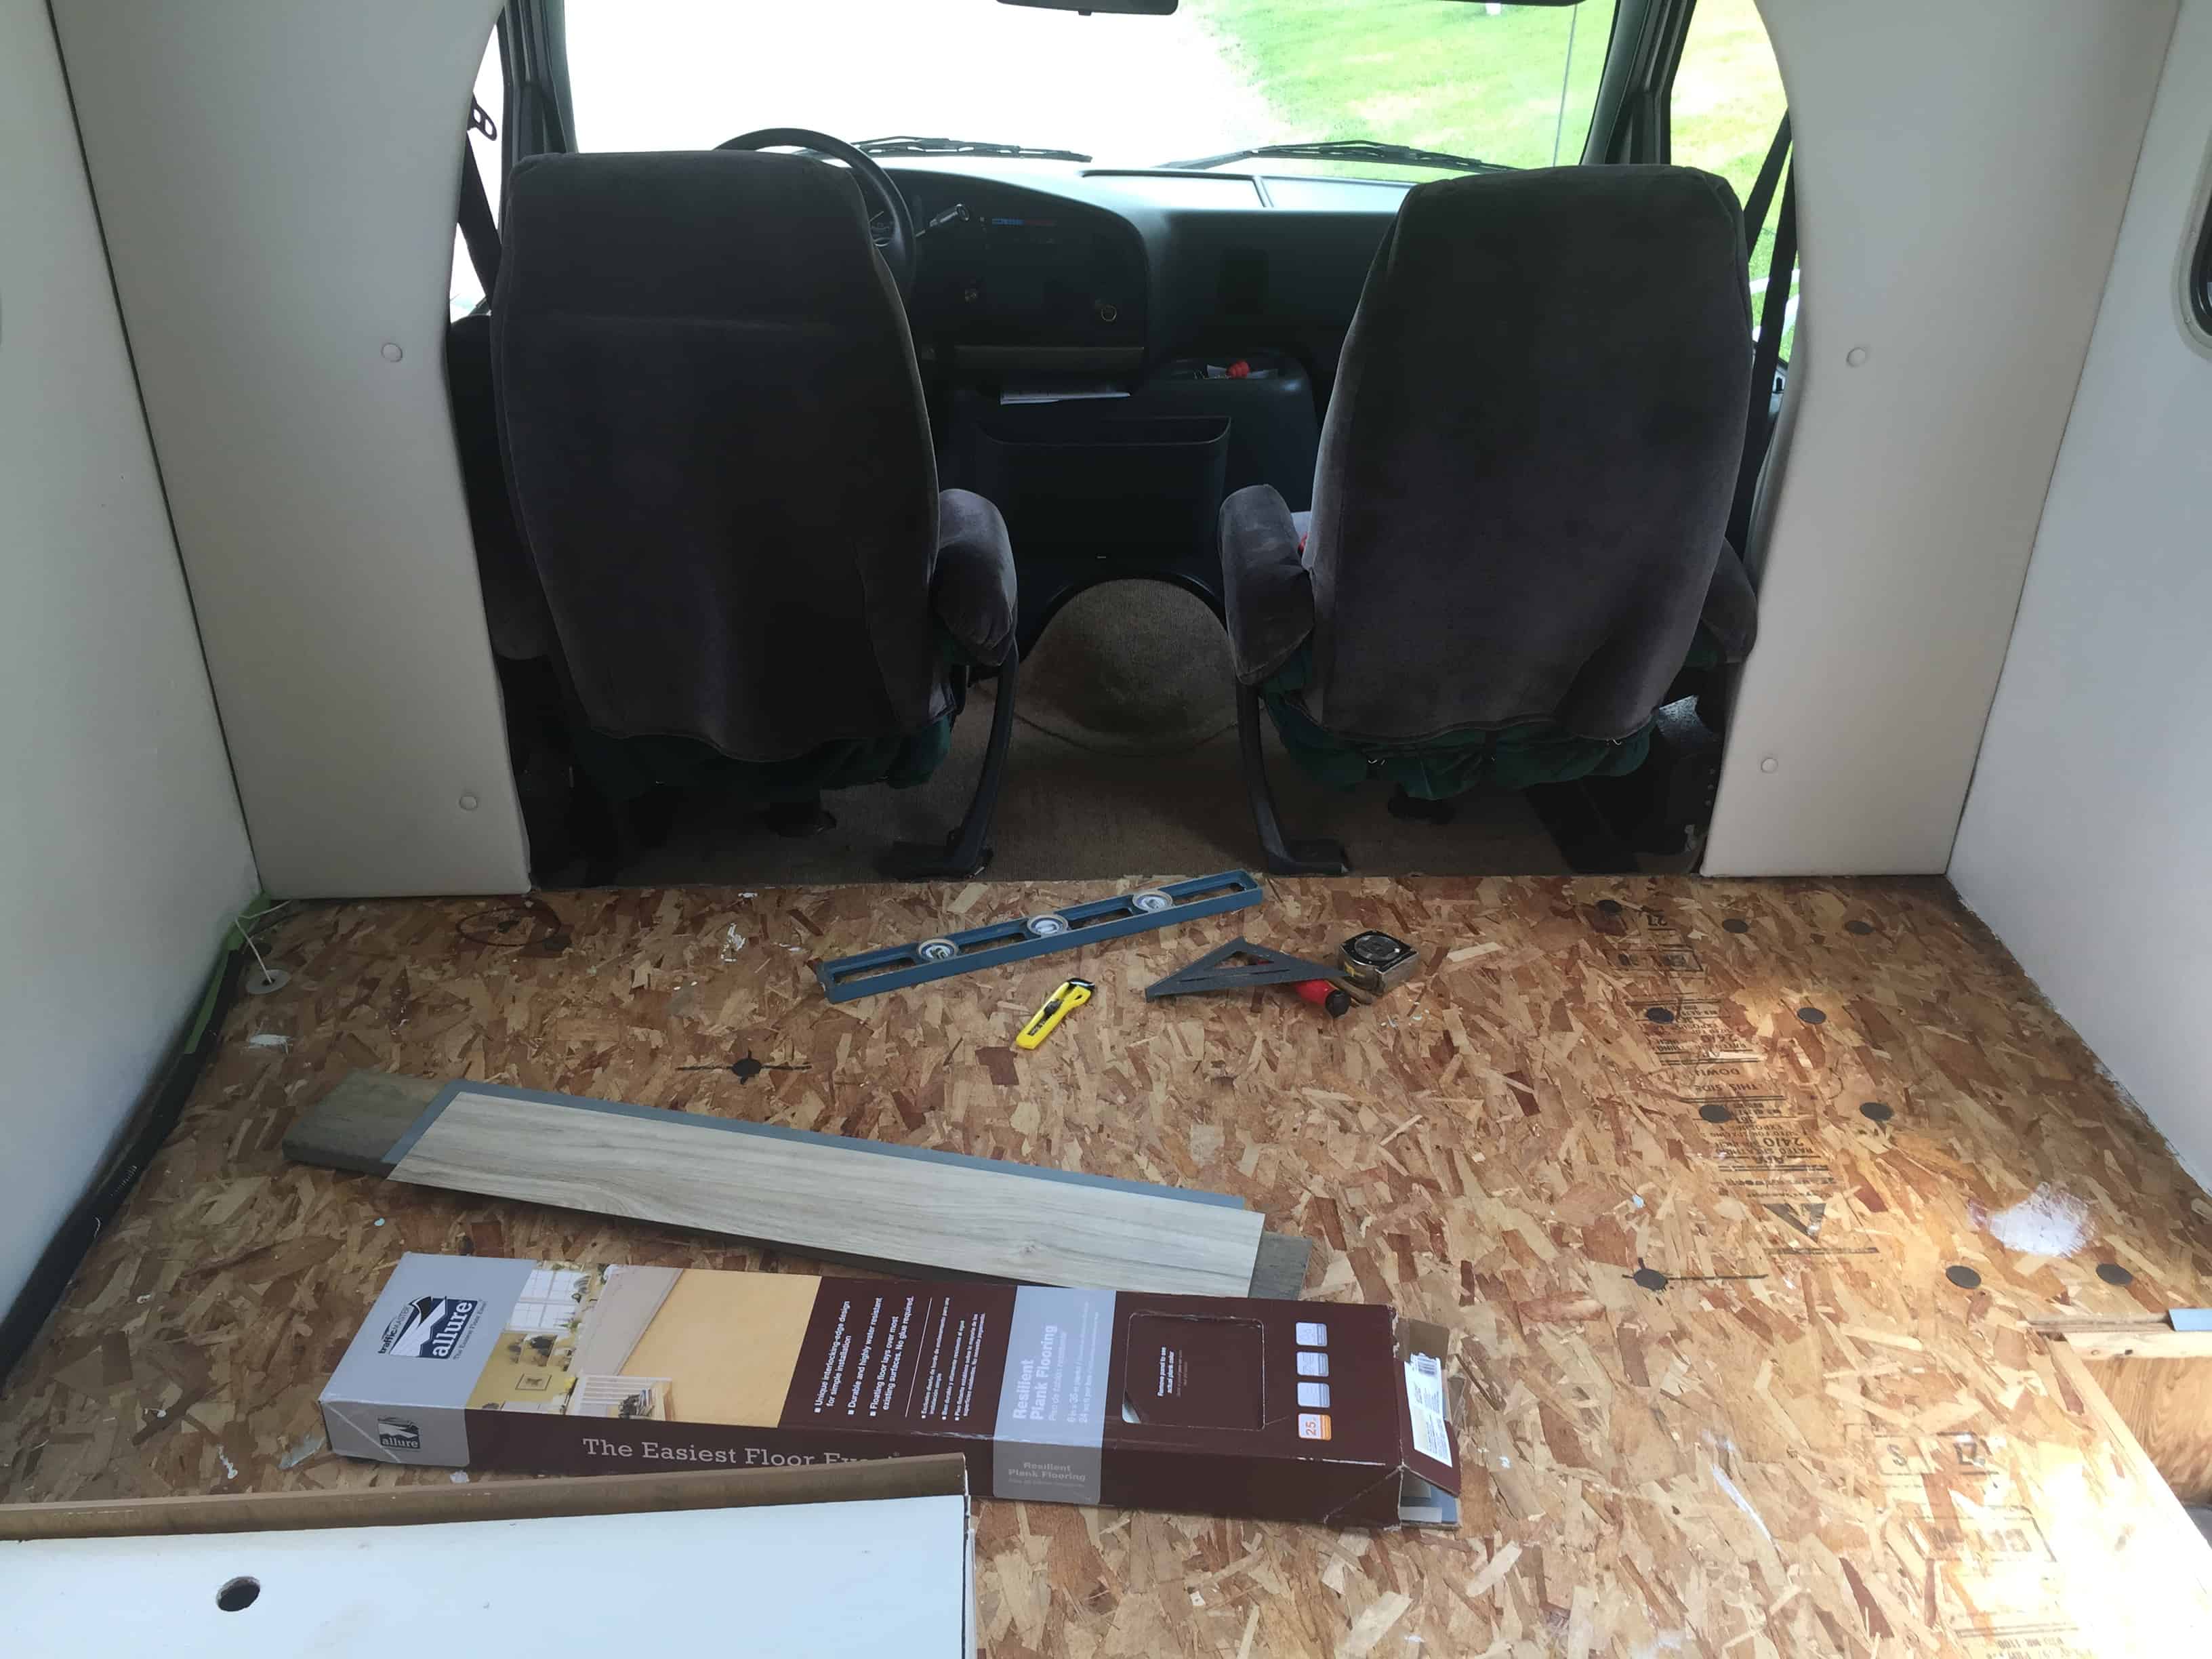
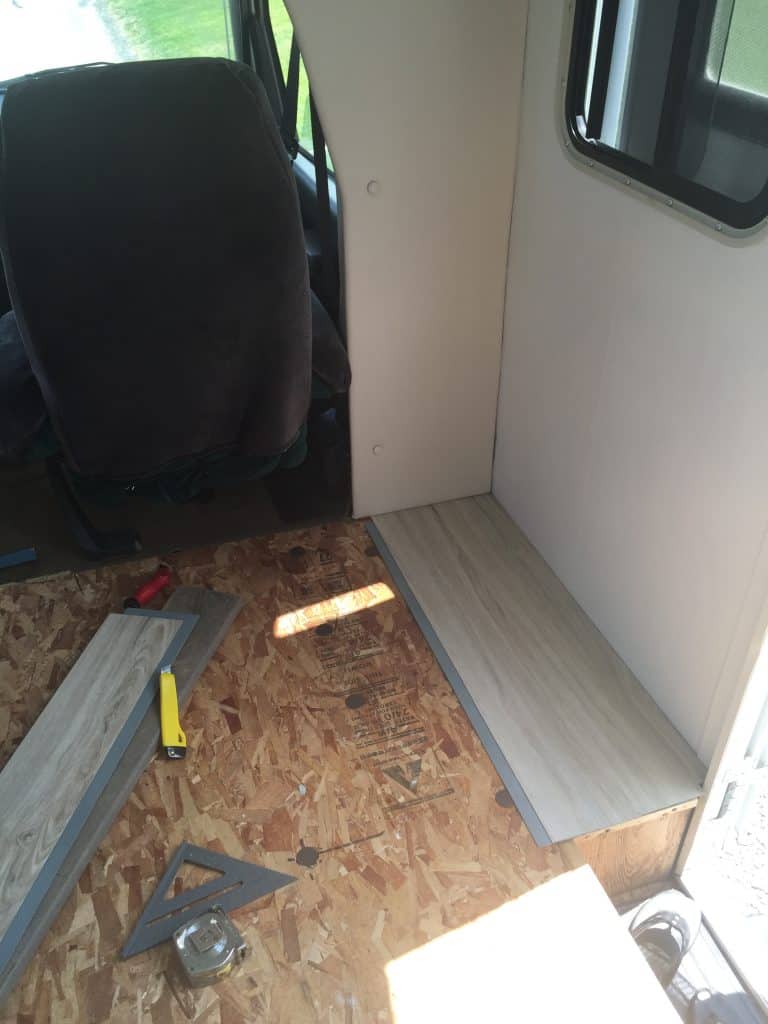
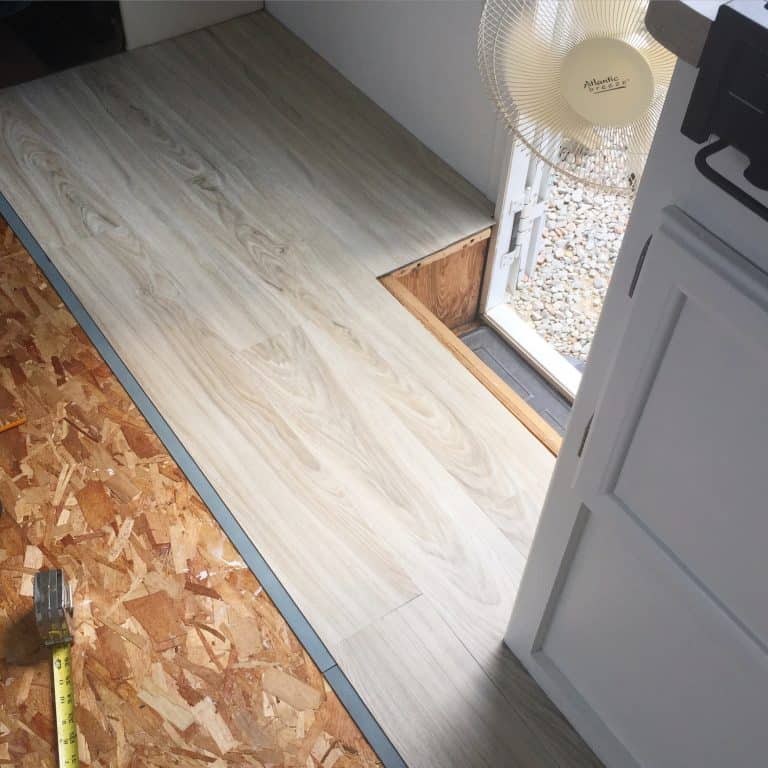
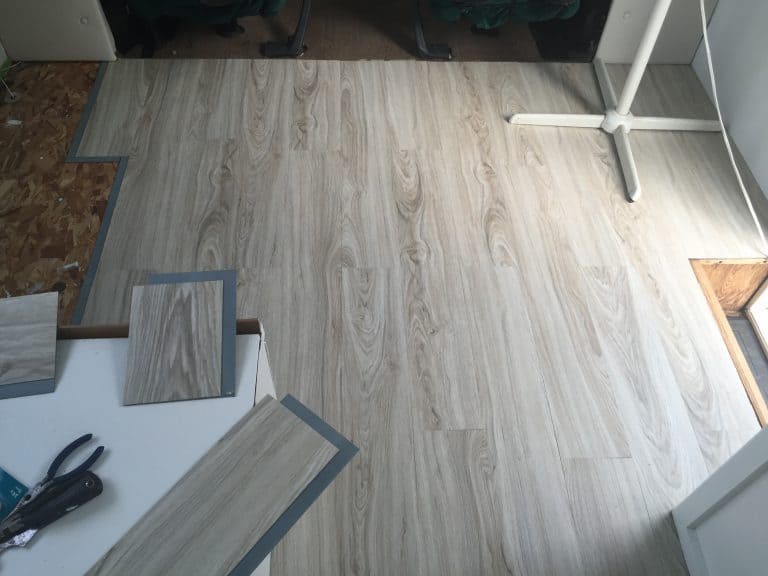
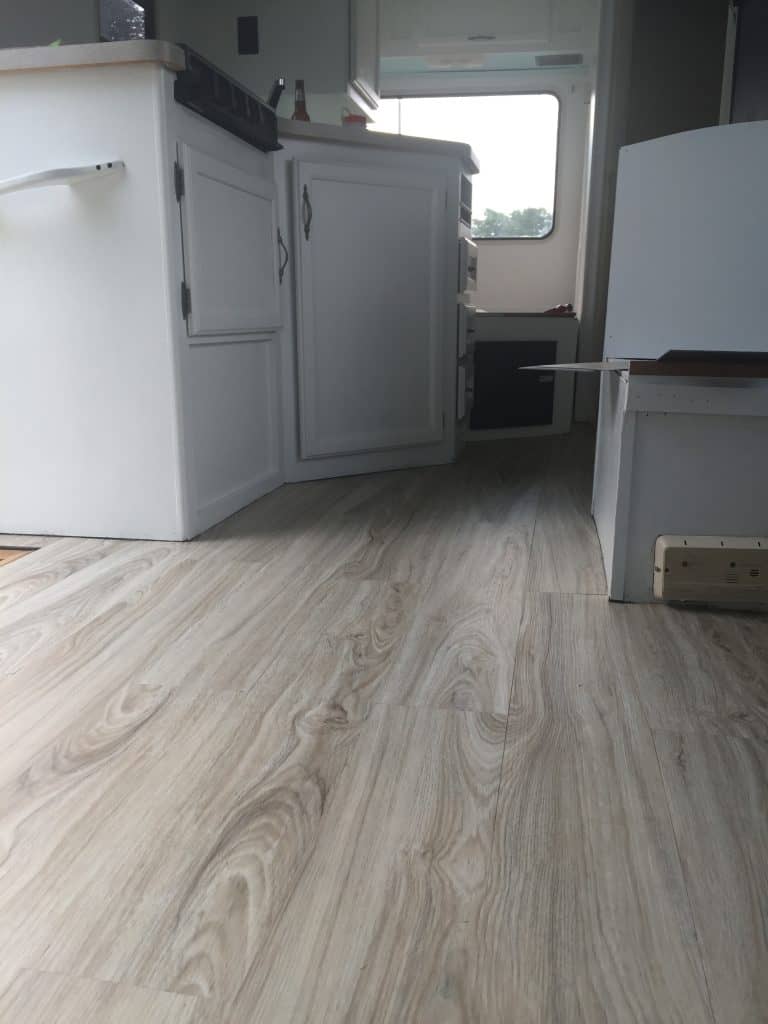
Once we let the exposed sub-floor dry out a few days, we started laying/sticking the planks by the side entry door and worked our way over and back.
The Allure plank flooring has sticky squared-off edges on two sides that stick to each other, but not to the sub-floor. You can squish them together pretty closely by setting them down on a 45-degree angle to the sticky part, edge-to-edge, then laying them down very carefully.
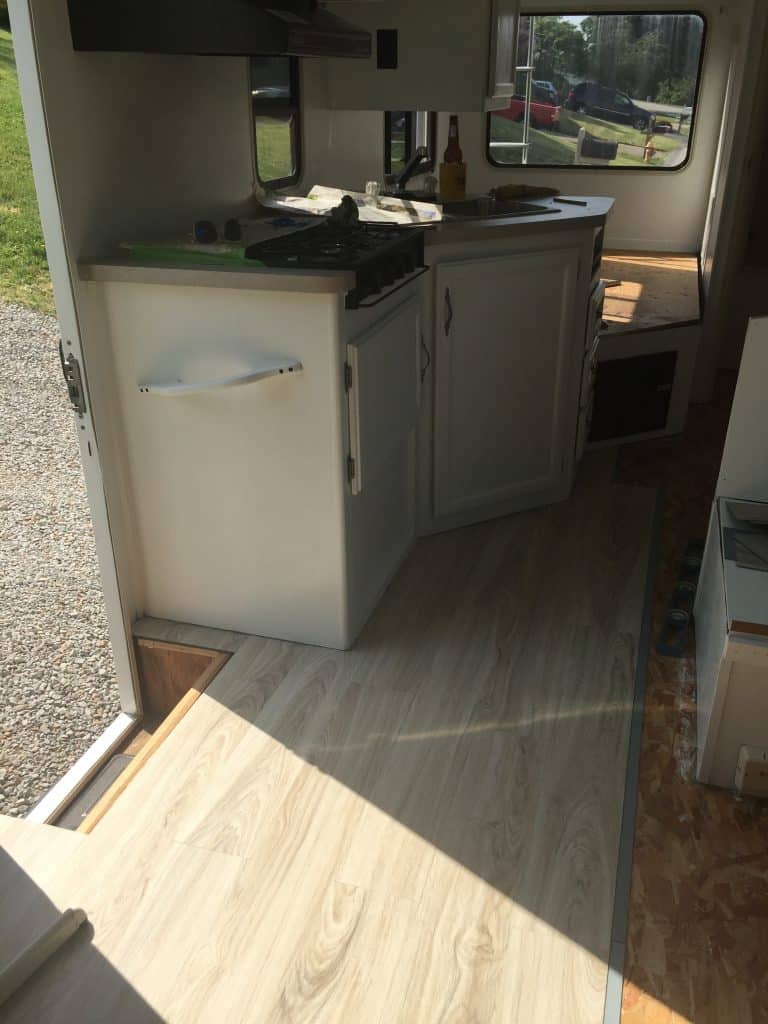
We had to make some precise cuts around the edges, but it still only took us about three hours to finish flooring the entire RV.
We loved the way the floor looked, and I wish I didn’t have to share this next part…
But…
MONDAY MORNING QUARTERBACKING (or what we should have done)
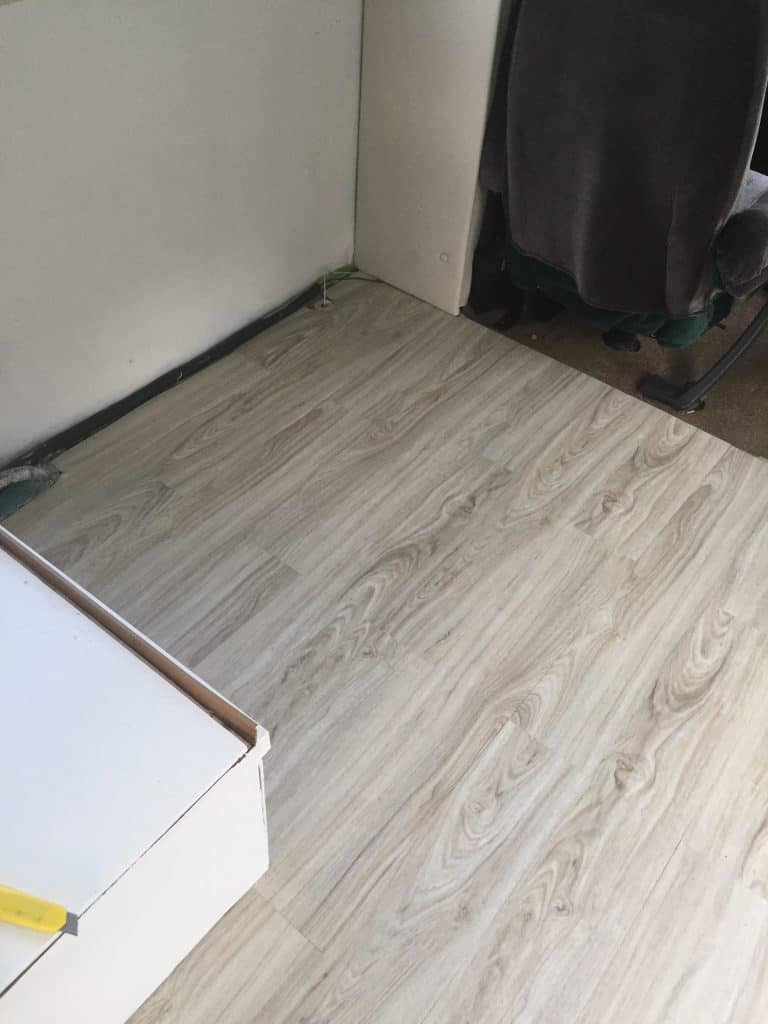
Unfortunately, when the temps go up, our planks get wider, and when the temps go down, they get smaller.
Not hugely, but UGH.
Little gaps appear between the planks, which causes tiny particles of fur, dust, dirt, potato chips, cookie crumbs, and more to get stuck in the seams.
3 thoughts on “RV Makeover: Removing Your RV Carpet to Install Vinyl Planks (or not)”
We have this same exact flooring. The first thing suggested by manufacturer is to use a wax / sealer. This places a nice layer over the entire surface. We did not do this for a year. I was amazed how dirty the floor always was, how hard it was to clean in the natural texture grooves and how dull it appeared. Once it was thoroughly cleaned and sealed, it has been a breeze to keep clean.
Thanks for that info! We will definitely give that a try- seems simple enough to keep the floors cleaner. Does yours create gaps in the heat/cold weather? That’s what we hadn’t expected since one plank is sealed/stuck to the edges of the planks around it- we expected it to expand & contract as a whole (rookie mistake, I guess!).
Susan, do you recall the brand of wax you used?