Please note that some of our links are affiliate links, which means at no additional cost to you, we will earn a commission if you click through & make a purchase. Happy clicking!
Our 1997 Ford Four Winds Axl Roads has an 90s-colored and striped RV awning we’ve enjoyed taking cover under in campgrounds since we first got him.
A few years back, we had to do an awning arm repair, but since then, it’s been smooth sailing and cool, sry cover…until a few weeks ago!
This repair involved a little trial and error, but we finally found an easy fix!
Background & Before
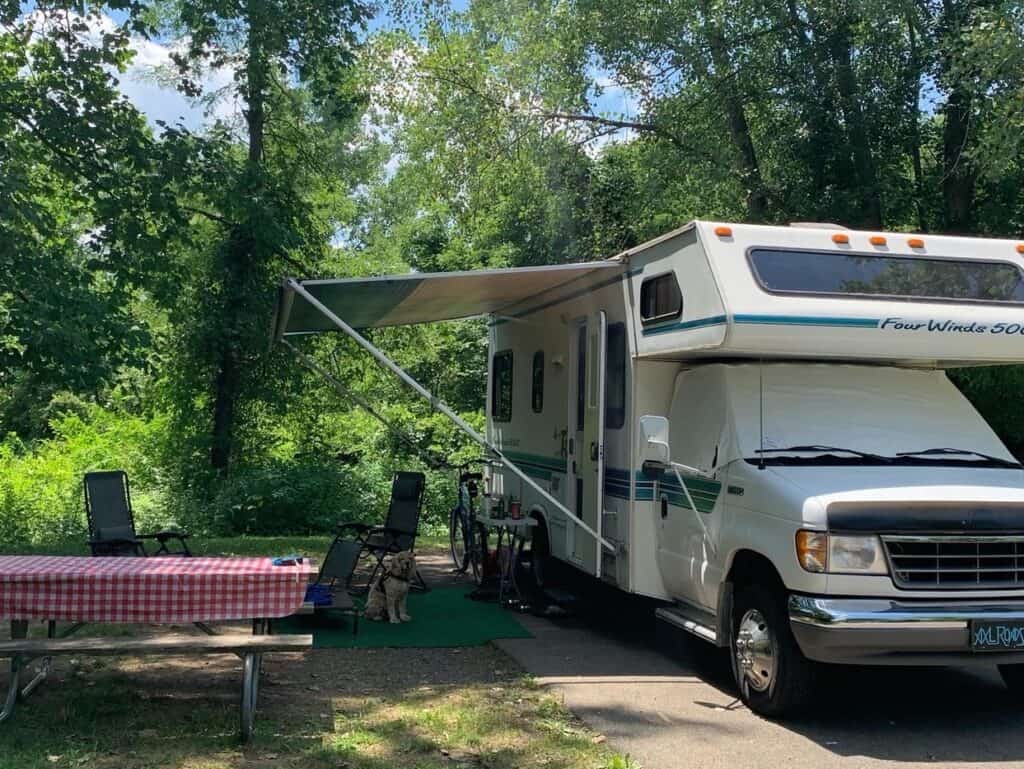
For a 23-year old RV, Axl Road’s awning is thankfully still in pretty good shape!
However, while we were visiting Clear Creek State Park, several heavy rain storms passed through the area. We noticed some tiny drips coming through the stitching holes along the edge that connects the canvas closest to the RV.
It appeared as if the stitching was starting to pull just enough to cause the tiny needle holes to get bigger, allowing a little bit of rain to drip through in a few spots.
We noticed slow, gentle PLOP, PLOP, PLOPS on our small side table and steps under the awning while the rain fell.
The RV Awning UN-Fix
My first idea was to patch up the holes by applying some clear silicone caulk.
I figured I could run a bead of caulk on top of the awning over the holes and smush it in with my finger. In theory, it would dry to form a barrier that wouldn’t allow the leaks to fall through.
I carefully cleaned the area and applied the caulk.
And the following weekend, PLOP, PLOP, PLOP again!
The clear caulk was unfortunately not a good solution to our RV awning problem.
The RV Awning Real Quick Fix
Our next idea came from a neighbor who suggested using marine canvas repair tape – which we didn’t even know existed!
Luckily, Amazon had an option called Atack RV Awning Repair Tape, 3″ x 30 Foot, Waterproof Rip Stop Patch and Tent Repair Tape for Vinyl, RV punctures, Camper, Awning, Canopy, Tents, Tarpaulin and Greenhouse.
What a mouthful – but it sounded exactly like what we needed!
Again, I prepped the area by cleaning it off with Windex and then rubbing alcohol.
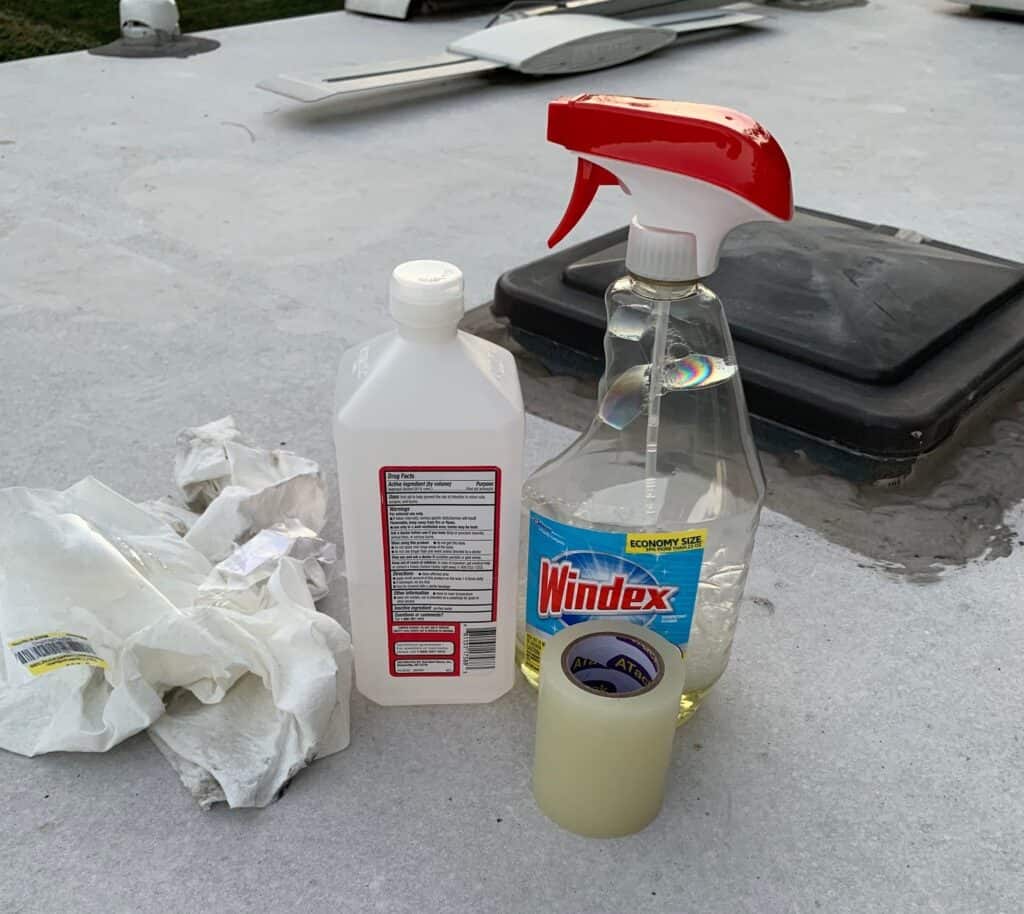
Russ was a great supervisor of the project, making sure I got every last spot off the canvas!
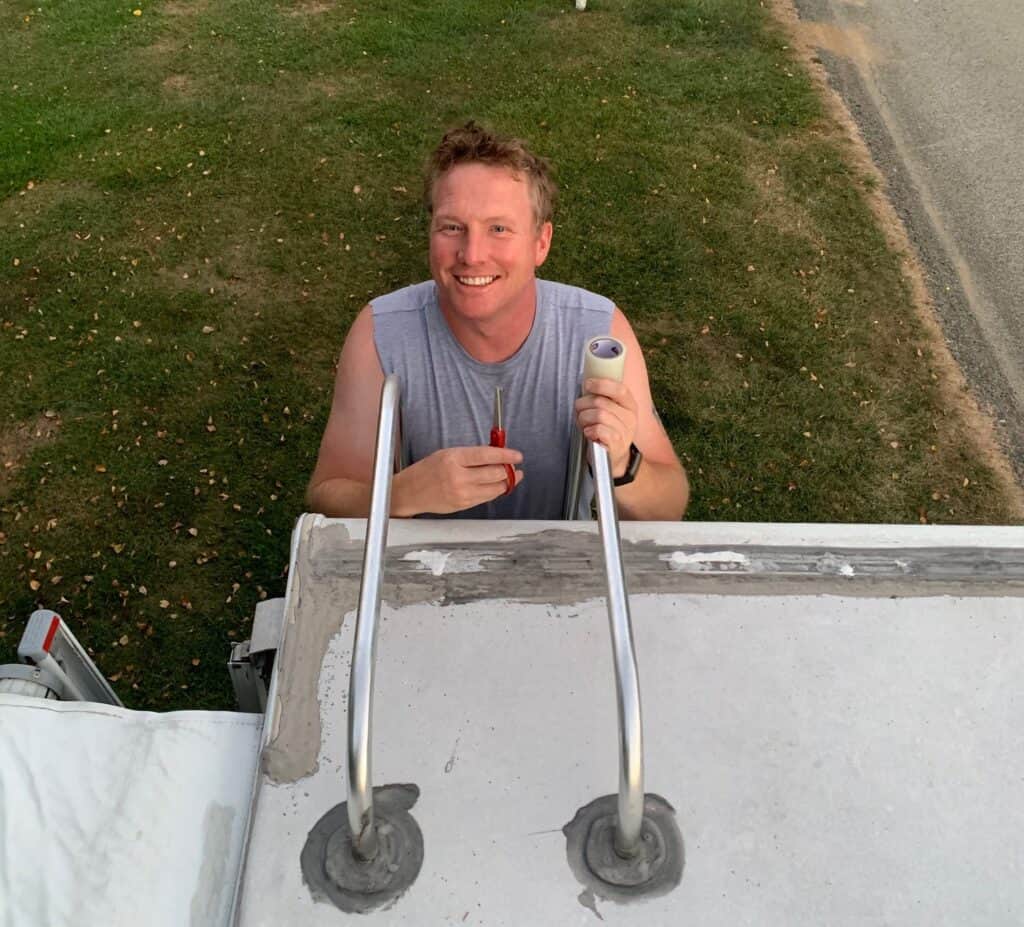
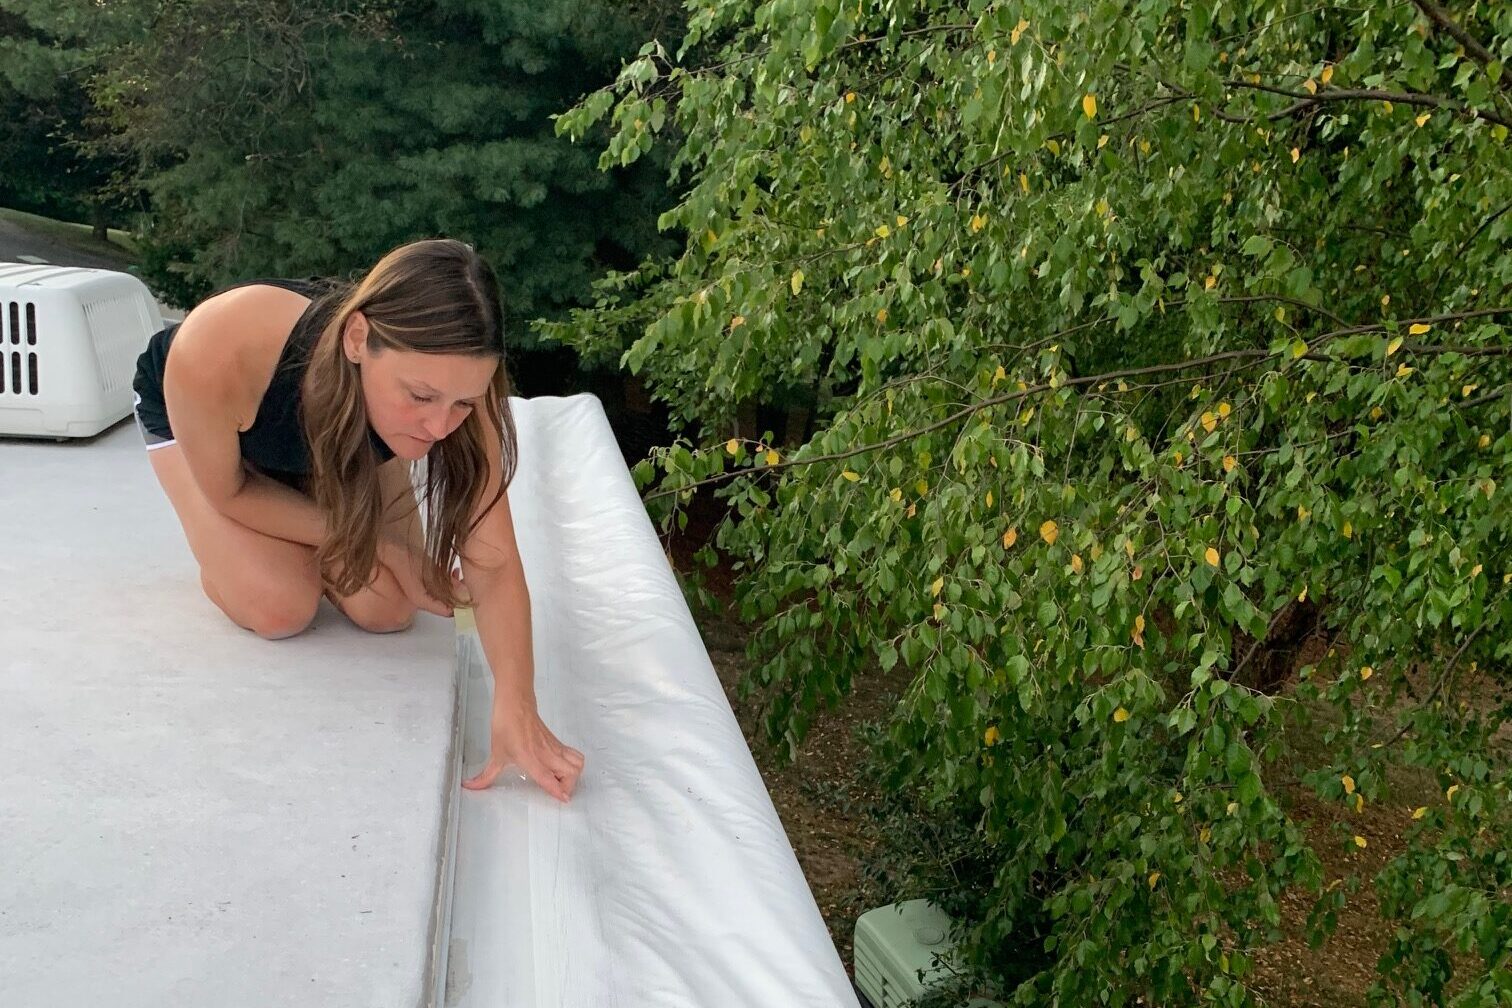
Then, I very, very, very carefully pulled off the RV awning repair tape slowly and methodically, applying it in sections about one foot at a time.
I pressed and rubbed the tape once it stuck to make sure I got out all the bubbles and creases. Then I went back one more time to do it again!
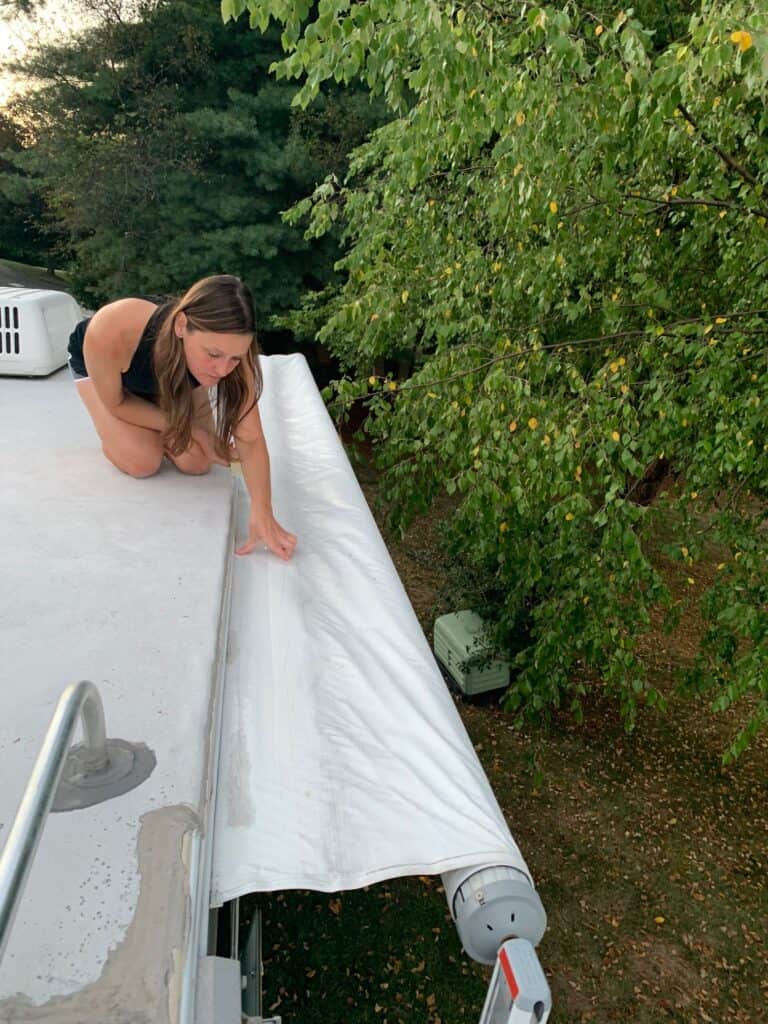
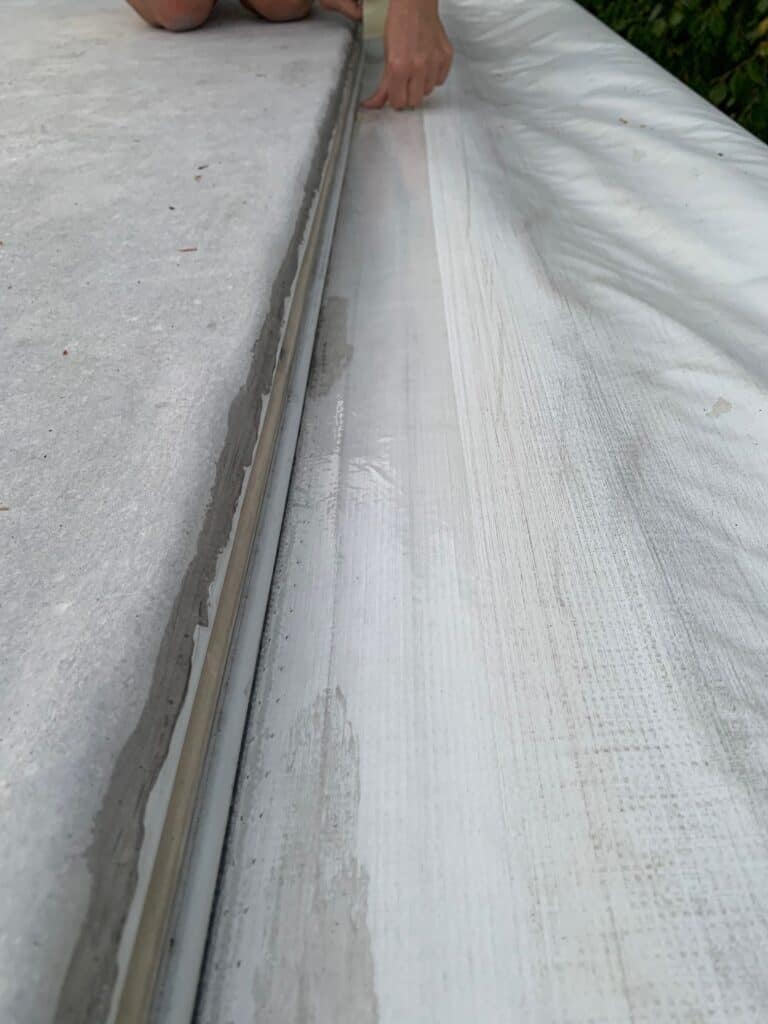
The finished, taped-up RV awning looked like a solid repair job – for less than $15!
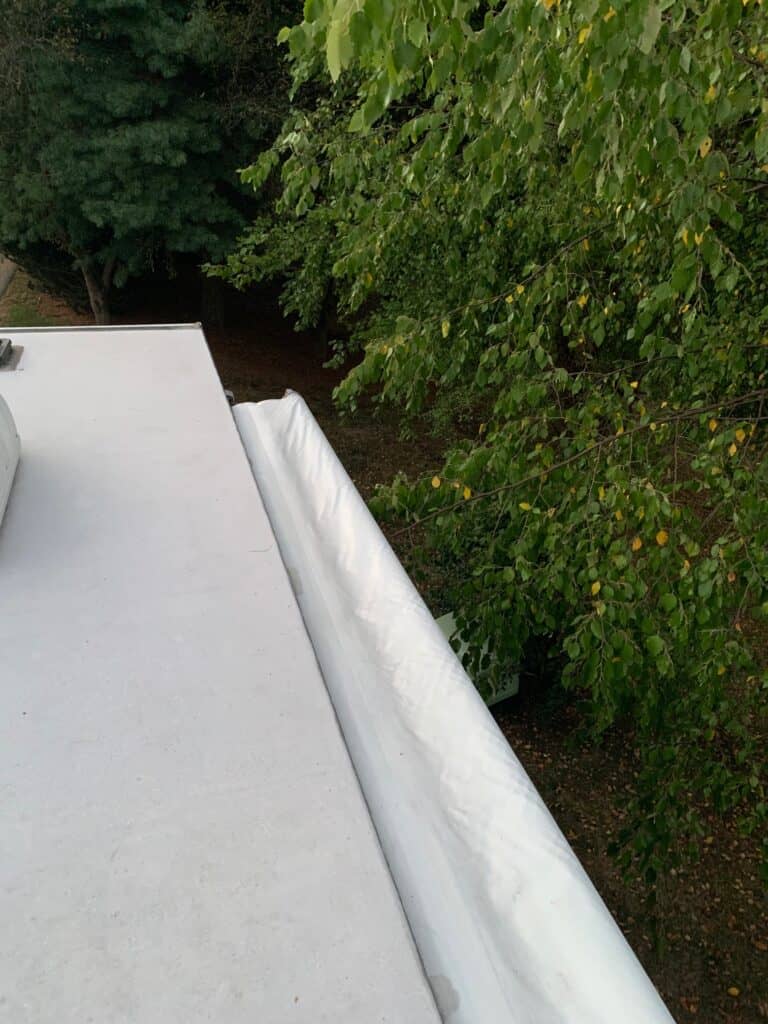
And did the RV awning repair hold up to the next rain storm?
IT DID! We had zero leaks during the next storm, making this RV awning repair an affordable success- with plenty of tape left over to stash in our tool kit, just in case!
Do you have an RV quick take that can be finished in a just few minutes?
Let us know – we’d love to hear it!

Thank you so much for the advice. We jus noticed the little pin holes on our awning.