Please note that some of our links are affiliate links, which means at no additional cost to you, we will earn a commission if you click through & make a purchase. Happy clicking!
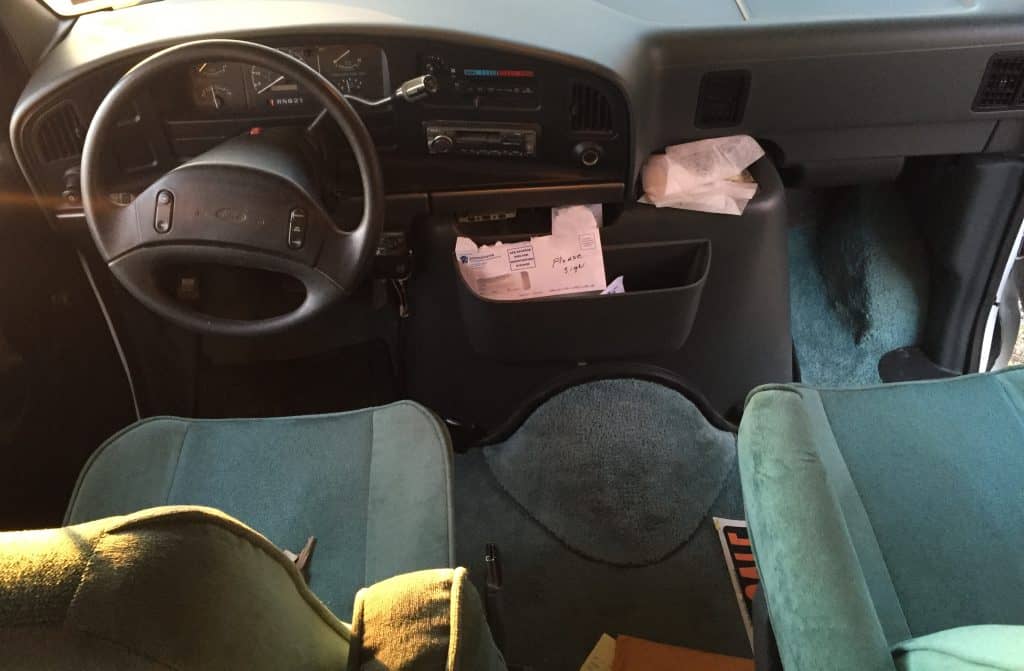
If you are following along from our previous “to be continued” post, Axl Roads, our 1997 Ford Fourwinds Class C RV, was undergoing a makeover to his very teal-licious front cab area- including the driver seat, passenger seat, and carpet.
Revealing the Belly of the Beast
Once the driver and passenger seats were removed and on their way to their own makeover, we carefully took out the front cab carpet carefully using a carpet cutter to trim the edges neat, tidy, and carefully. We also carefully removed the carpet piece from the little hump in the middle.
Why so carefully, you ask?
Because friends, these pieces are near-perfect patterns to follow when you are cutting your new piece of carpet to fit in the front cab! You do not want to ruin this time-saver or make it difficult to trace, so again, be careful.
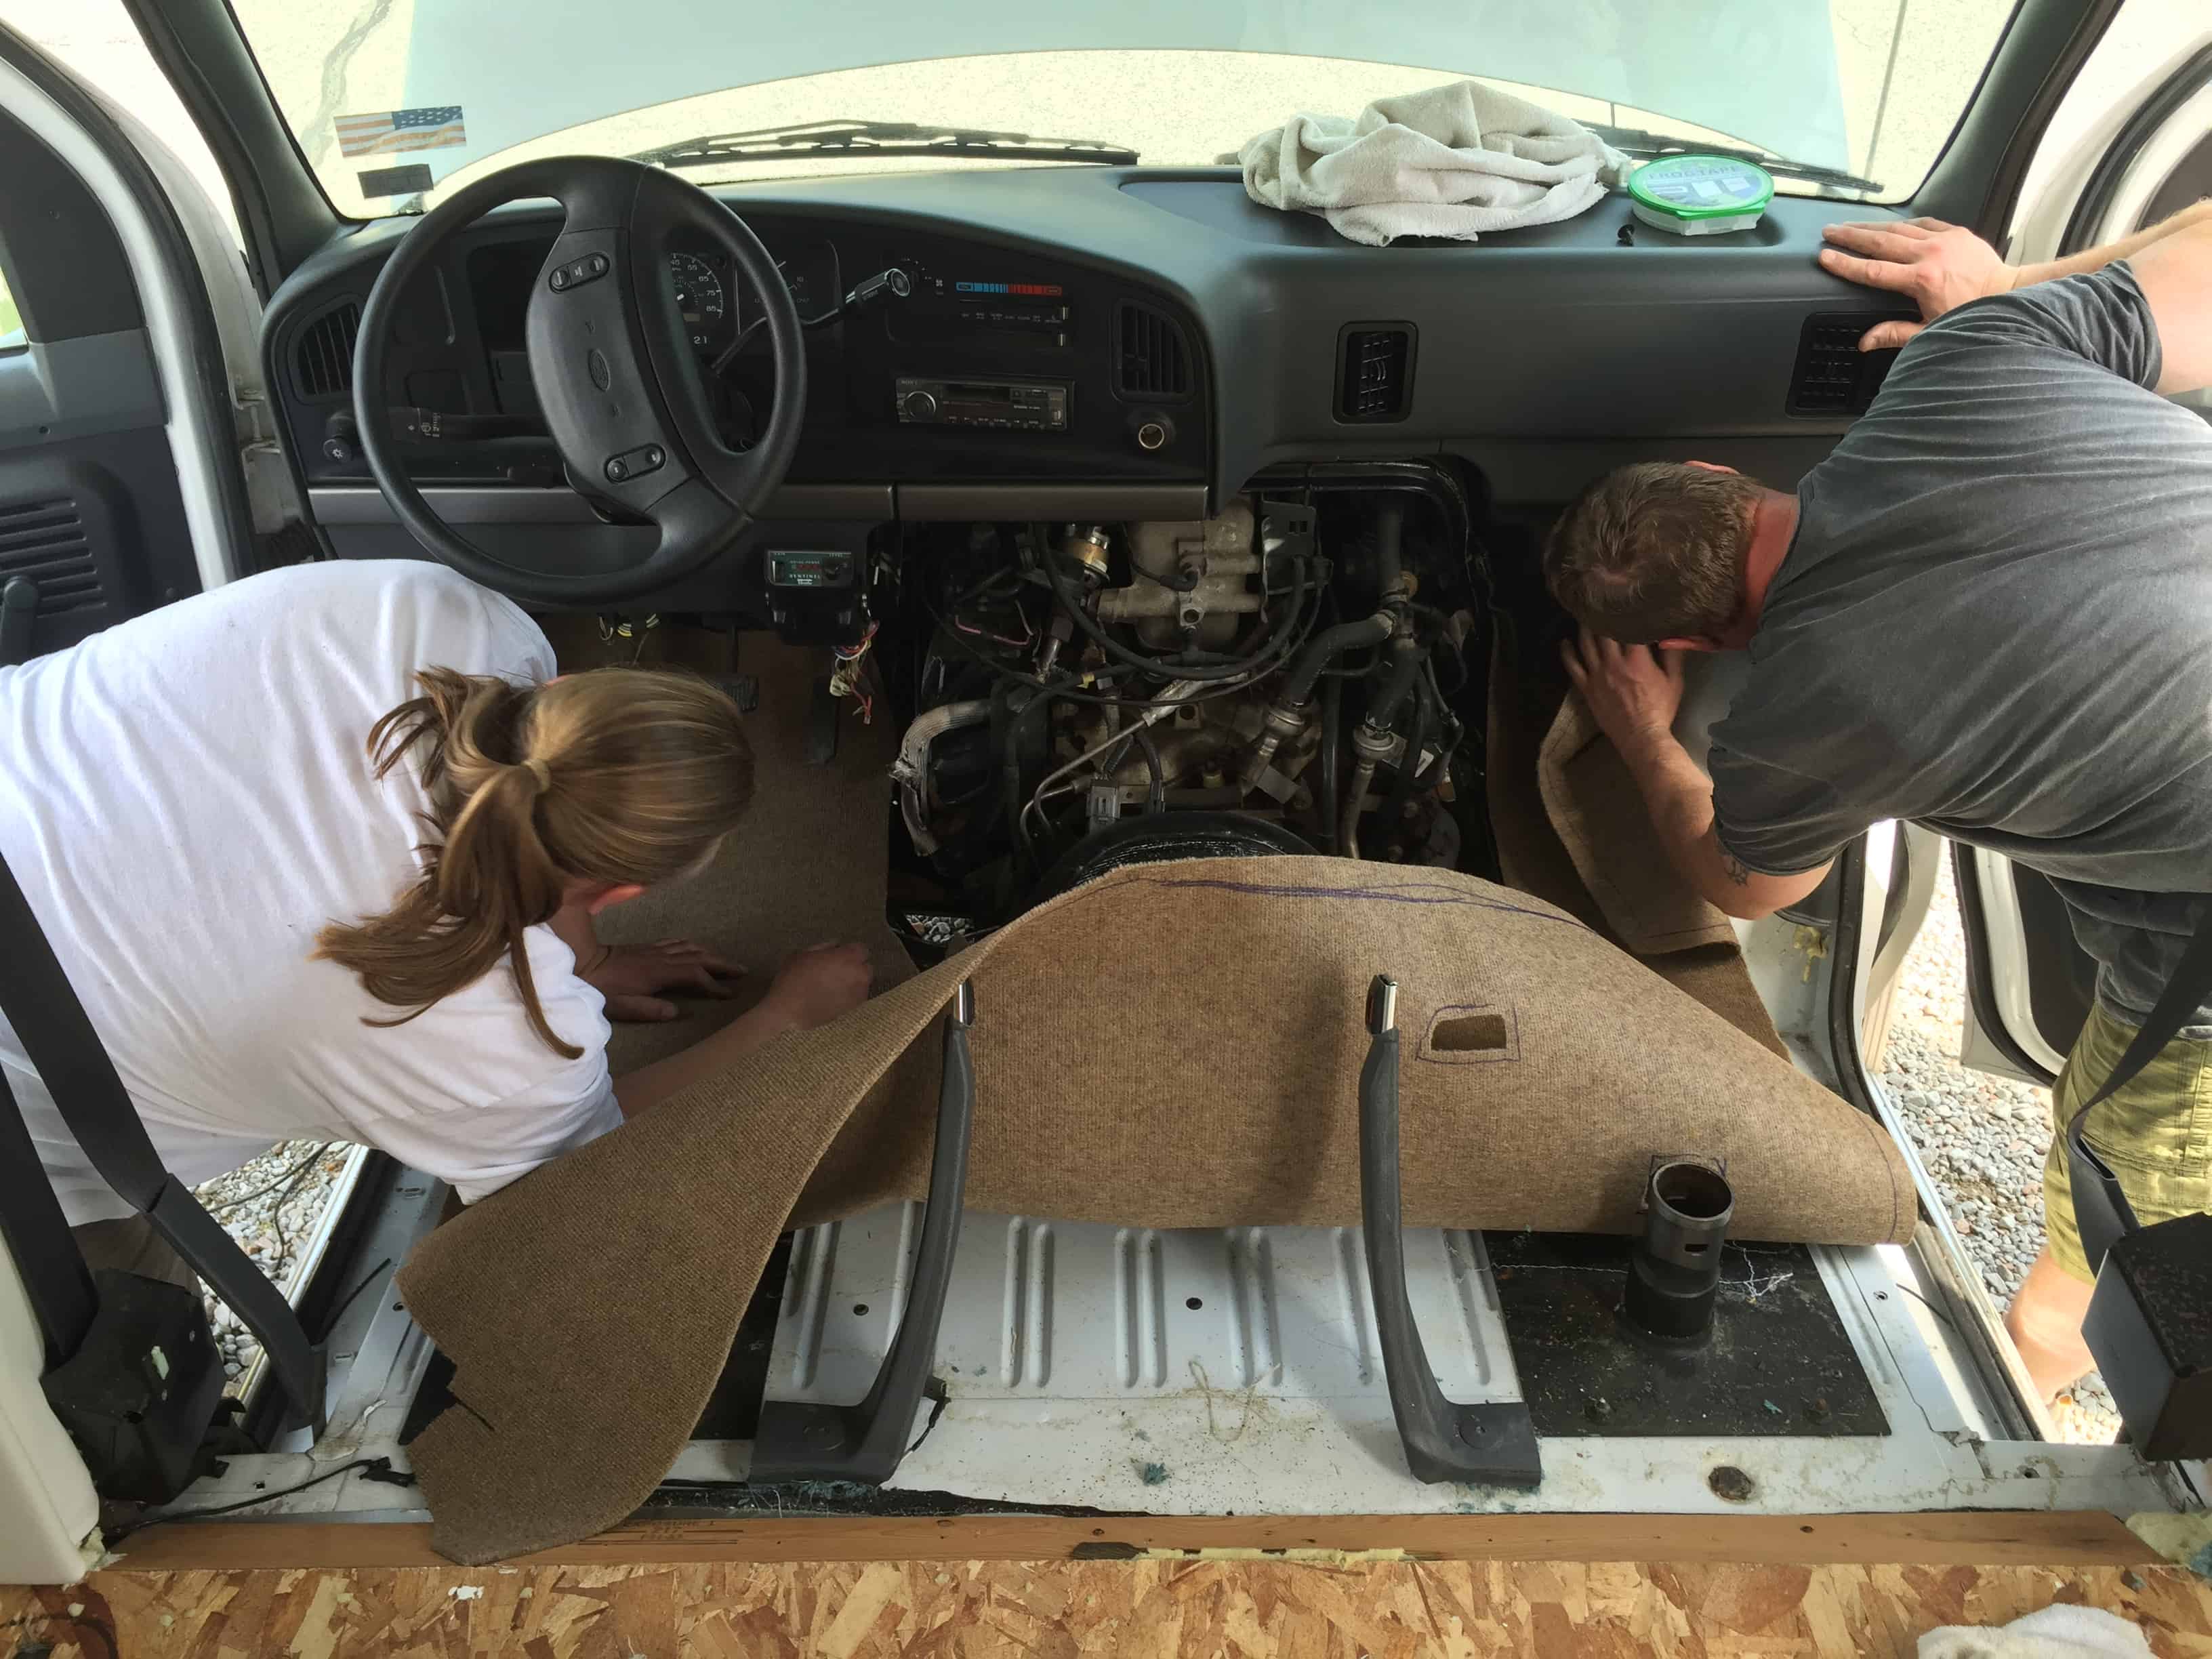
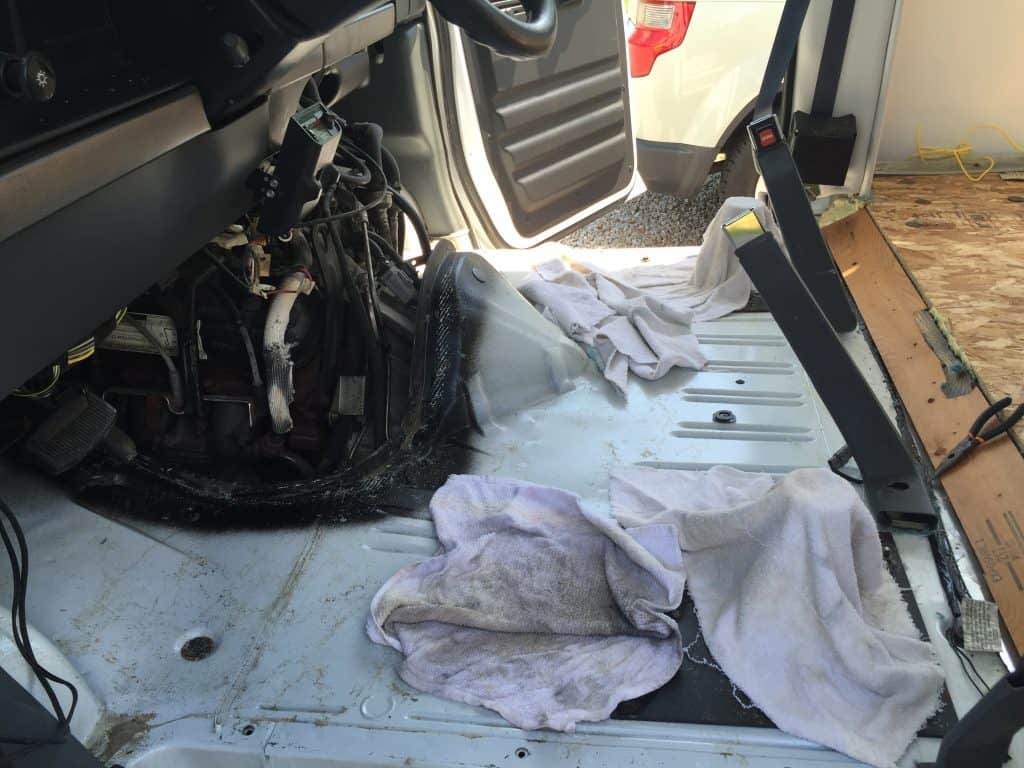
Next, we unlatched the center plastic cover and removed it to reveal the belly of the beast. We also removed the plastic step in pieces inside the driver and passenger side doors.
Of course, I went to work right away wiping down and disinfecting!
PRO TIP
Put two old rags over the driver and passenger seat mounting posts while you are working in this area. The posts are covered in grease, which gets everywhere if you leave them exposed!
Finding and Cutting the Right Carpet
Some things to think about when selecting a replacement carpet for your RV front cab are:
- size – you don’t want to be piecing a bunch of smaller pieces together, so look for an option that will give you one solid piece
- color – depending on your decor (or dog hair)
- durability – to match your activity level
We chose TrafficMASTER indoor/outdoor carpet off the roll from Home Depot for a few reasons:
- the roll was 12 foot wide, making it big enough to fit our pattern
- the stone beige color looked the closest to dirt, which we figured the cab would be covered in once we started hiking
- the price was reasonable, and we could take it home that day from the store
Once we got the carpet home, I traced the old piece – holes and curves and all – onto the new piece.
PRO TIP
Before tracing your old carpet onto the new one, make sure you put the new piece face down on the ground and lay the old piece ALSO FACE DOWN on top of it.
Did I do that?
NOPE.
ARRRRGGGHHHH! I put the back of each piece together & traced…and messed it up the first time! Thankfully, there was enough carpet from the roll for me to try again!
Making It Stick
During this project, I learned to appreciate LocTite Spray Adhesive. I also appreciated the help (and supervision) of my super-mechanically-gifted brother-in-law!
It never hurts to have people more talented than you around!
He and Russ did a quick spray of the floor, lightly coated the back of the carpet, and then carefully placed it down, pushing to make sure all the adhesive was sticking.
There was a little trimming and fitting around the holes and edges, but overall, it was a solid fit.
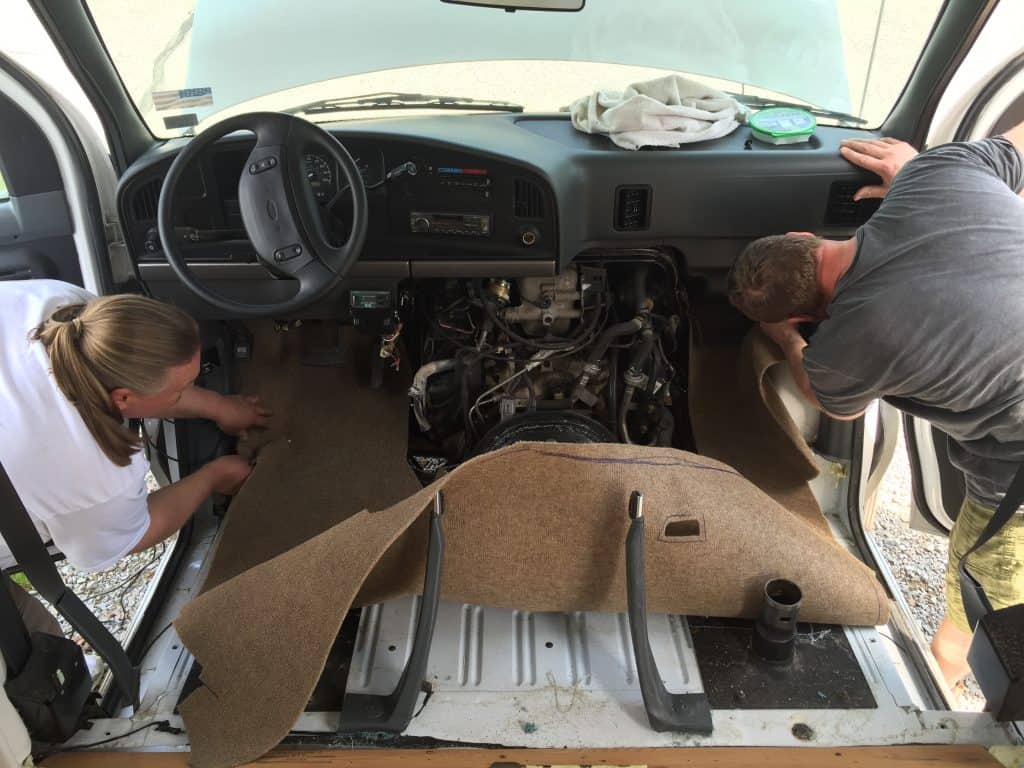
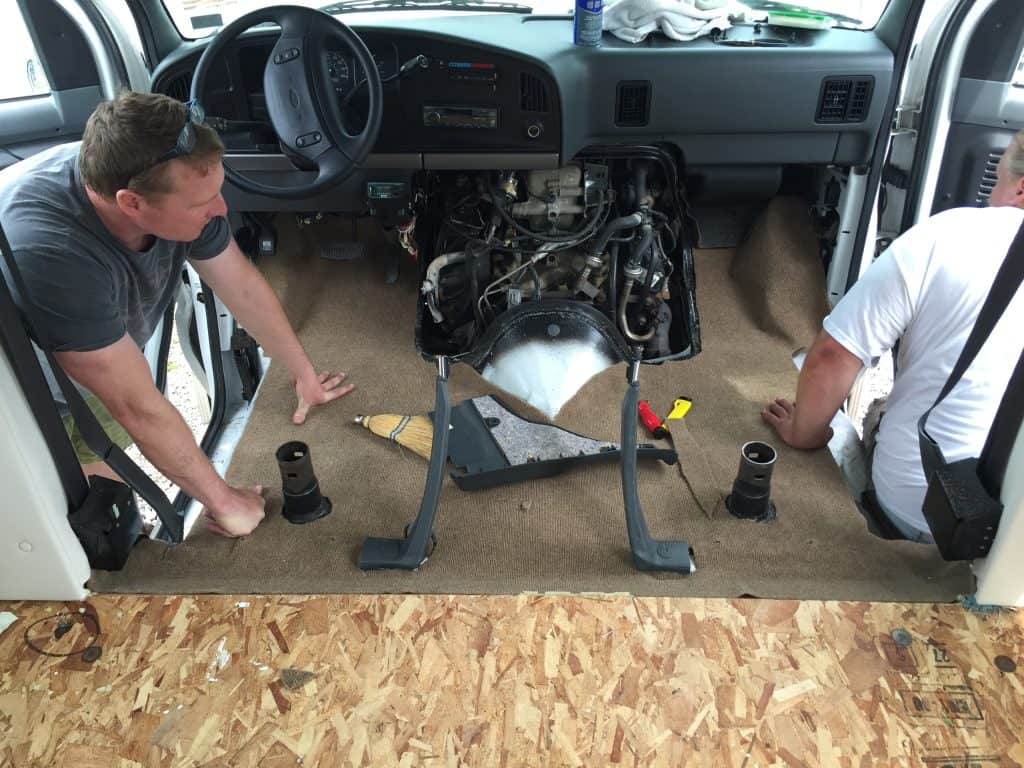
That adhesive is some serious stuff, so make sure the area you are using it in is well ventilated. Also, don’t get it on anything you don’t want to stick things to!
We also sprayed and carpeted the small center hump.
And, voilà!
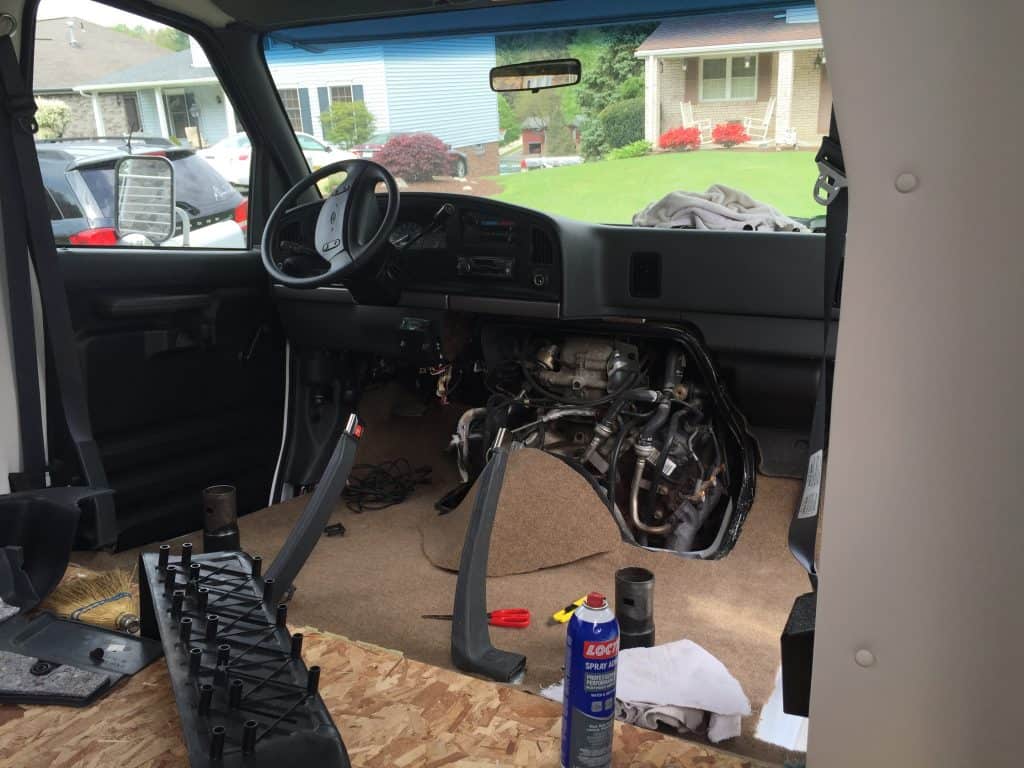
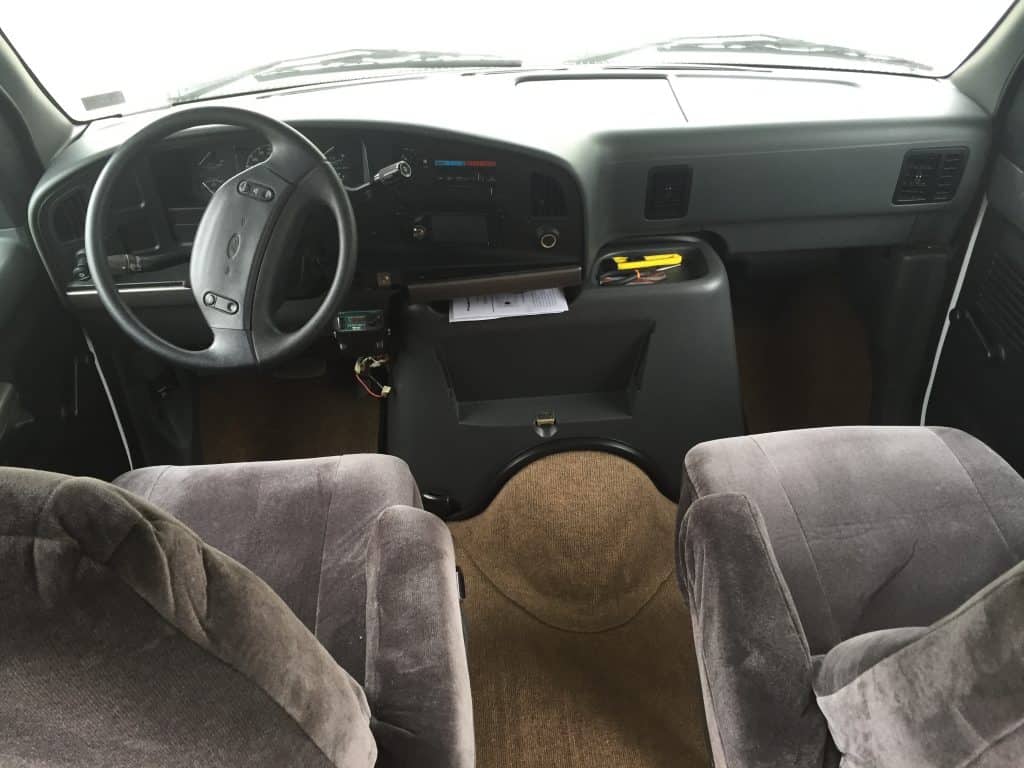
RV Front Cab Finale!
Once we reattached the newly-acquired and covered driver and passenger seats, the RV front cab makeover was complete!
Do you have an RV front cab makeover to share? Tell us below.


