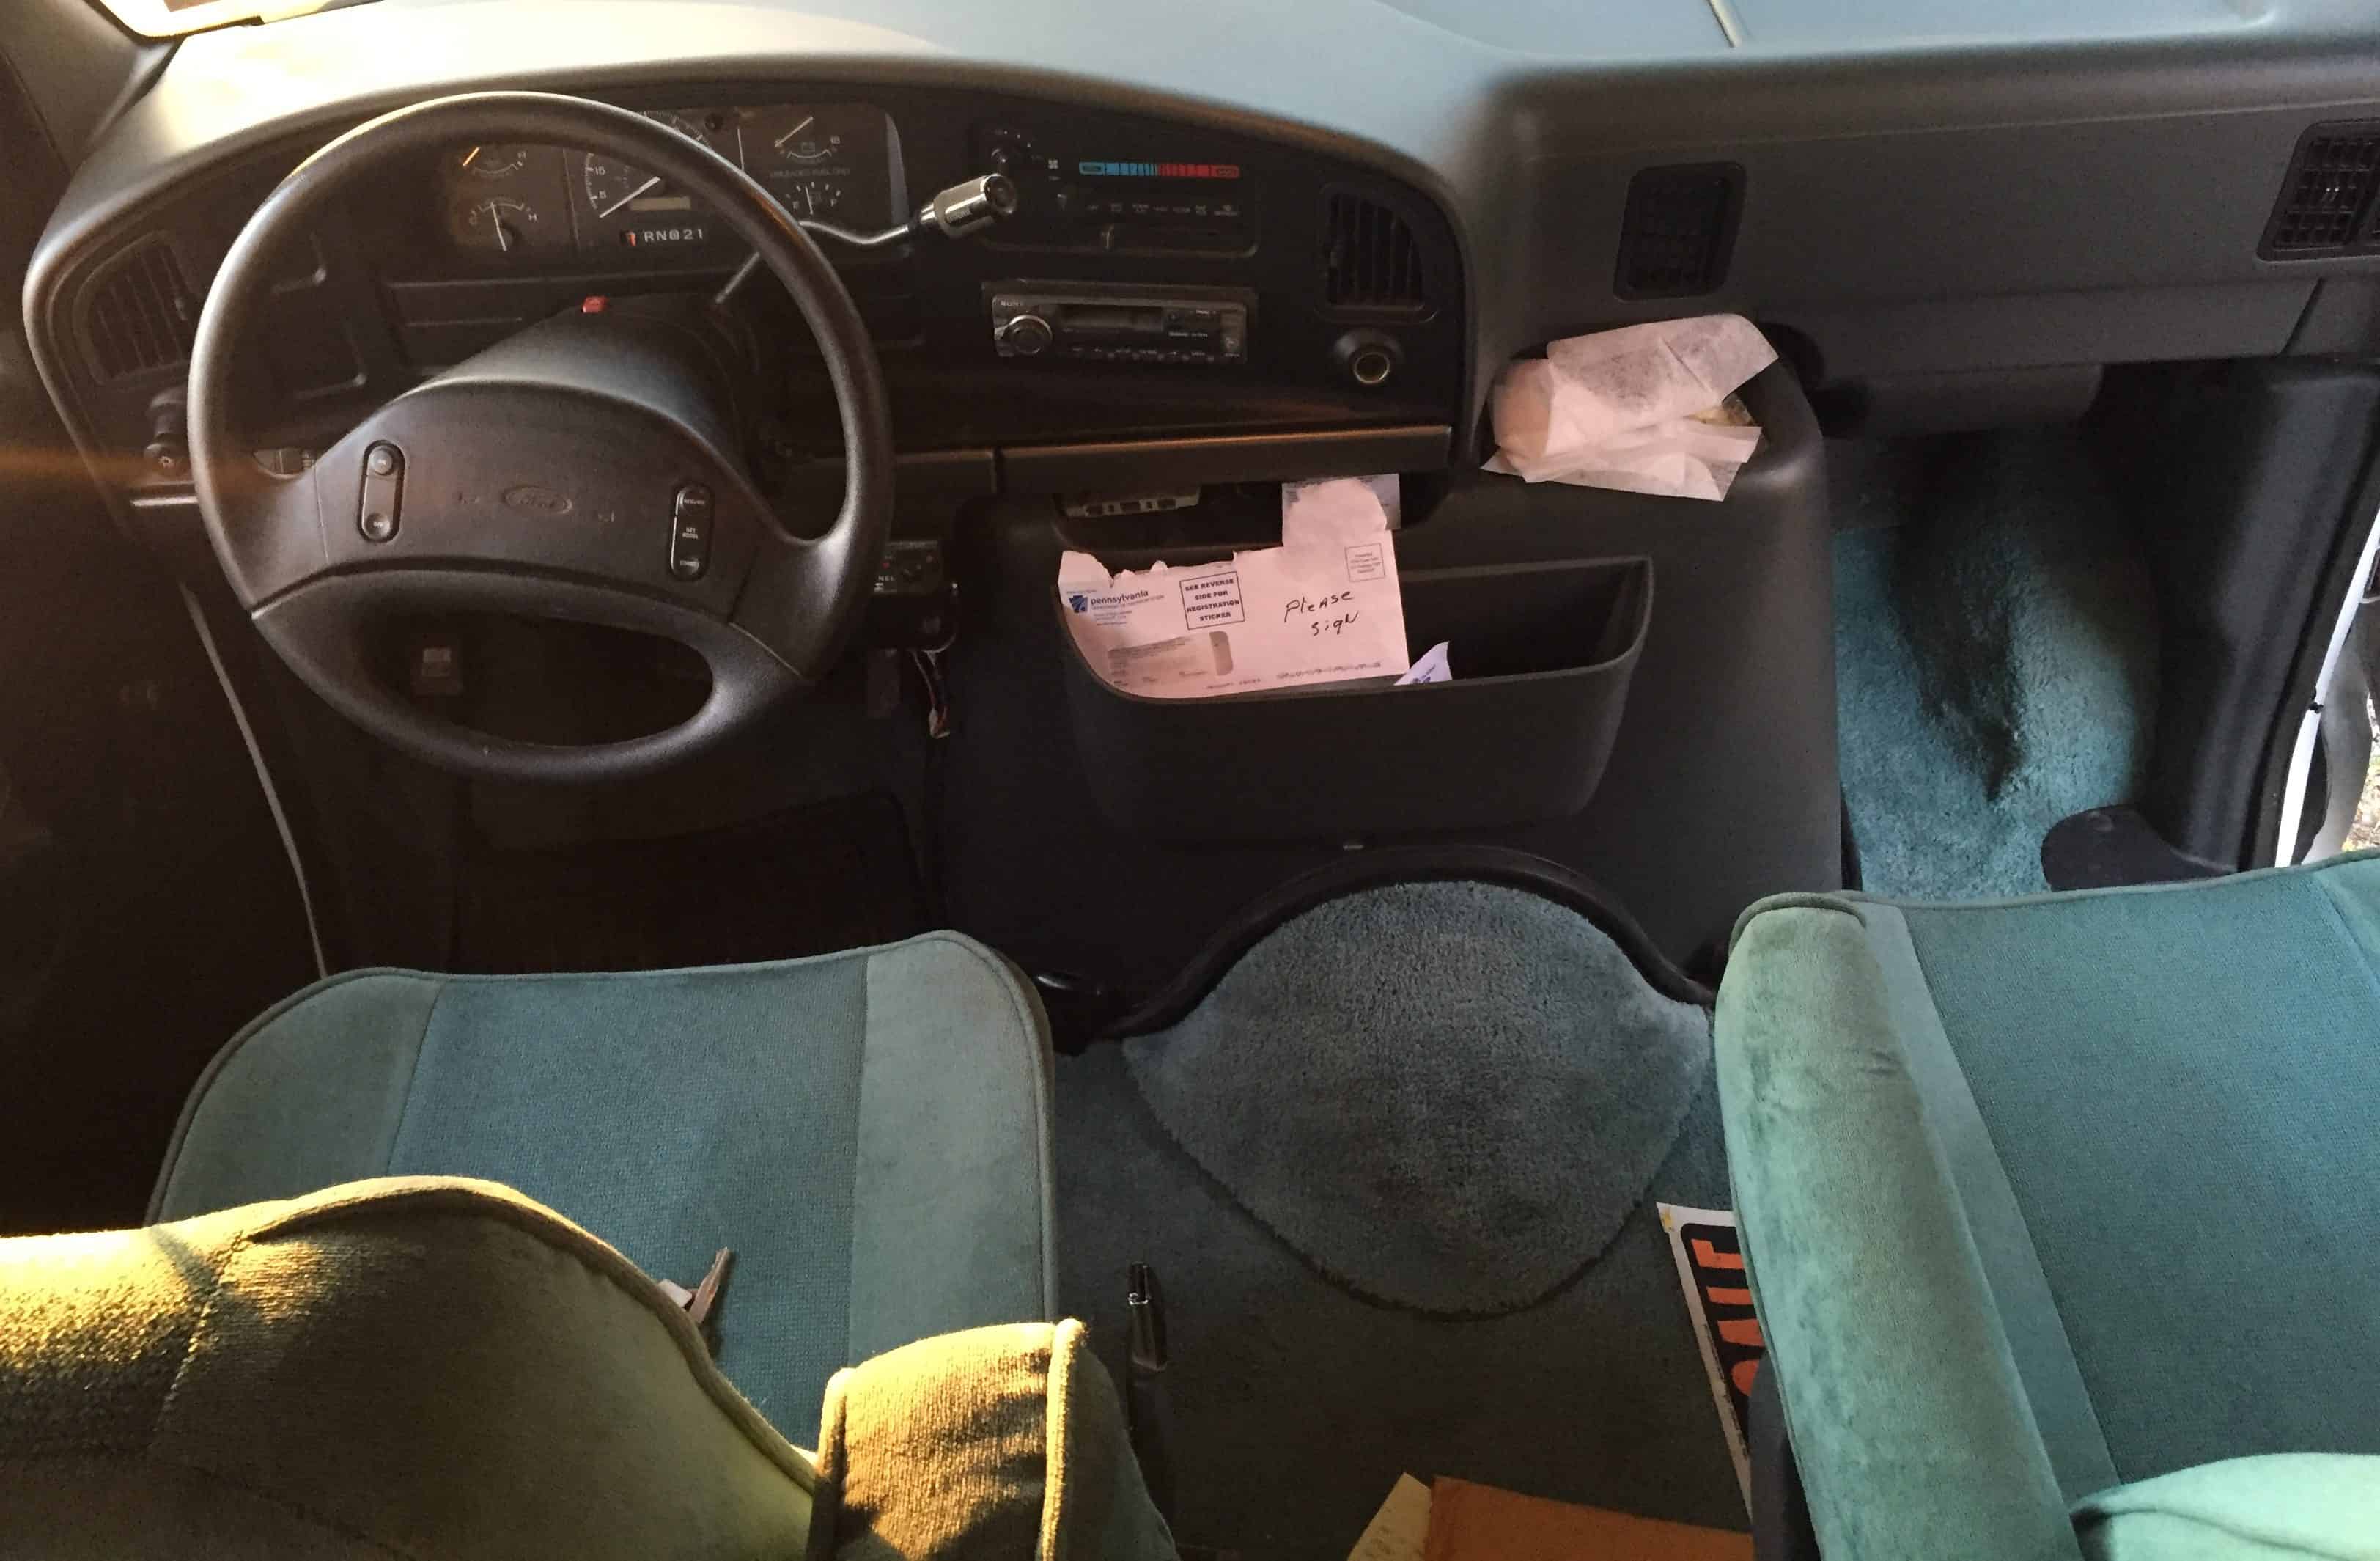
Axl Roads, our 1997 Ford Fourwinds Class C RV, had a very teal-licious look when we brought him home (as I’ve explained in other posts). His front cab – including the driver seat, passenger seat, and carpet – definitely needed an upgrade before we’d feel comfortable setting out on any adventures.
I initially thought we could clean it into being (and smelling) acceptable with a carpet scrubbing, steam cleaning, and heavy deodorizing with Lysol and similar odor-eliminating sprays.
But bad smells die hard.
Bad Guts
Like the real Axl Rose laughs in the face of doing the conventional thing, our Axl Roads laughed in the face of our conventional cleaning methods. He went right on smelling like an old attic with no ventilation no matter what cleaning formula we threw his way.
If you have older RV seats you are worried about removing and do NOT have any fancy electrical adjustment connections to them, JUST DO IT! Removing the seats gave us a good look at them and the area overall.
Once we removed the RV seats, the smell inside the RV improved significantly!
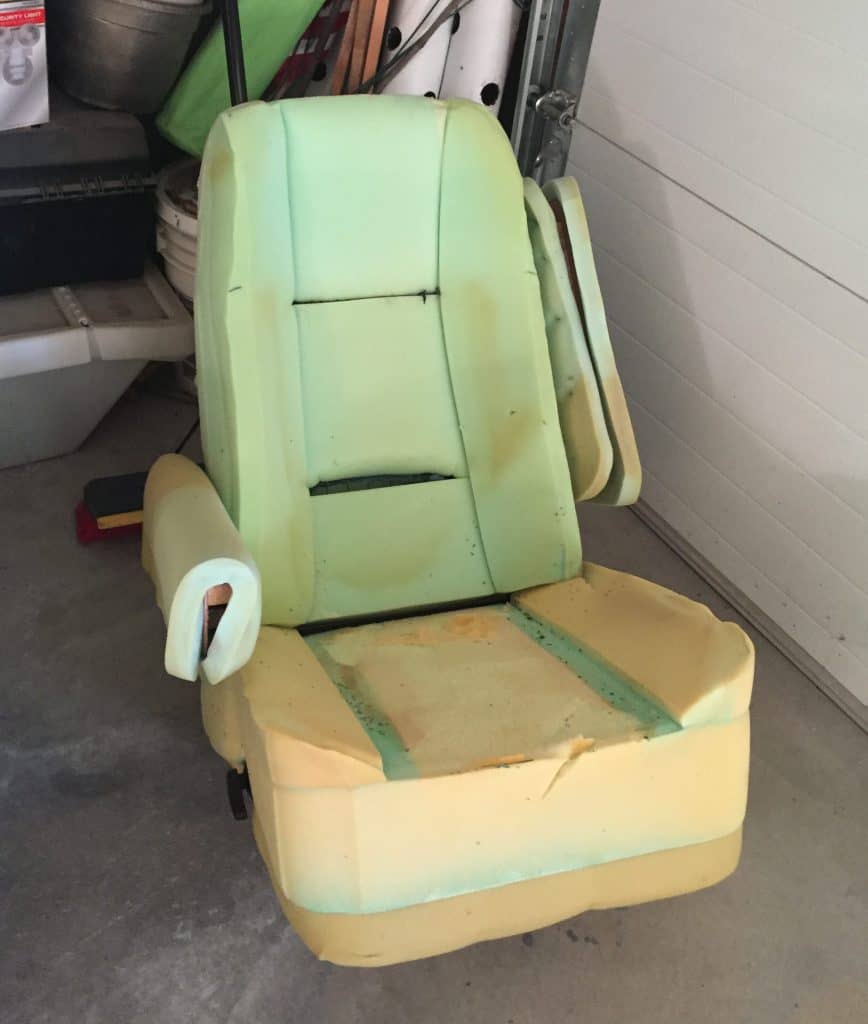
At first, I was convinced I could clean up the seats better now that they were out of the cab, and even went as far as to cut the covers off so I could reallllly wash them.
But what I found underneath didn’t excite me at all.
I could clean the cover all I wanted, but the foam smelled just as bad…and were those spots of mold?!
Time to go on the hunt!
Junkyard Trolls
We don’t scavenge much (read: ever), but we were looking for something really specific that couldn’t be found anywhere BUT a junkyard.
We began the hunt for late-1990s van front seats with a certain screw configuration and bottom plate – that most importantly DID NOT SMELL.
PRO TIP for Visiting Junkyards
Know exactly what you need before you get to the junkyard, or it will be overwhelming! Before you leave home, write down all of the dimensions of the current seats and take a bunch of close-up photos of the bottom plate and screw holes next to the tape measure so you can compare once you are strolling the aisles. And take that tape measure - plus a set of screwdrivers, basic tools, and a flashlight - with you!
At the first junkyard, Russ had no luck. The second, Marsh Auto Salvage, charged $1 admission and sent him on his way with a wagon to troll the aisles.
PRO TIP for Visiting Junkyards - Part Deux
If you have watched 1980s horror movies, you probably already know that an empty junkyard can be pretty creepy! Russ was concerned with noises he heard and thought there was a chance he could be locked in a trunk. Russ highly recommends taking a friend!
Russ luckily and quickly found a gem in the U Pull It section at Marsh (“Bring your tools and cash, because we don’t loan tools and we don’t accept plastic.”)
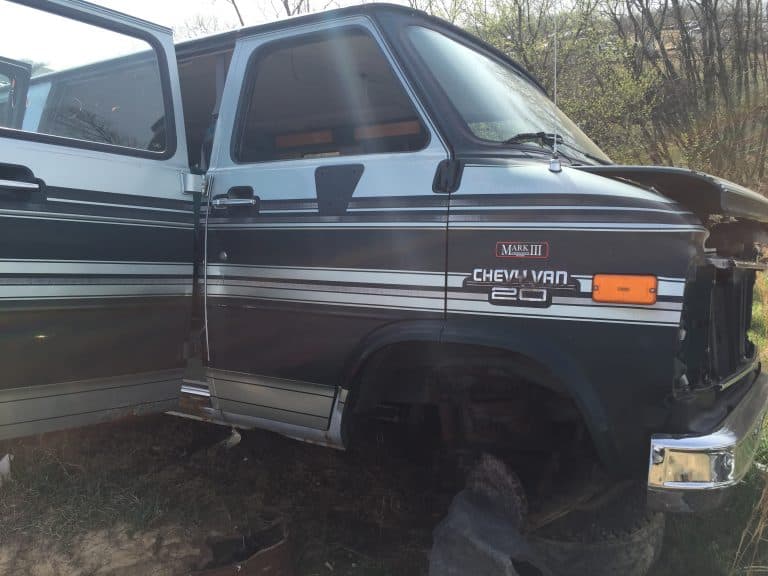
What made this busted-up and over-striped van a gem?
Only parts on the outside had been removed. The doors and windows had been shut tight, leaving the seats in good smelling condition.
The best part?
They were only $10 each!
Yep! Only $20 total!
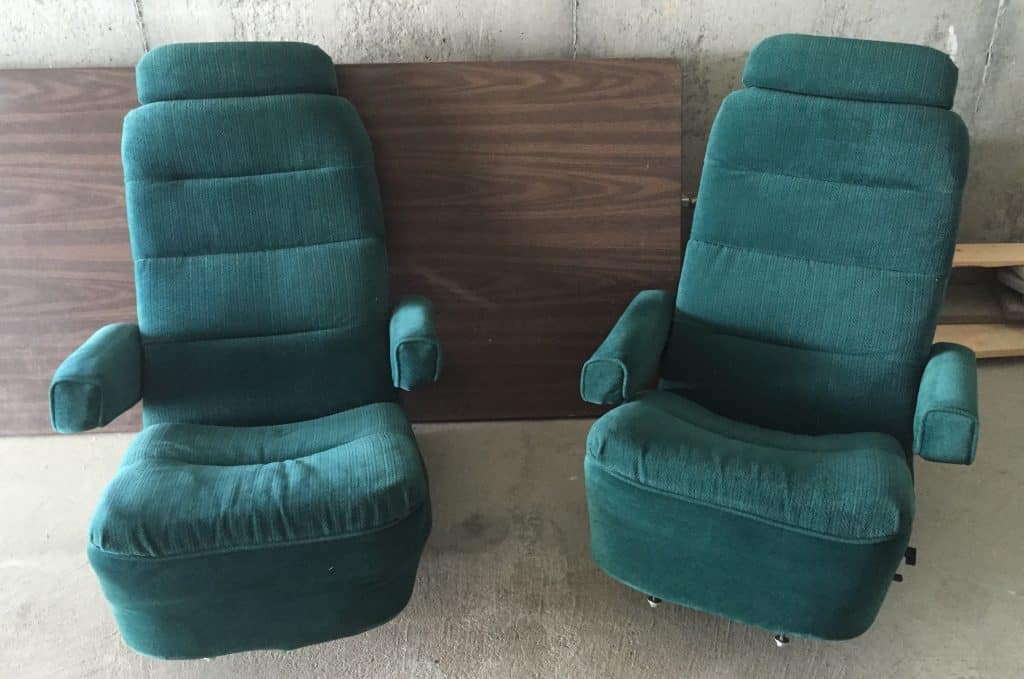
Even though they didn’t smell, I steamed and scrubbed them within an inch of their seat life anyway!
Custom Covers
And then, because I STILL couldn’t believe I’d be sitting on junkyard seats, I ordered some snazzy new covers for them.
Shout out to Decor Auto, who could not have been more accommodating or pleasant to deal with. My representative allowed me to submit photos with my order and she communicated with me via email throughout the process to ensure a good fit.
There are so many seat covering companies out there, so make sure you compare them! Some offer pet-friendly fabrics or stain-resistant options. You may even get lucky finding some right off the shelf at an auto-parts store.
I decided on a pet-friendly gray velour-ish cover, but they come in a million colors and styles.
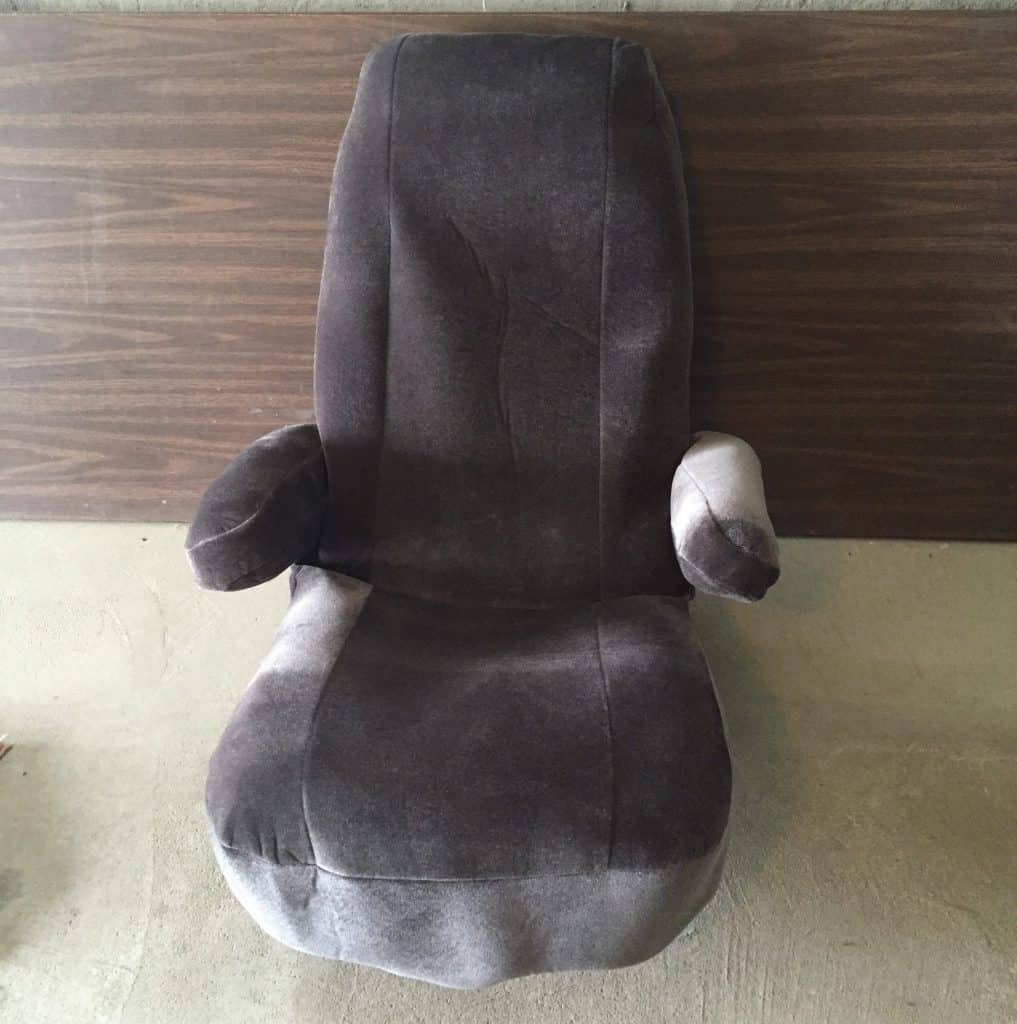
The next photo SHOULD be of the seats in the cab, but HANG ON a minute…
Head here to see the rest of the RV front cab makeover, and a final pic with the seats in place!
Have you done a RV driver seat and/or passenger seat makeover? How did it turn out? Let us know below!

