Please note that some of our links are affiliate links, which means at no additional cost to you, we will earn a commission if you click through & make a purchase. Happy clicking!
Background and Before
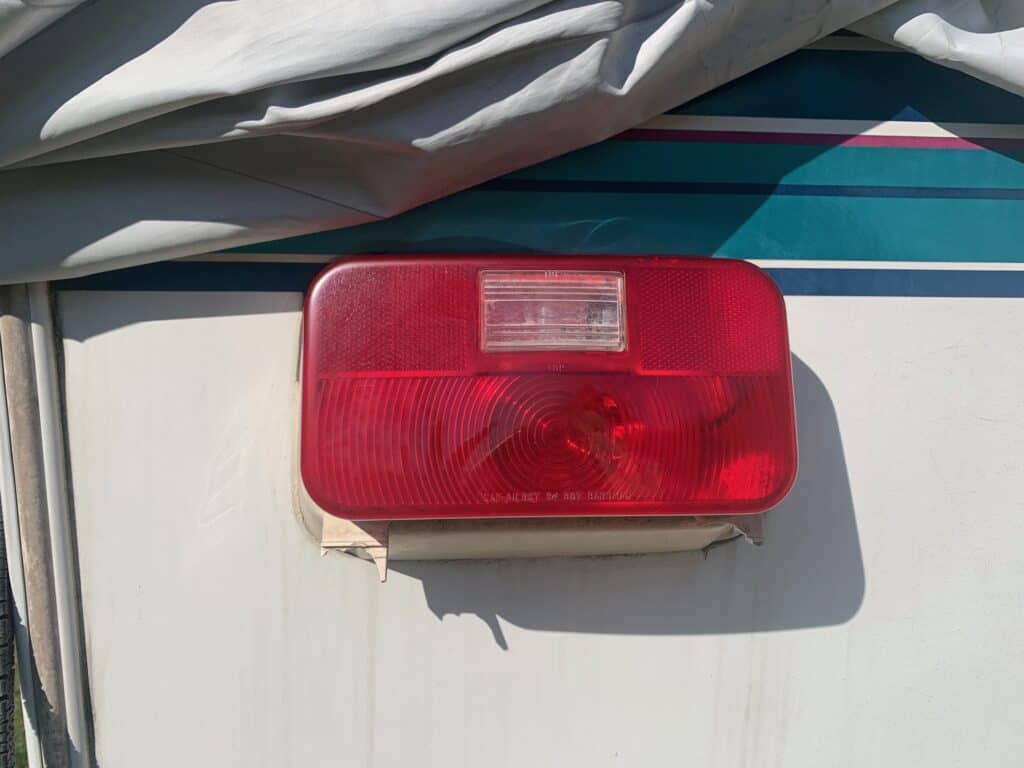
Here’s a close up of the break:
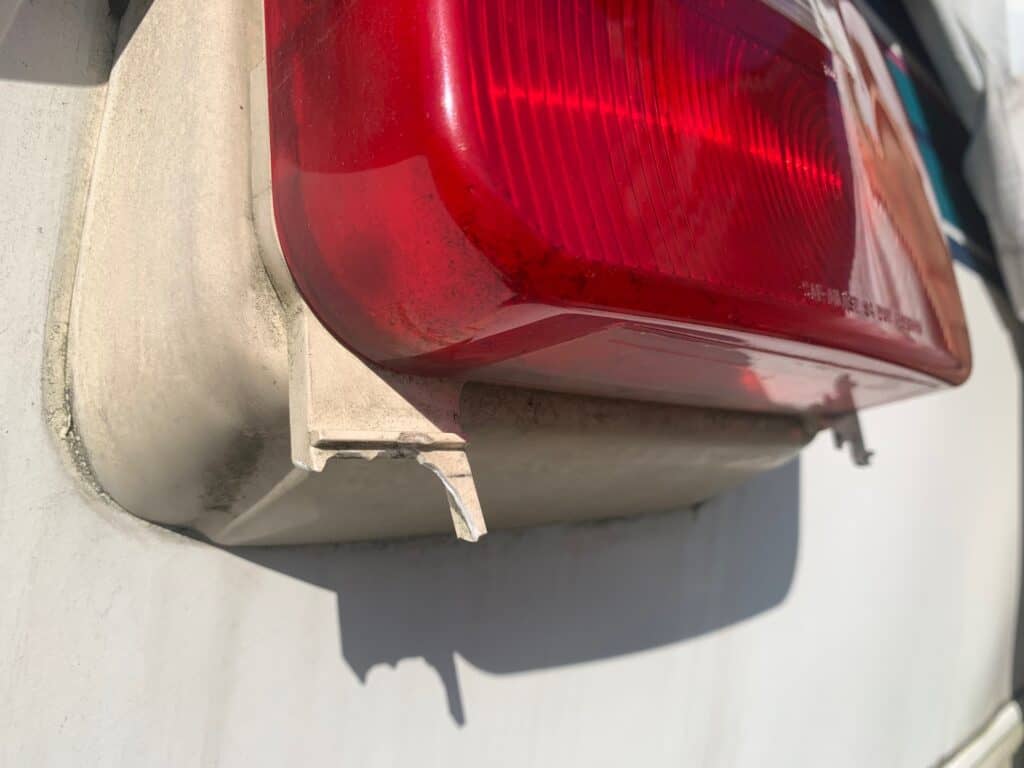
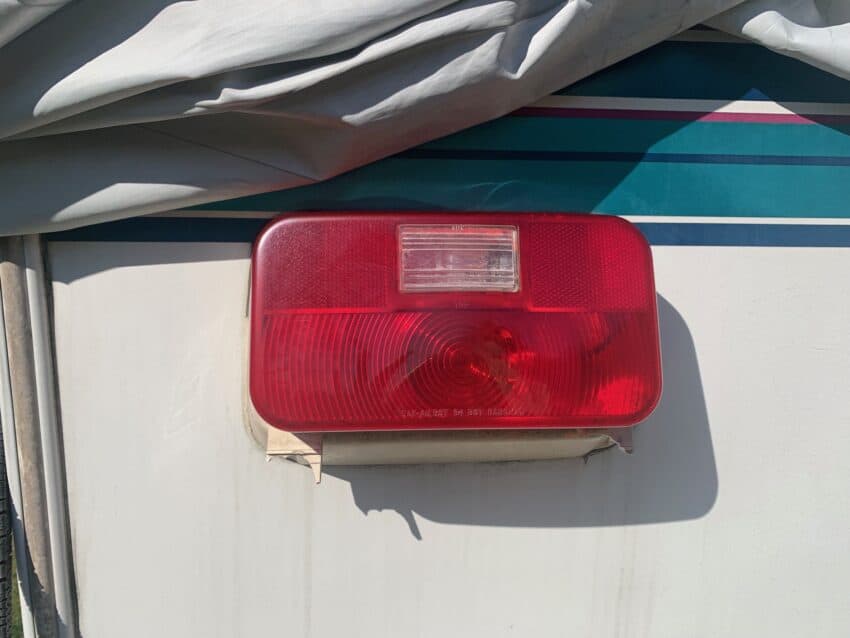
Old RV Tail Light with License Plate Mount Removal
If your RV license plate mount has broken or cracked, you’ll be happy to know that a replacement on Amazon is less than $15!
So, first up, you’ll want to order the right replacement.
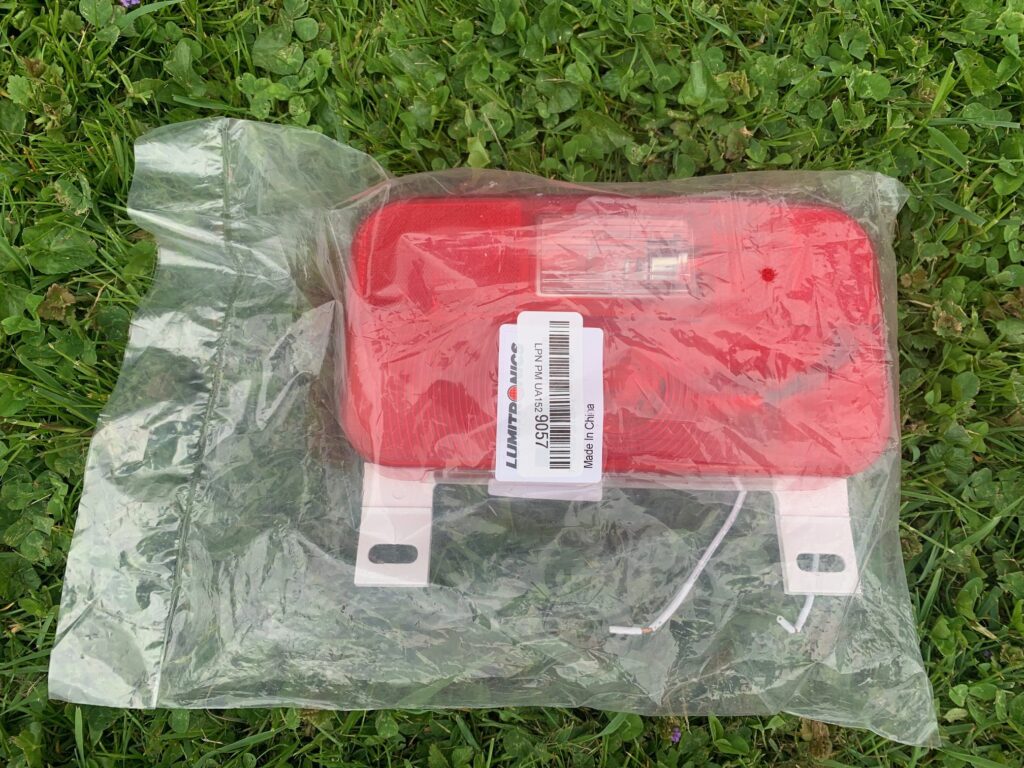
We took photos and measured the old one to figure out that the Lumitronics Red Surface Mount Stop/Turn/Tail – License Bracket/Light for RV, Trailer, Camper, 5th Wheel and Motorhomes (White) would fit our RV.
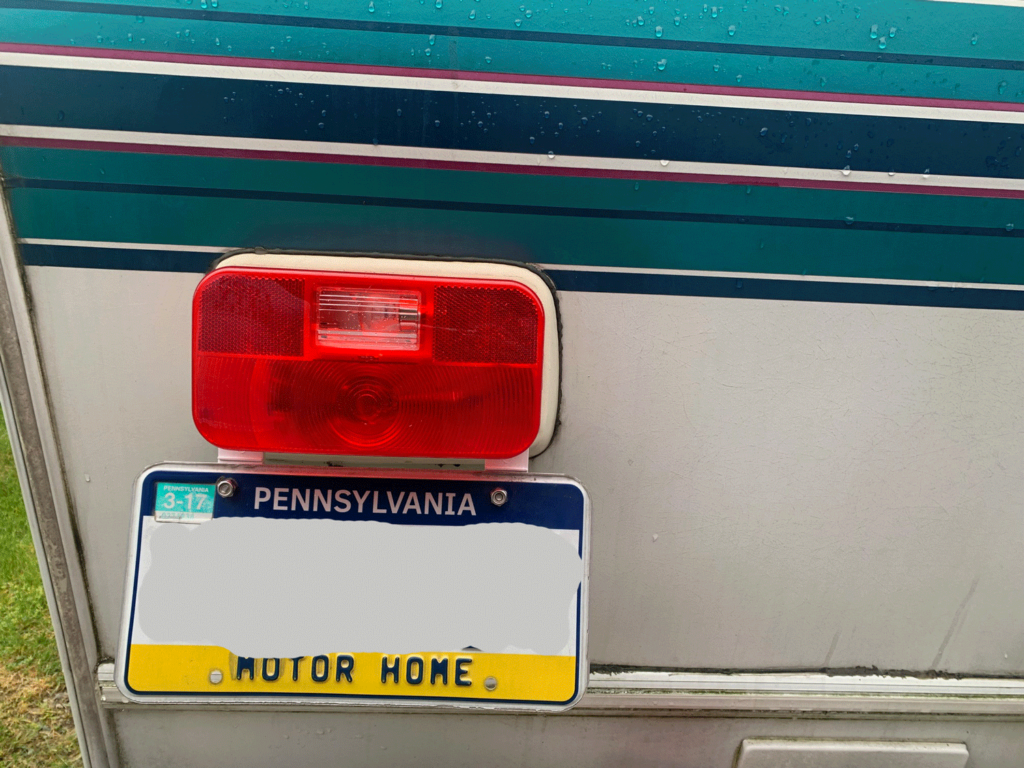
Here’s a side-by-side comparison of the old RV tail light and license plate holder versus the new one, showing just how aged ours really had become:
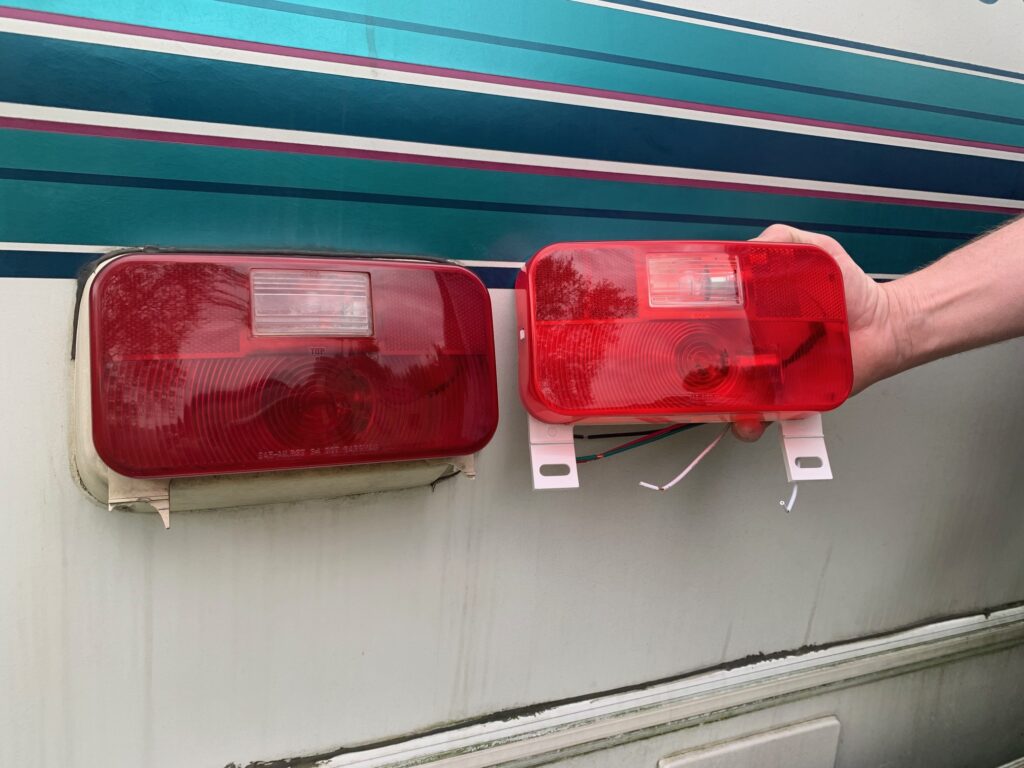
To complete the switch from old RV tail light and license plate holder to the new one, you’ll also need:
- Square head screw driver
- Phillips head screw driver
- Black electric tape, just in case
- Blue butt connectors (ours were crimp)
- Multi-purpose electric wire stripping tool
Once the batteries have been disconnected, it’s easy to remove the old red plastic tail light.
Simply pinch in the sides and gently pull off.
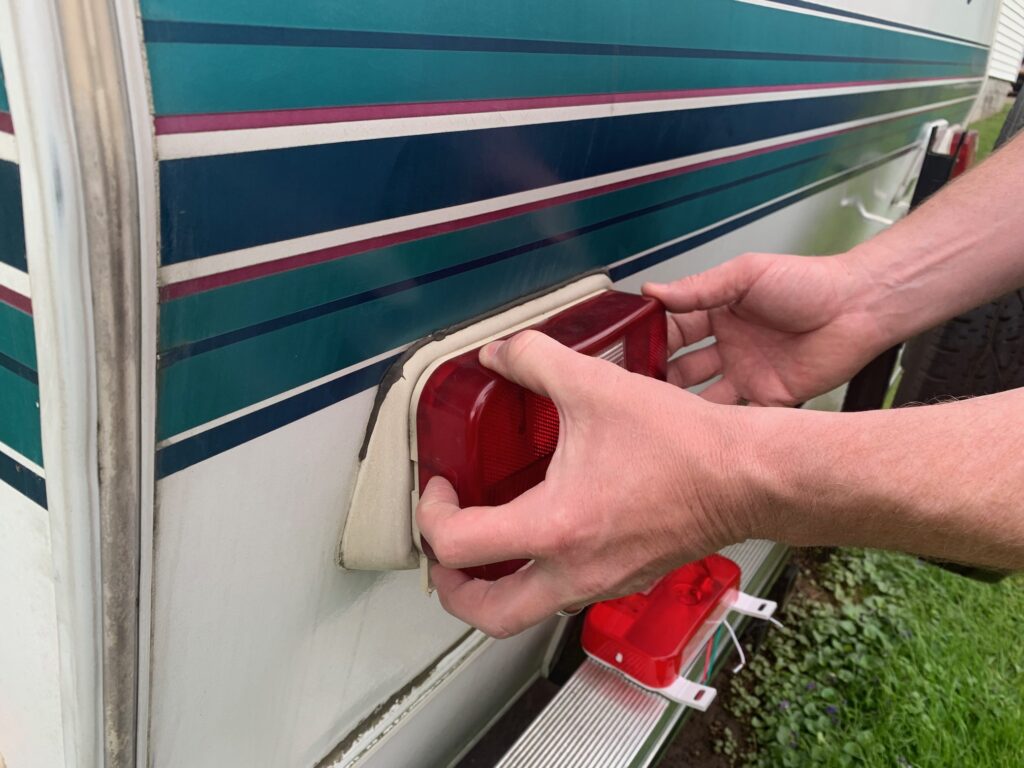
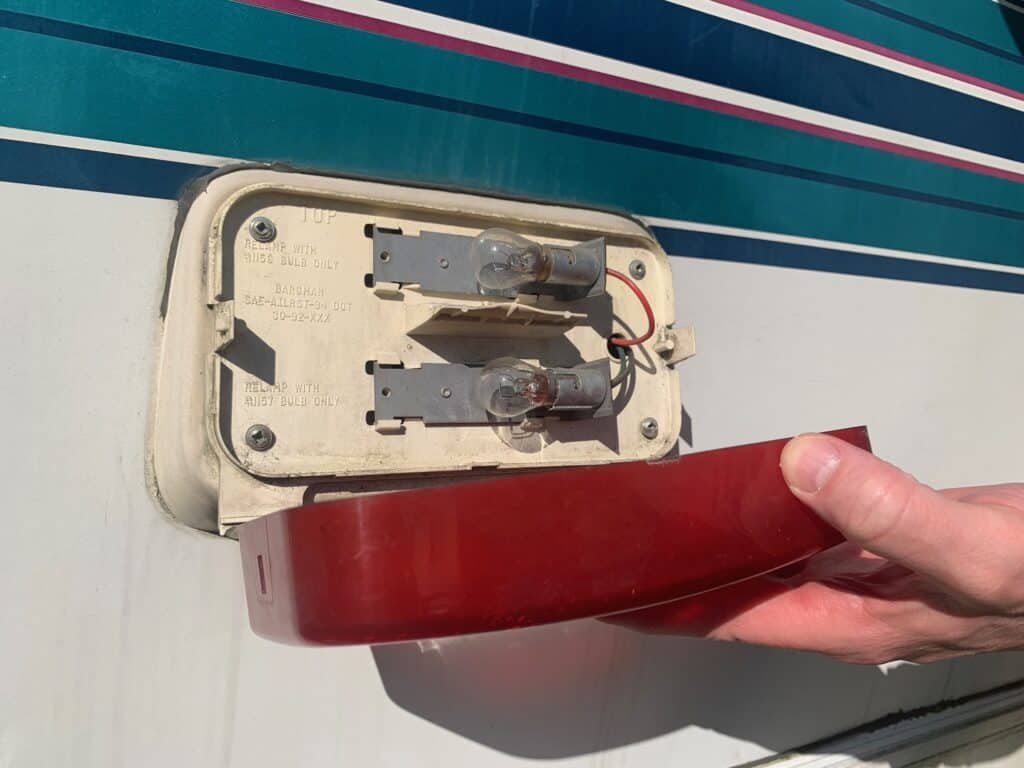
Next, you’ll unscrew the four screws holding the back of the tail light and license plate holder to the RV.
Oddly enough, two of ours were Philips head screws and two were square heads- so be prepared for anything!
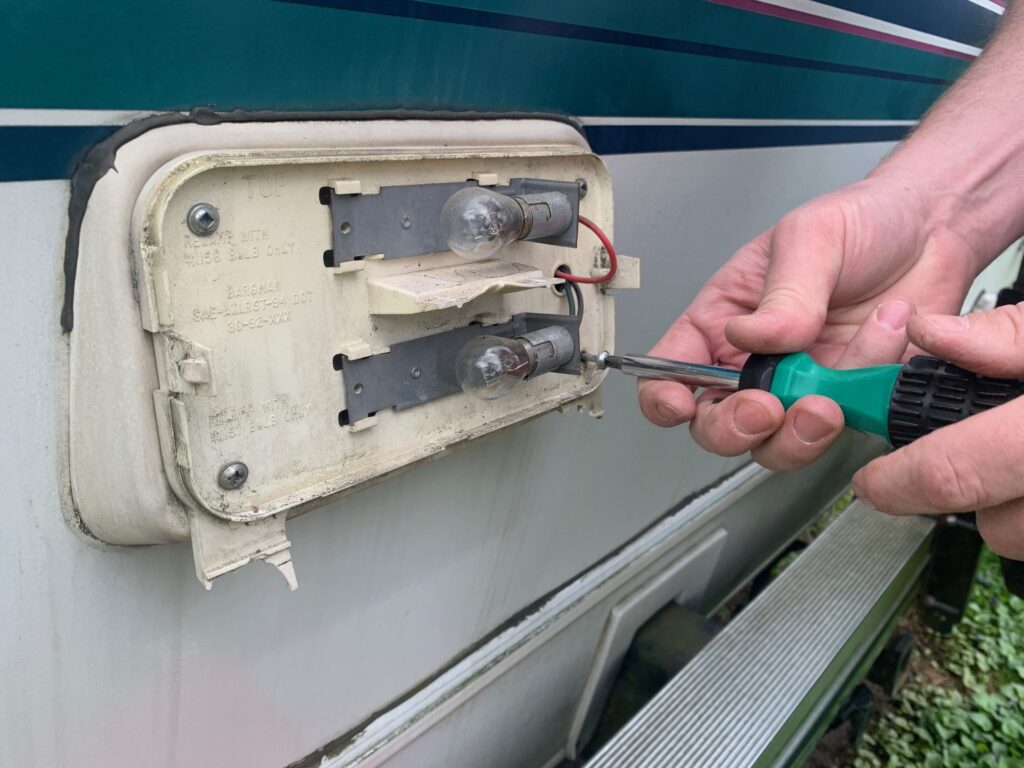
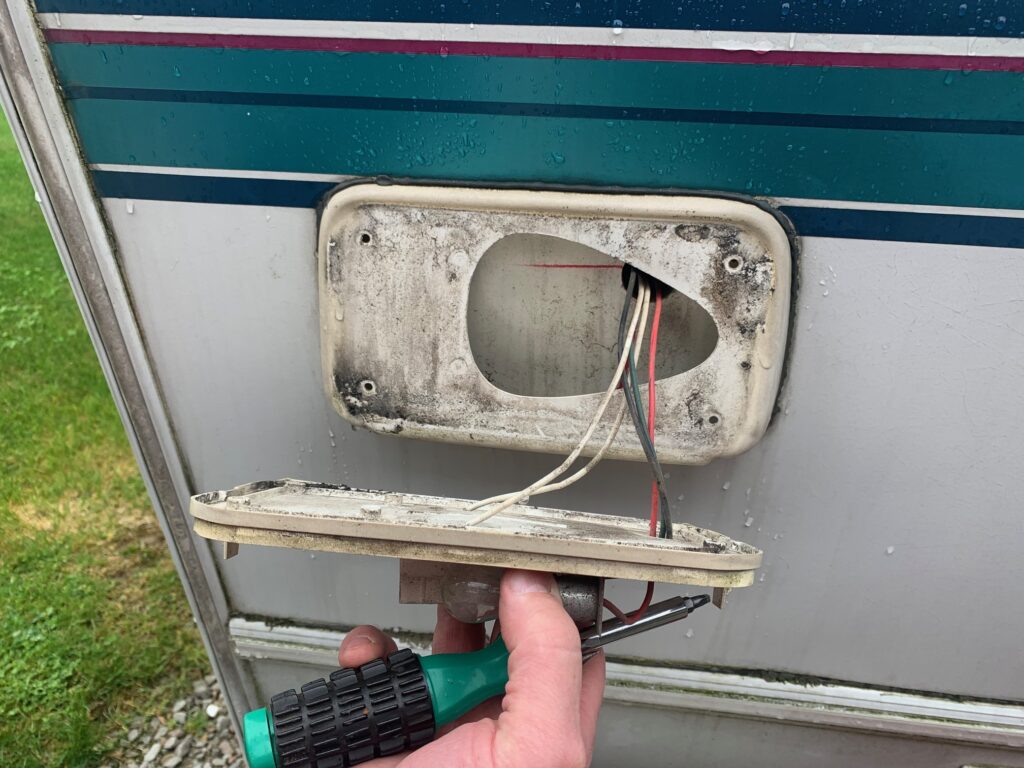
Once the four screws have been removed, slowly pull the plate away from the back bracket.
You should see four wires: two white, one green, and one red, like this:
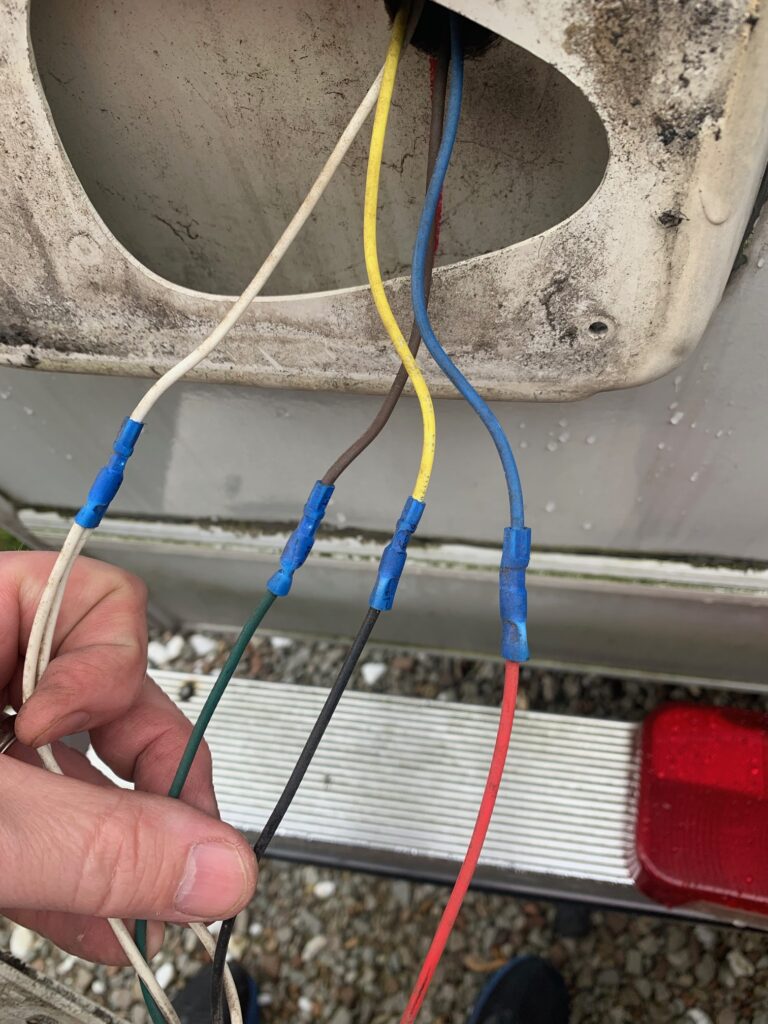
If you gently pull the wires out a few inches, you will see that they are joined by blue butt connectors to other wires:
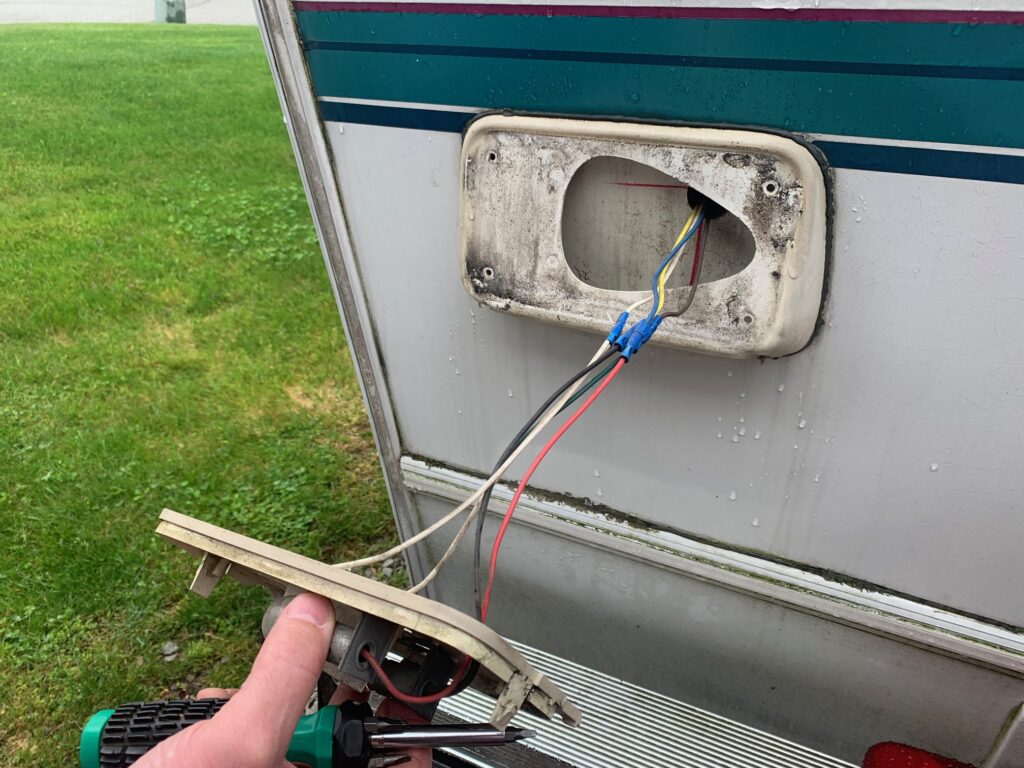
You’ll want to pay special attention to the which colors are connected to which, so be sure to take a photo to refer to! For instance, from the RV to outside, white is connected to whites, yellow to black, brown to green, and blue to red.
Installing the New RV Tail Light and License Plate Holder
Next, you’ll want to make a clean cut on each wire just above the blue butt connector (closest to the RV) using the multi-purpose electric tool or other cutting tool. Your old tail light and license plate holder will now be completely disconnected.
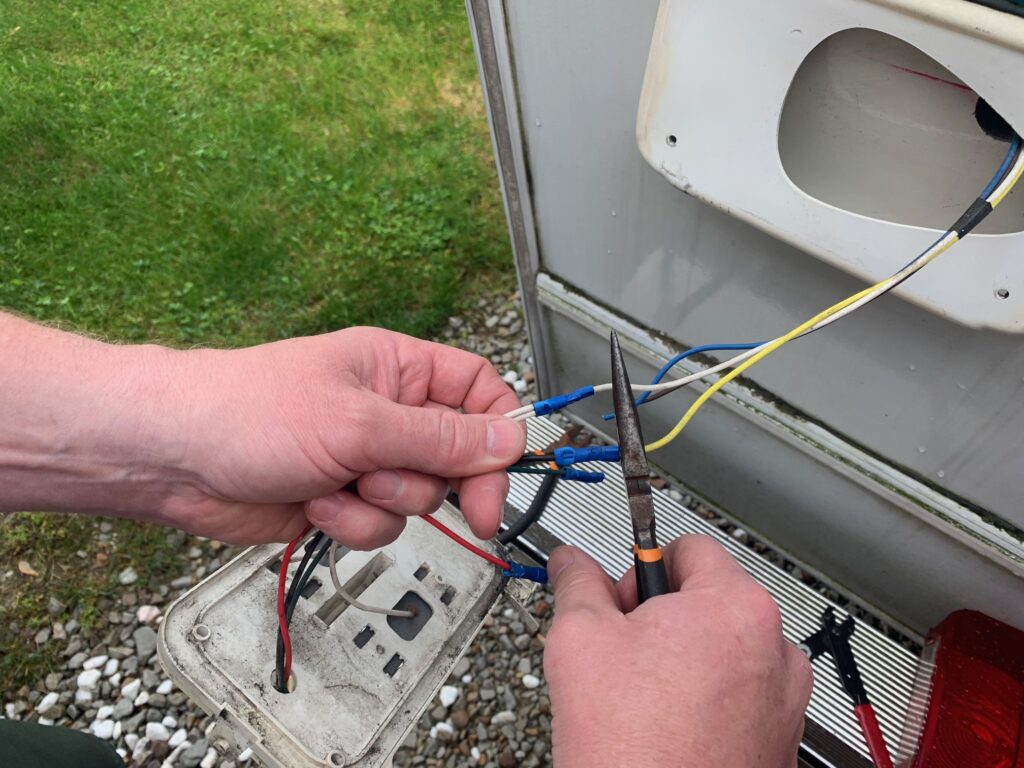
Then, use the multi-purpose electric tool again to clean off about 3/4 of inch of each wire coming out of the RV (white, yellow, brown, and blue).
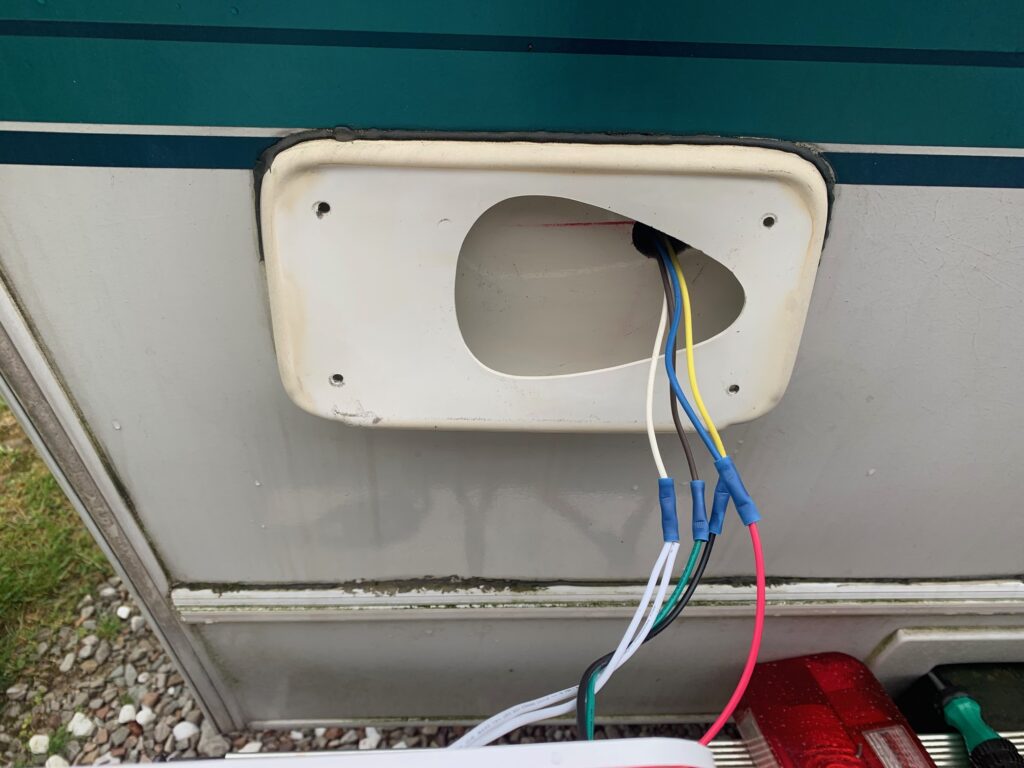
Use the new blue butt connectors and the crimping area on your multi-purpose electric tool to join the appropriate wires (refer to your photo!) back together.
Make sure all your wires are completely contained in the blue butt connector and that they are strongly crimped in place.
Now for the exciting part!
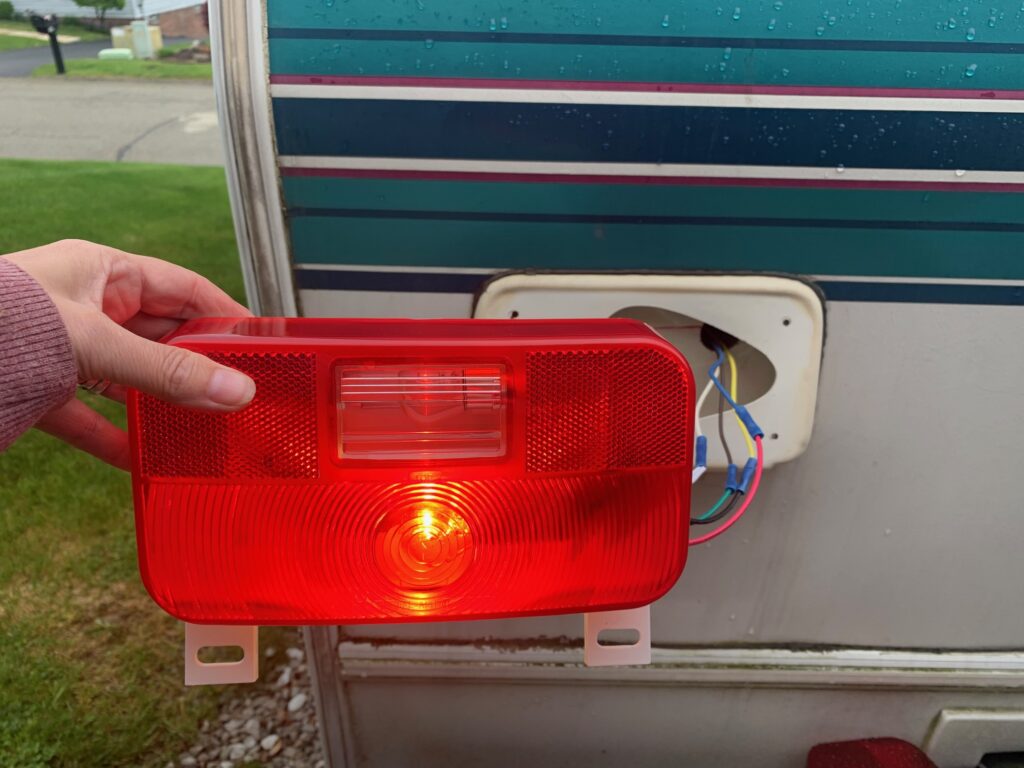
Carefully reconnect your batteries, and then have someone give the brake pedal a test…did your light come alive?!
Thank goodness ours did!
Now there are only a few things left to do!
Pinch the light off the back plate of the tail light and license plate holder and screw the back plate onto the RV.
Our kit did not come with screws and nuts to re-attach the license plate, but fortunately, ours were still attached to the plate. If you can’t find screws and nuts that work, there are a bunch of different connection kits you can buy.
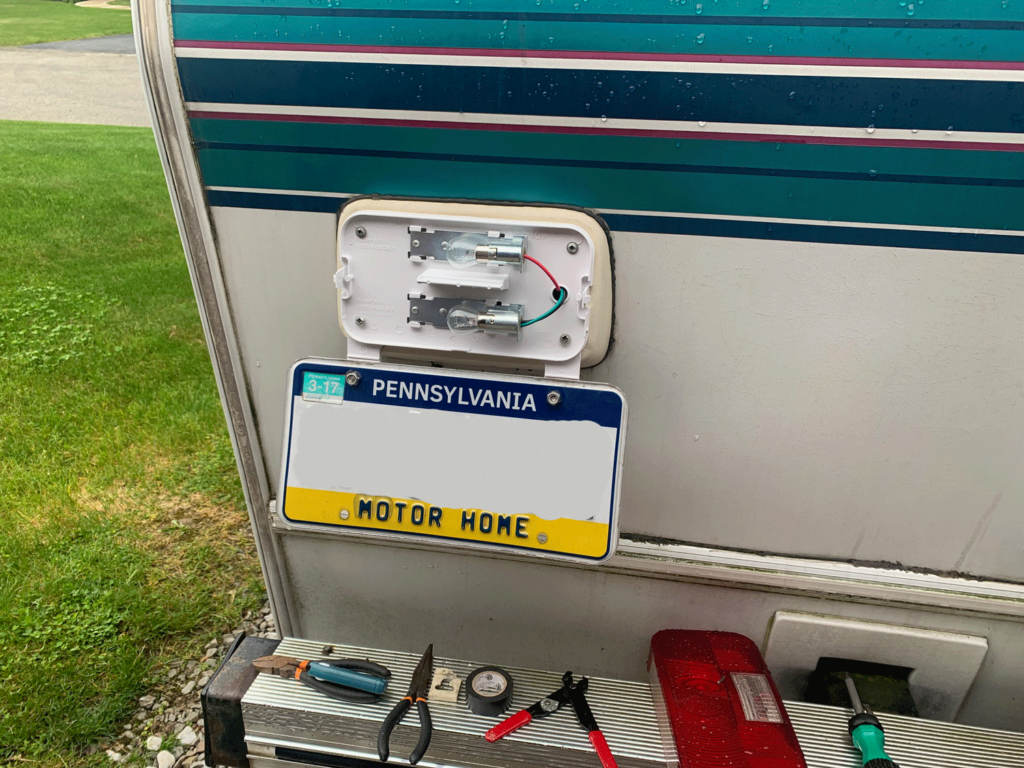
The last thing to do is to pinch the tail light cover into place, and voilà! You’ve completed another RV project!
Lessons Learned
This easy older RV replacement project should only cost you around $20 and about 40 minutes of your time.
While we recommend using a multi-purpose electric tool for safety and convenience, we made do with some pliers and a wire cutter. The fix would have been much easier to do with one tool that was designed to do it all! So, the first lesson we learned was that the right tools make a difference.
The second lesson learned we learned was to take a lot of photos you can refer to later. Those wires would have created a very confusing situation were it not for the picture we could refer back to.
Have you had a similar experience, or do you have advice to share? Please put it in the Comments below!


Ummm…your outside tails lights should not be connected to your RV battery, or any place in your RV. They are activated and live from your tow vehicle, when you plug in your 4-pin or 7-pin cable from the trailer to the tow vehicle.
So this is a drivable, Class C Ford (Thor) Four Winds, so our tail lights were indeed connected to the RV battery. We were not towing anything.
Thank you! This just happened on my 98 Aljo and the Google lense search led me to your site. I’m bookmarking your website because I’m doing a lot of work myself with similar replacements already done.
So glad you found it helpful!