Please note that some of our links are affiliate links, which means at no additional cost to you, we will earn a commission if you click through & make a purchase. Happy clicking!
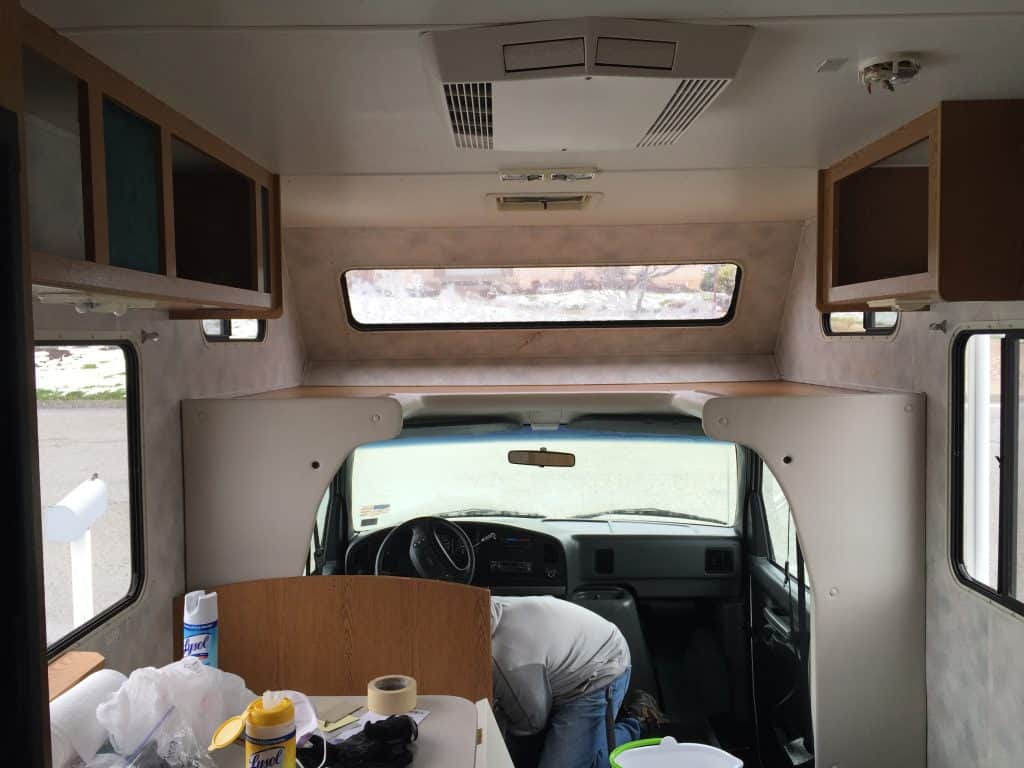
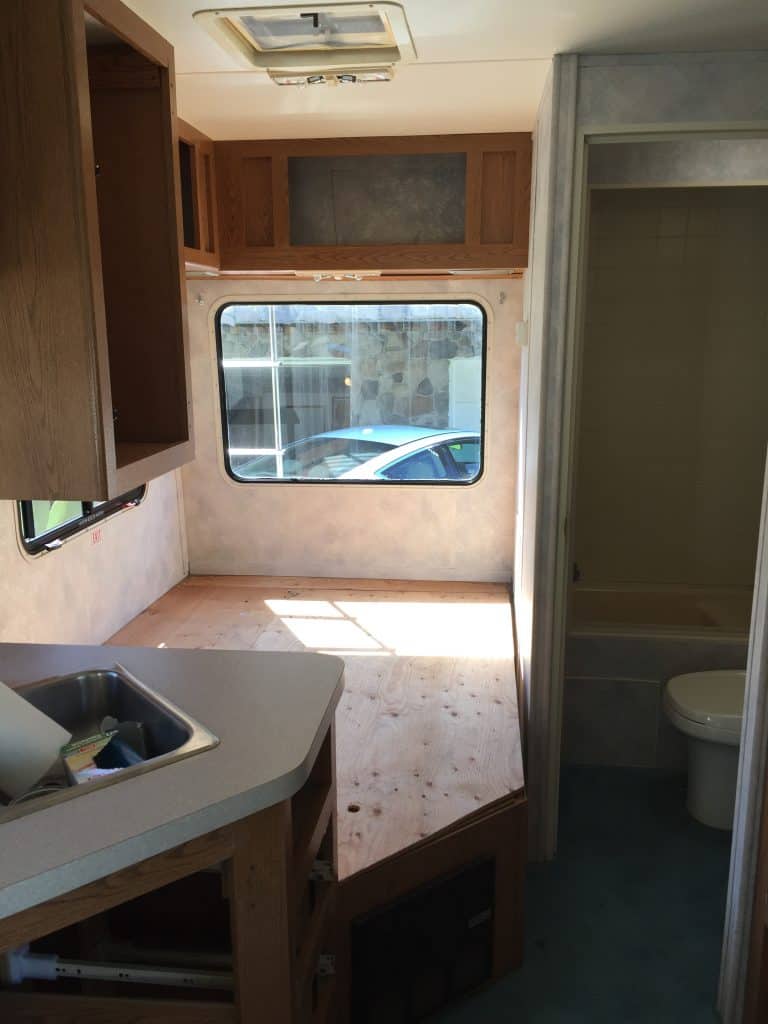
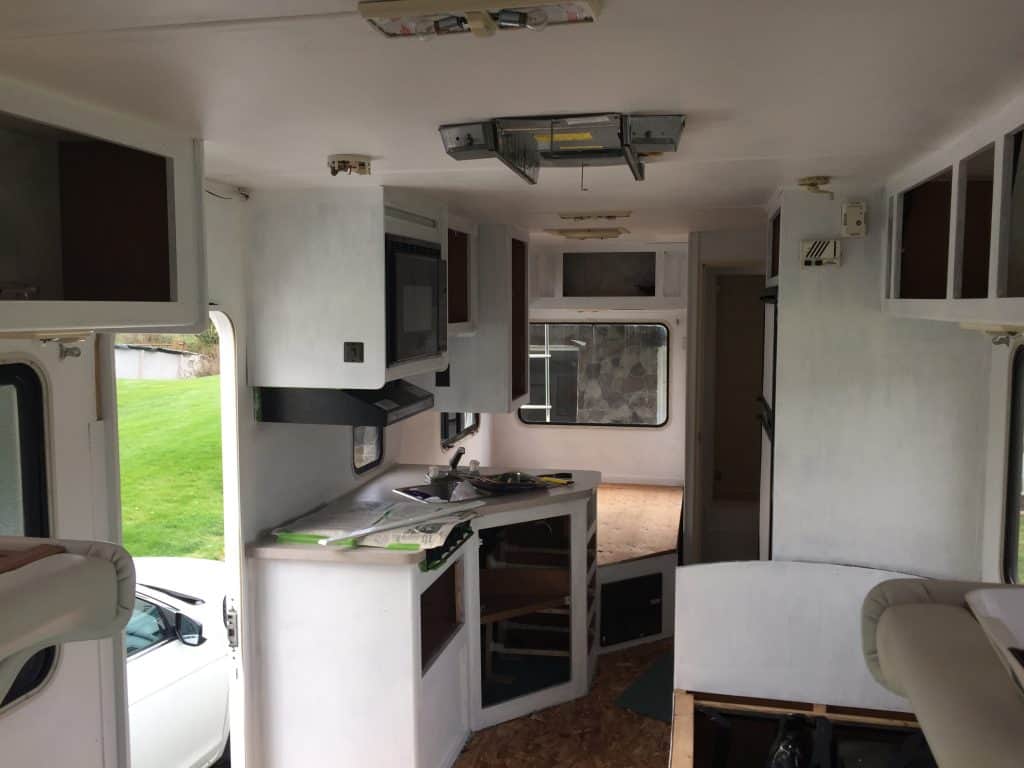
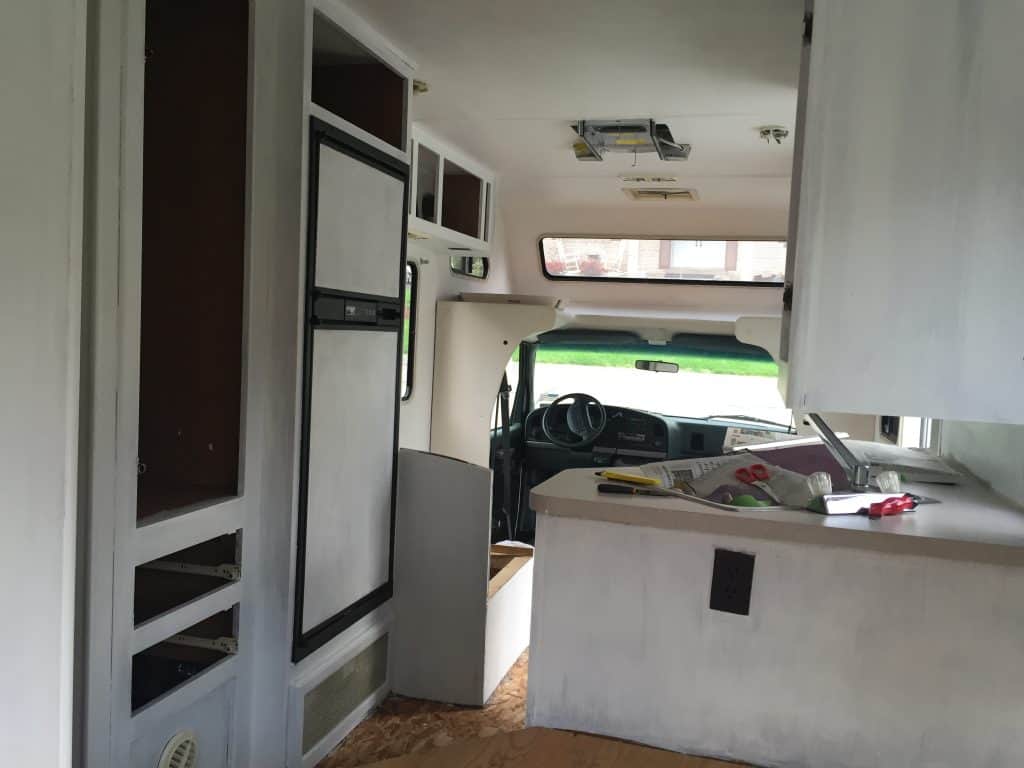
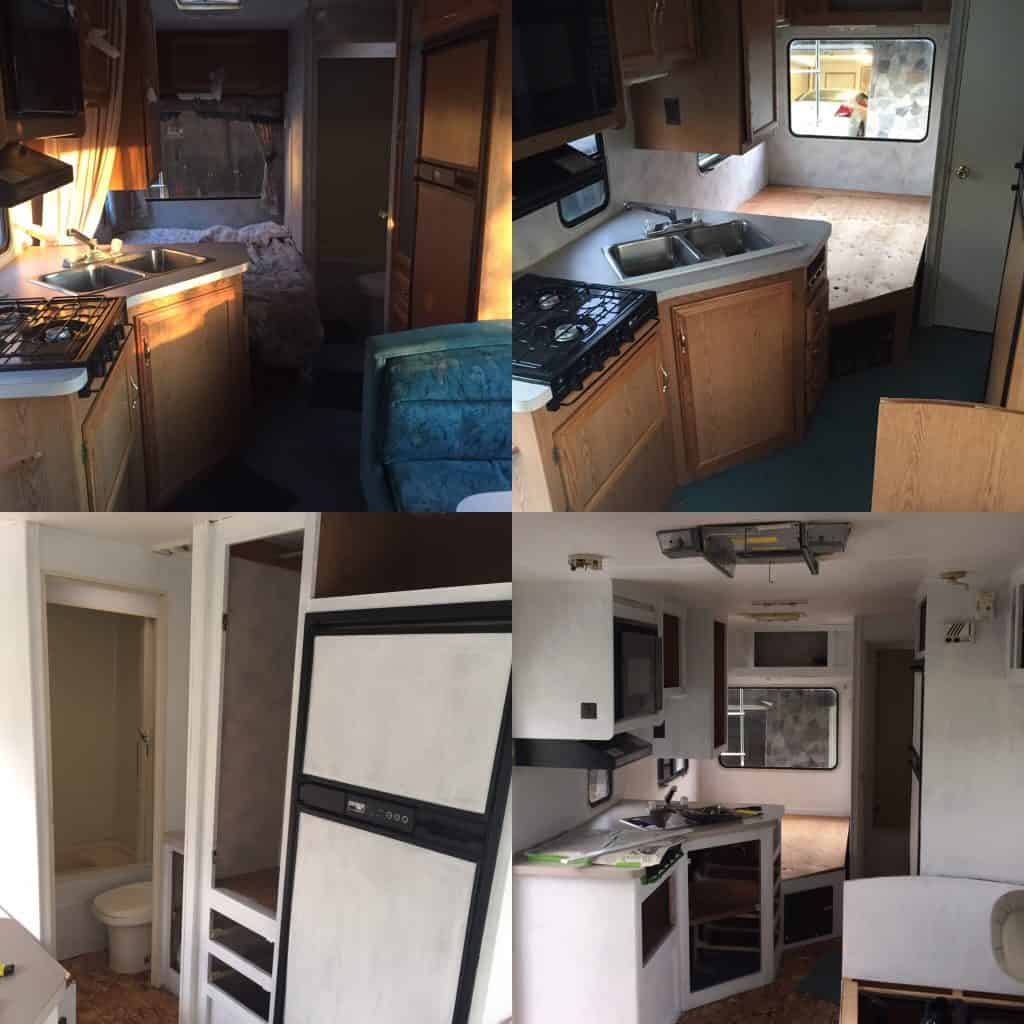
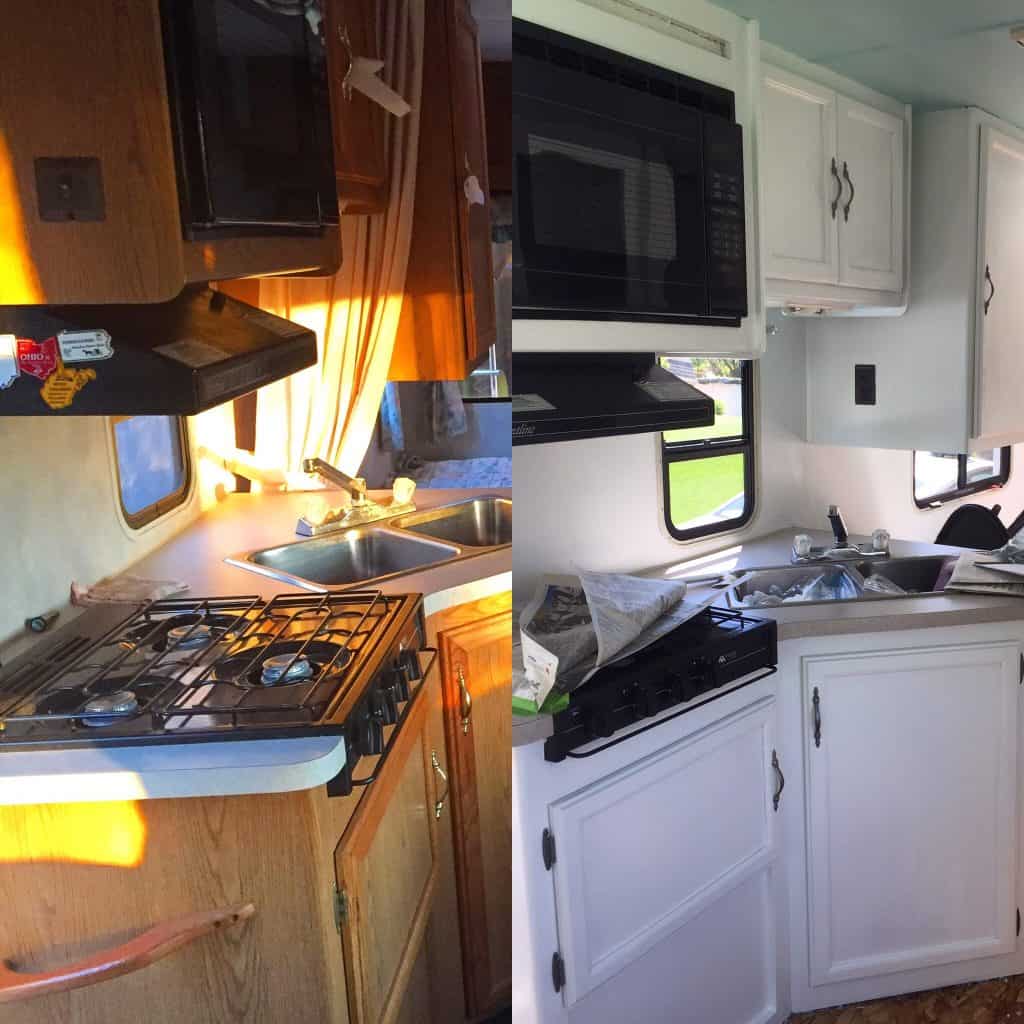
In addition to our 1997 Ford Fourwinds Class C RV Axl Roads starting out extremely TEAL, it also had an interesting (read: not found in nature) wood finish & grain on the cabinets that needed brightened up with a makeover.
Take a look before:
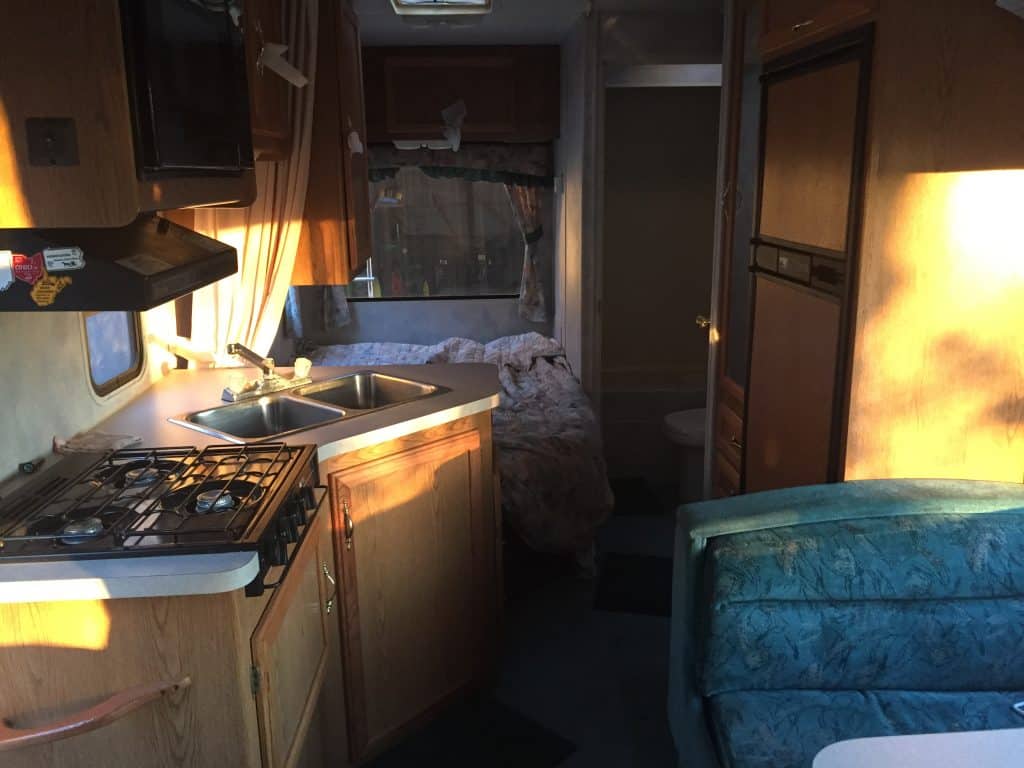
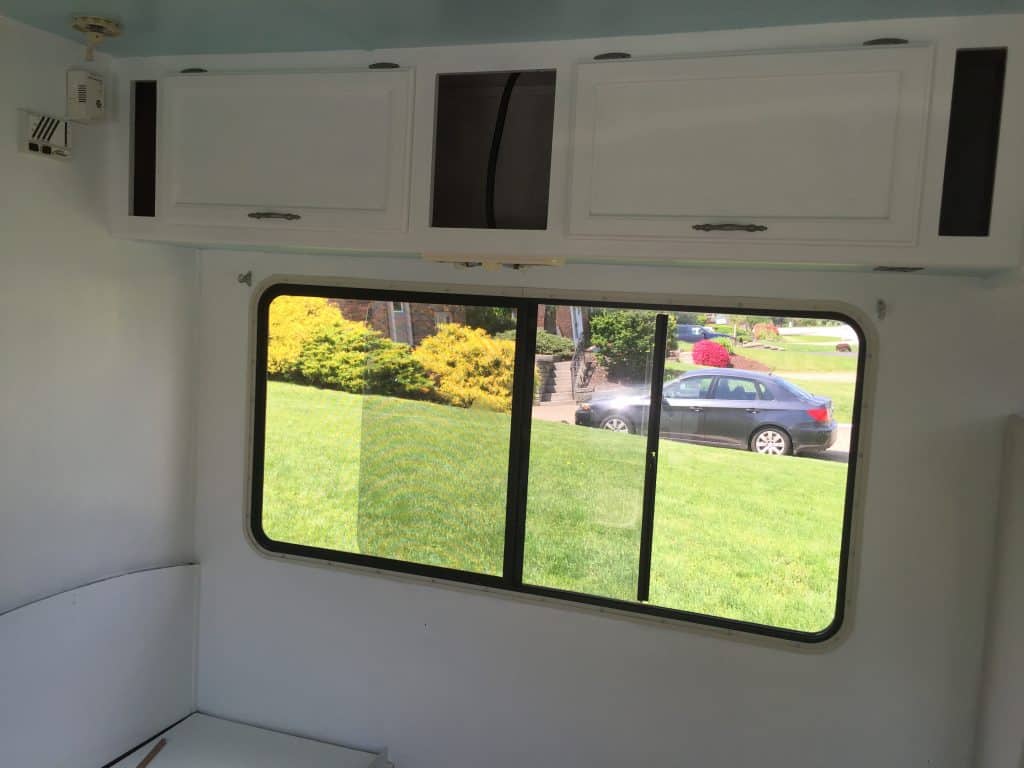
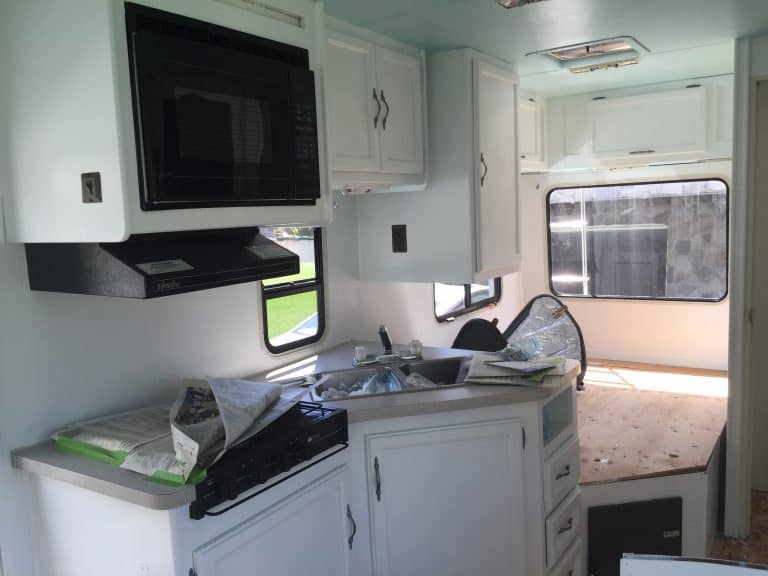
While the carpet was up and before the new floor was down, we were able to complete this RV cabinetry renovation in just a few days with the right paints & tools- and don’t get scared off, because you can, too!
RV Cabinet Disassembly & Prep
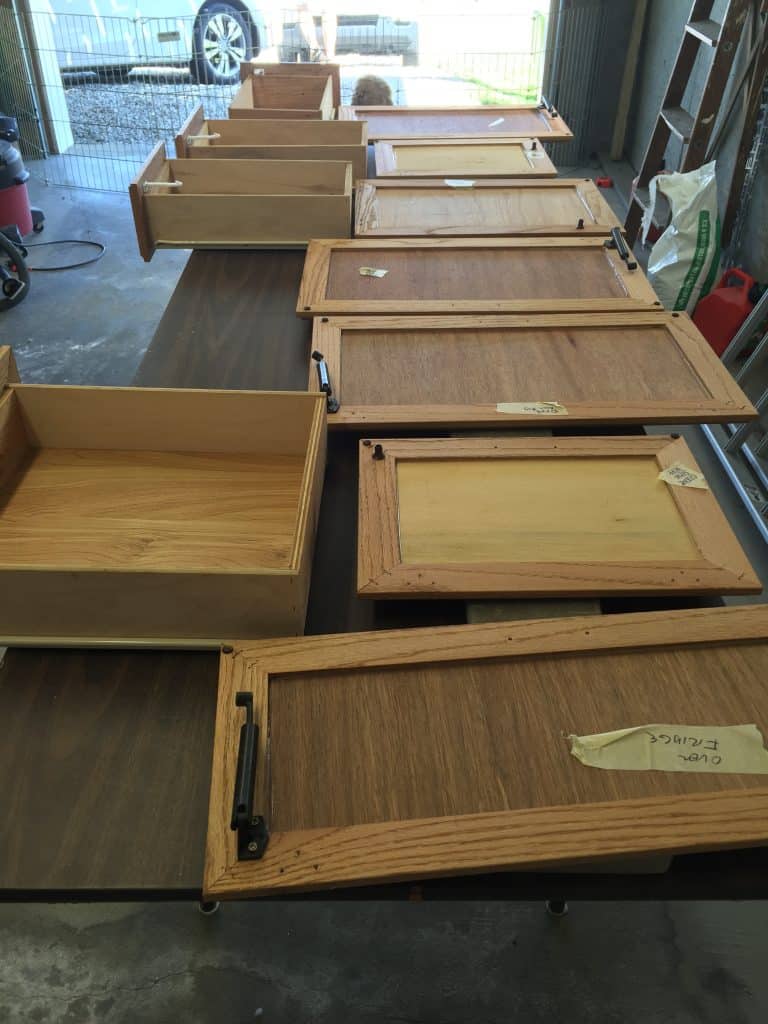
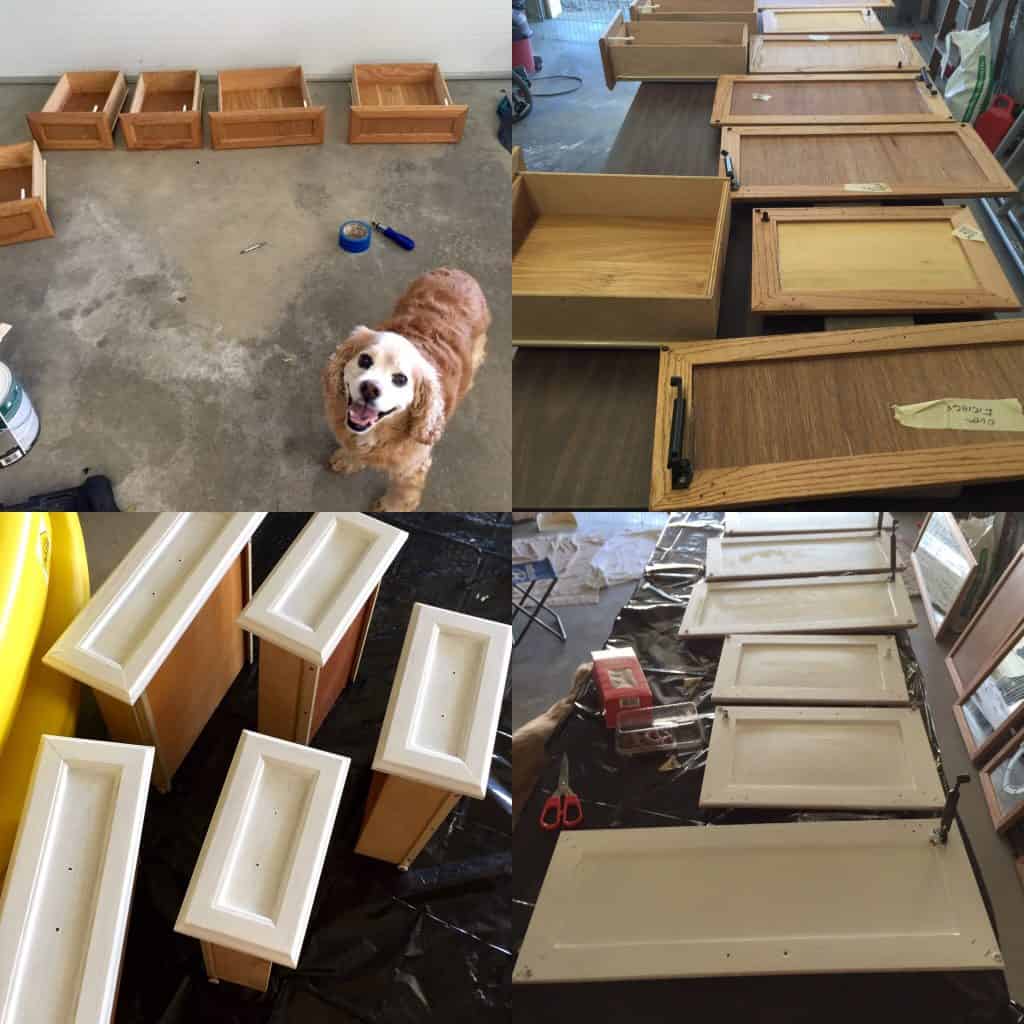
First, use low-tack masking tape to label the doors and frames/interiors and to tape around the outlets or switches on your cabinet frames. We just used things like “kitch”, “drawer 1”, “drawer 2”, etc, but don’t forget to label both the piece you are removing and the piece that remains to match up post-paint. For example, you may have “kitch R door” and “kitch L door” on the cabinet doors with “kitch” on the inside frame of the cabinet itself.
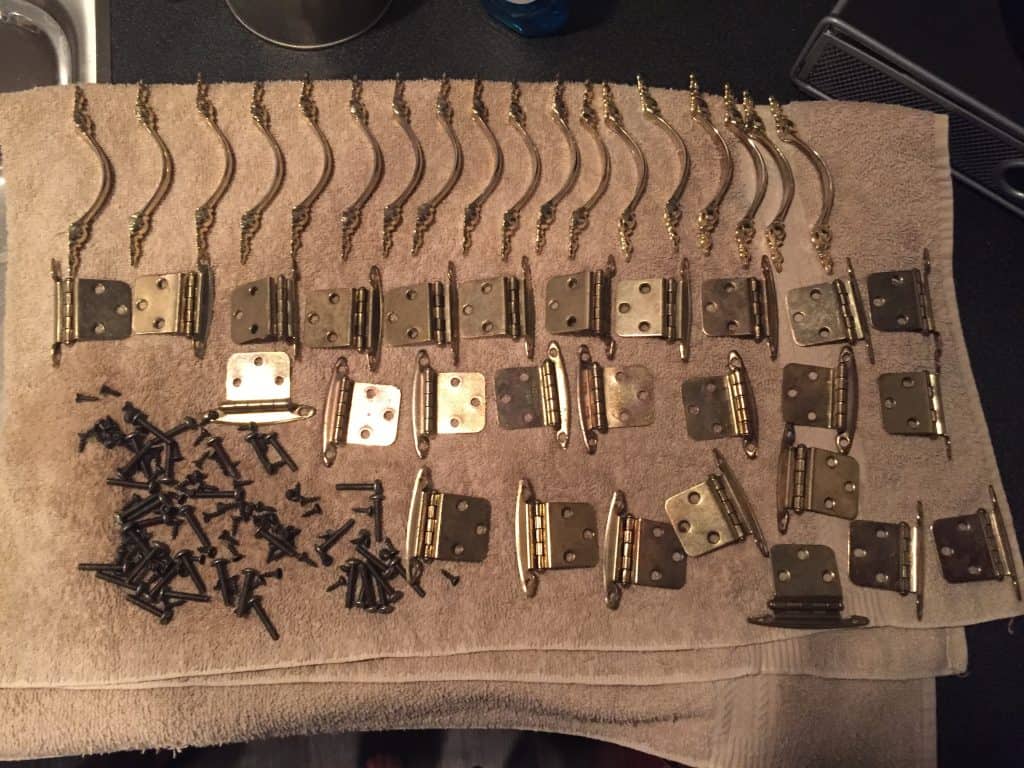
Once they are all laid out, you’ll see how it could get confusing later!
Use a screwdriver to unscrew and remove all of the cabinet doors, drawers, and hardware. I was surprised to find how short some of the screws were and how easily all of it came apart, so make sure you have a few baggies on hand that you can also label to put the screws in.
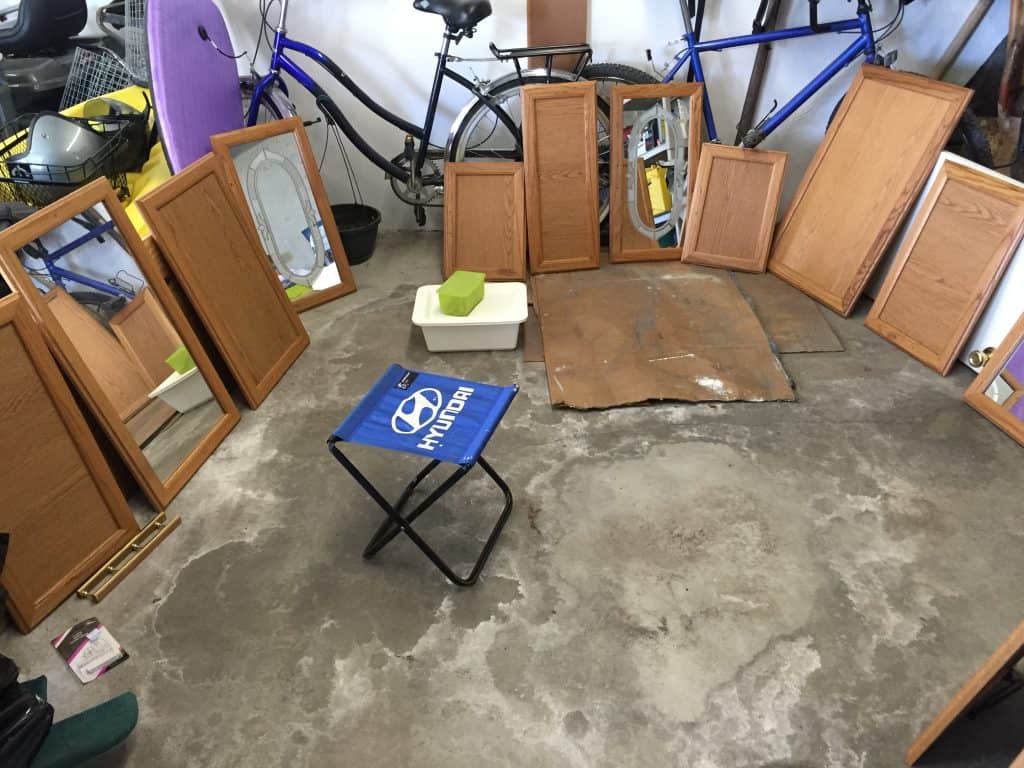
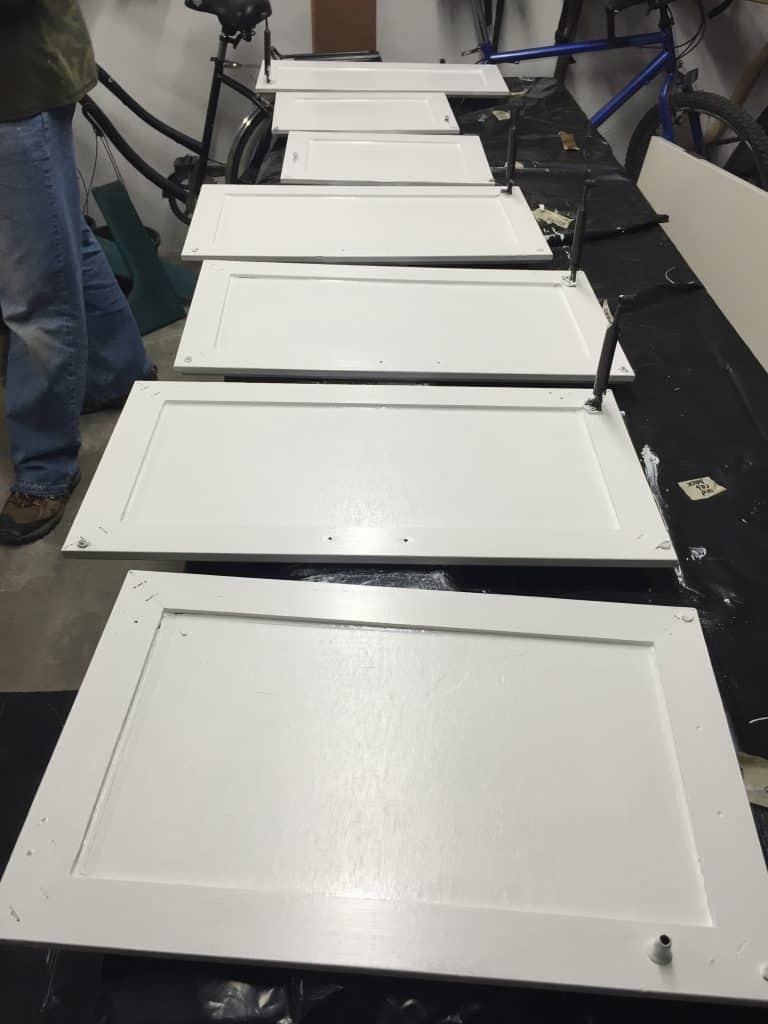
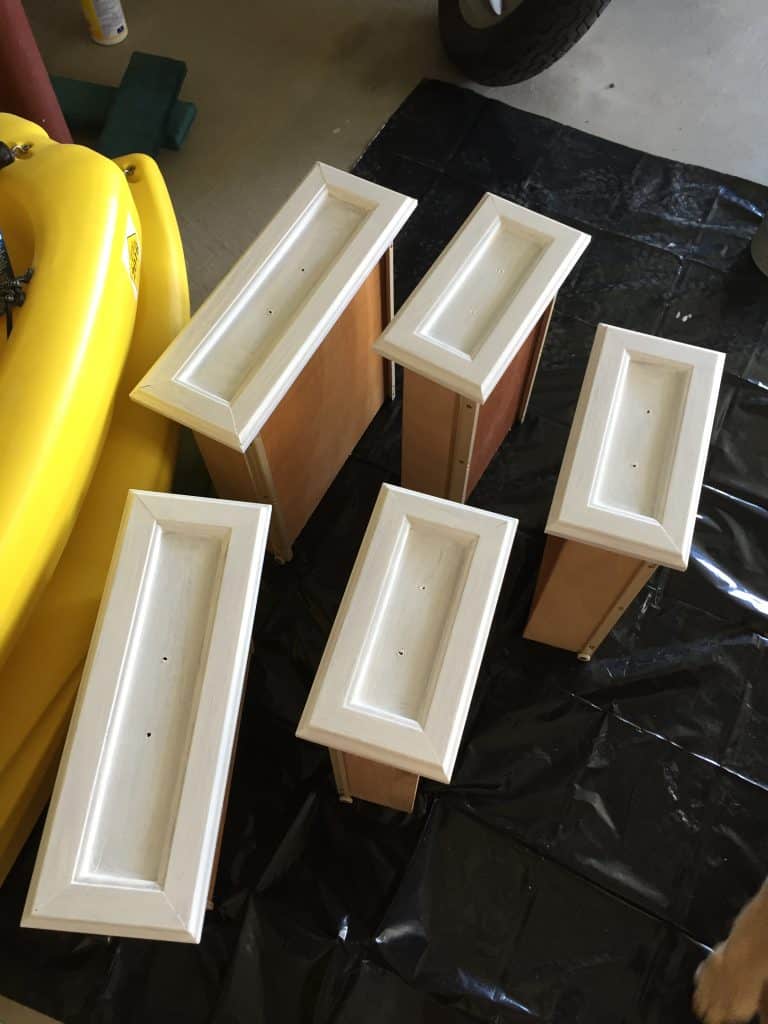
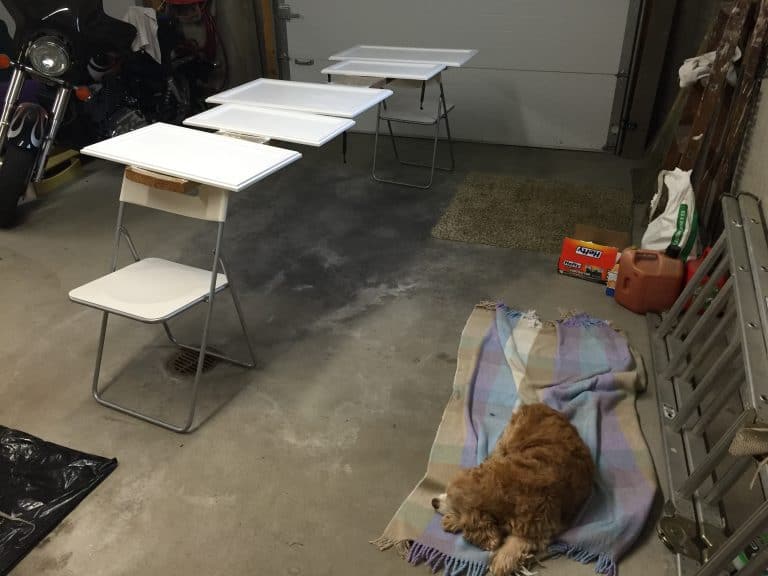
Lay all of the pieces out in an open covered space (we used our garage), placing the doors on working horses and the drawers face-up on the floor. Mix a bucket of hot water and Simple Green or a similar cleaner and wash them all thoroughly – front, back, and inside of cabinetry doors, drawers, and frames – with the mixture and a rag. On the cabinetry frames on the RV interior, be sure to move from top to bottom so you can catch any dribbles or water runs.
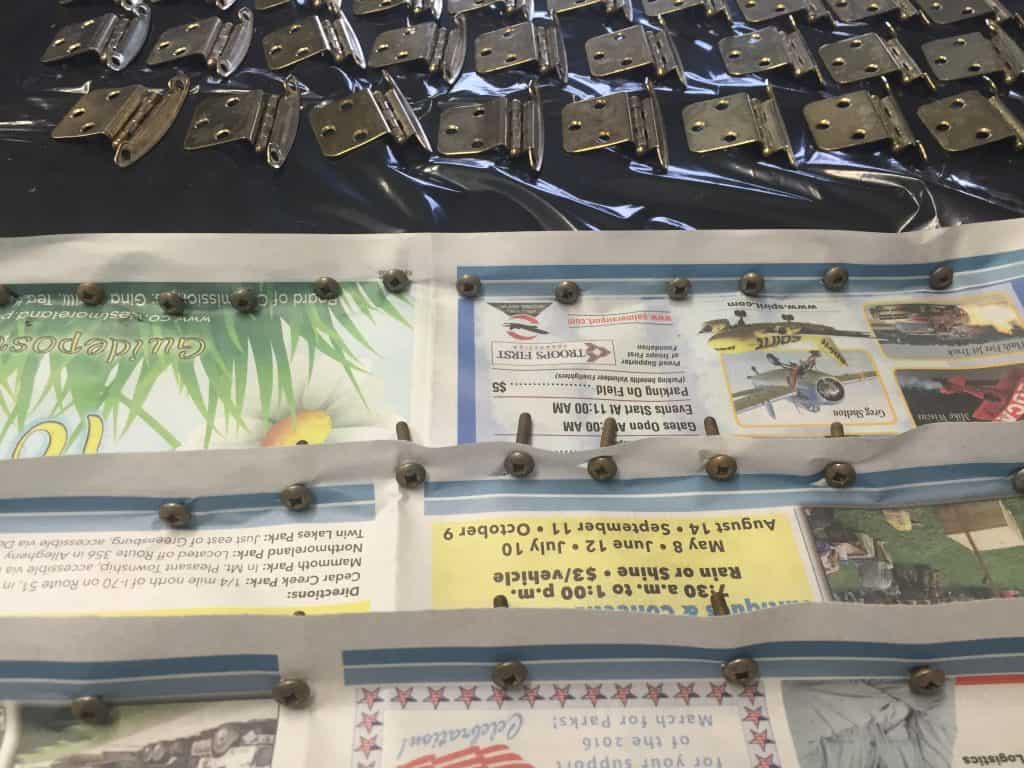
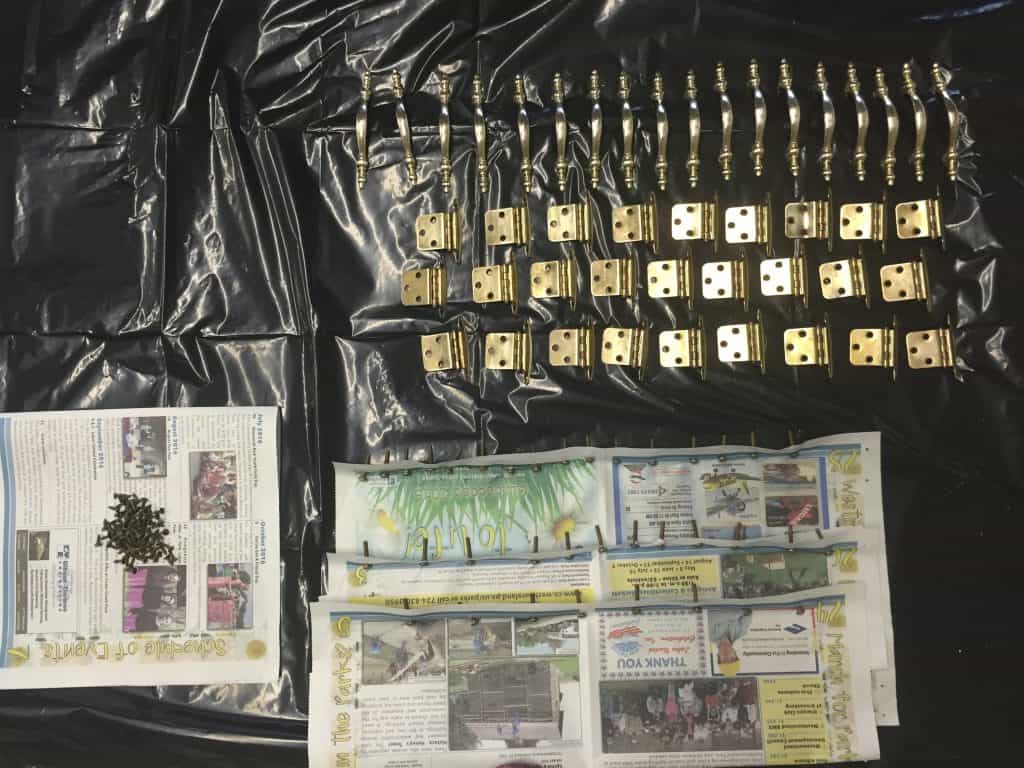
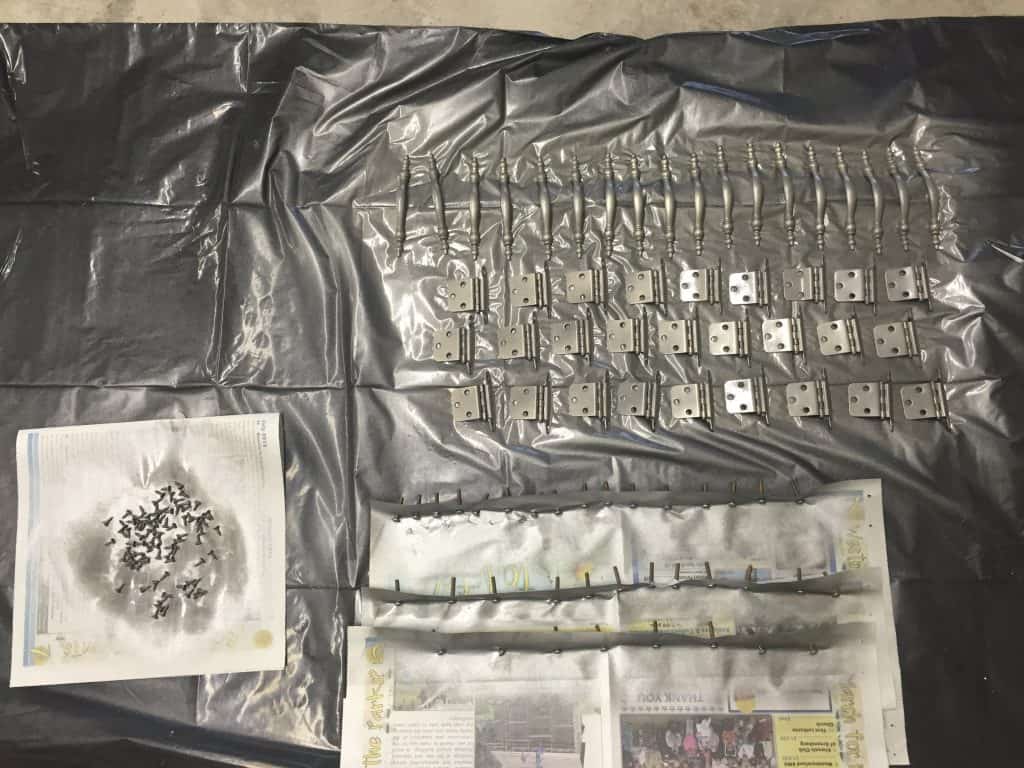
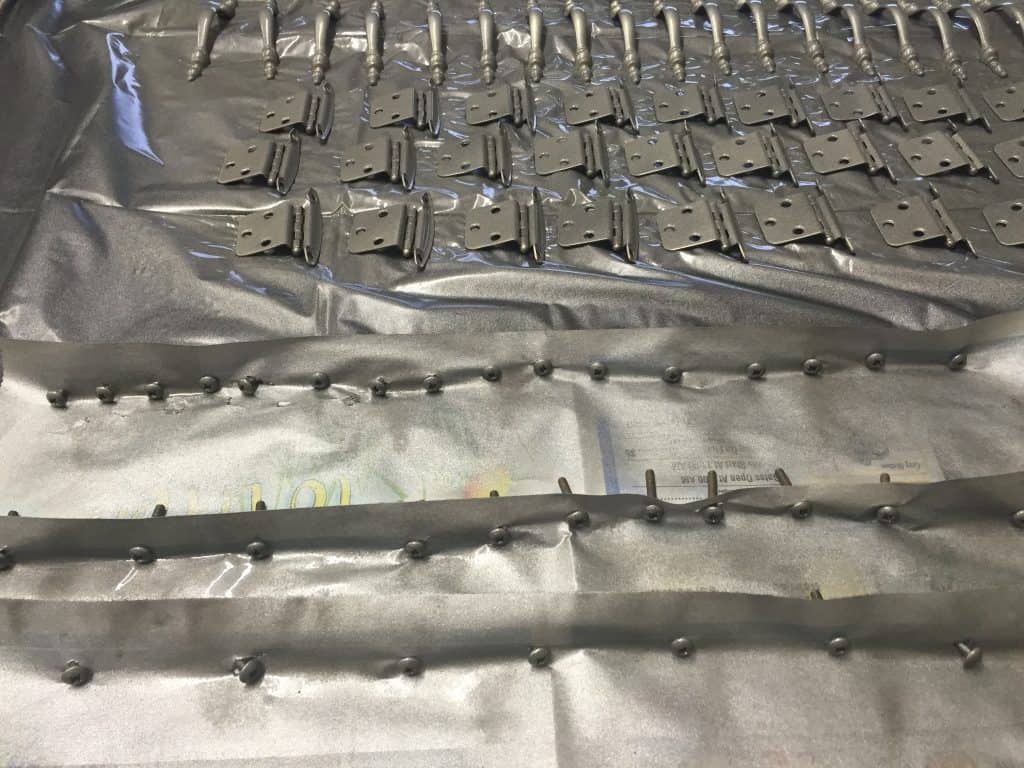
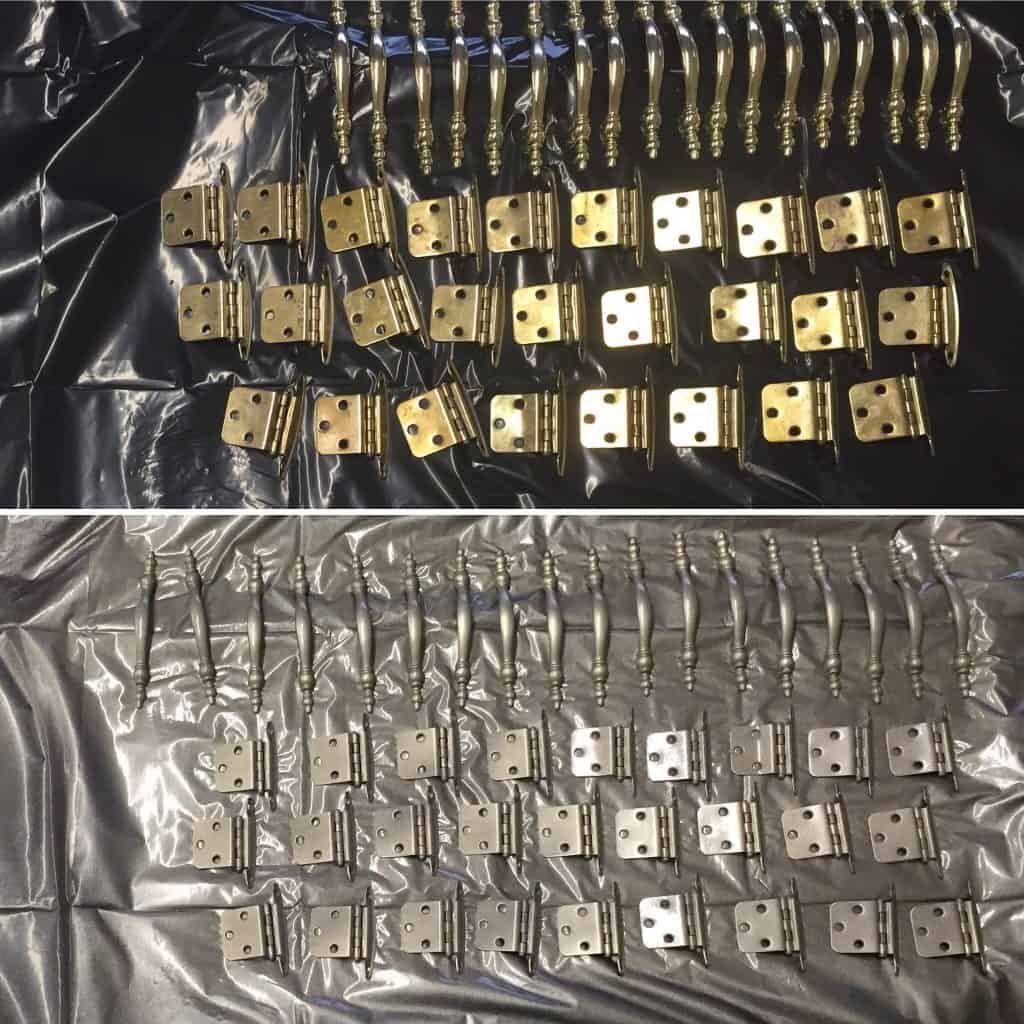
Soak the hardware in another bucket with a solution of one part vinegar to three parts hot water for about an hour, and let everything dry completely. Once they’re dry, put the hardware on newspaper over a plastic contractor bag and put all of the screws through a piece of newspaper, like this, so you can easily get to the heads:
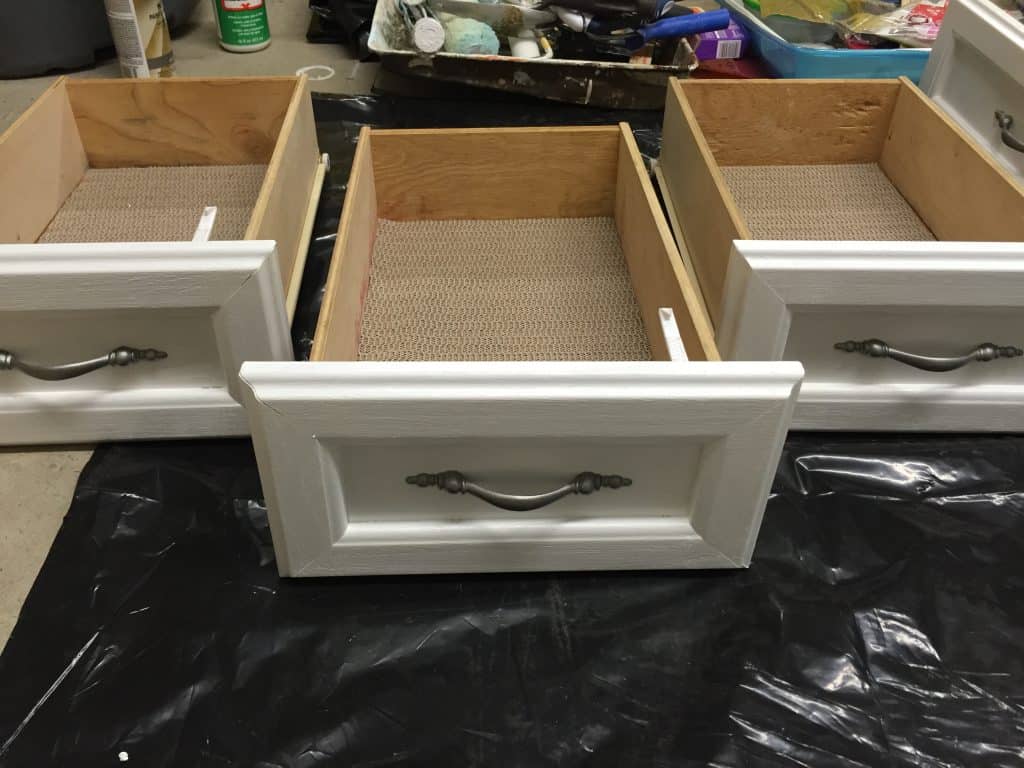
Next, rough up the surfaces you want to paint with block sanding sponges. We decided to do outsides AND insides of the cabinet doors & frames, and we took this chance to fit the drawers with non-slip liners, too.
Wipe off any dust with a damp rag, moving again from top to bottom on the inside of the RV, and let everything dry completely again.
Priming
Don’t skip priming, no matter how great your paint is! Keep in mind how much wear and tear these cabinets will be going through and take this really important step to increase the durability of your RV cabinet paint job.
The best product we found for priming inside the RV on surfaces that might be less than optimal is Glidden Gripper (now PPG Seal Grip Gripper). Its consistency is very thick and opaque, and it goes on evenly.
We recommend doing one thick coat, letting it dry for 3-4 hours, and putting on a second thick coat to really seal the deal on both the cabinetry, doors, and drawers. Let that dry overnight.
Painting
We chose to keep the cabinetry white in our RV remodel using Glidden Premium Exterior Paint, but there are literally a million colors to pick from! I’ve seen interesting multi-color combos, from painting the overhead cabinets one color and the floor cabinets another, and even ones using decals.
Once you’ve decided on a color and have the paint and brushes (you can decide your brush preference- we went with the foam brush multi-pack, we again suggest two coats to be safe- but these can be regular paint coats, not as thick as the Gripper coats. Keep a few hours drying time in between coats and allow to dry overnight.
For the hardware and screws, we used Rust-Oleom Universal Spray Paint in a nickel finish. Do one light spray over the whole bunch and make sure to keep the 6-inch distance so the paint doesn’t puddle or run on them. Let them dry for a few hours and then do another slightly thicker coat. Allow those to dry overnight.
PRO TIPS While You Watch the Paint Dry…
This is actually a great time to check out the closing hardware & mechanisms on the RV cabinet doors & drawers- and replace them if necessary. Those little clicker/close things are less than $1 each!
It’s also a great time to clean the interior of the RV cabinets with the same mixture you cleaned the cabinet doors with above. If your cabinets smell…well, enclosed-for-too-long-cabinetry, use an odor absorber inside.
Remounting & Reassembling
Once everything is completely dry and not tacky to the touch, it’s time to put it all back together! Keep a dixie cup and a small brush handy for touch-ups while you carefully re-assemble your RV cabinetry.
Finally, stand back and admire your work! You’re an RV remodeler!
Here’s a few side-by-side comparisons using some of the photos above:
Overall, we were very pleased with our RV cabinet makeover and can’t think of anything we’d do differently if we had to do it over or again.
Have any other advice for RV cabinetry remodelers? Share in the comments below!


When I ordered these locker latches for our trainer, I found many that would work, but honestly, there are things like this that you simply don’t need stock parts for. after you can get nearly 3x more for fewer money, go for it. This product works great and is all you may need.
Yes, the original clip-type latches held for awhile, but then they began falling open and also rattling as we drove. We’ve slowly replaced them with the stronger magnetic type, which have been holding strong.
Thanks so much for sharing! I really like your post as well as its content. It is useful for me to make a decision to buy a new one for my RV. I have no reasons to stop following your other article.
I no longer have issues with cabinet doors flying open and dispensing the contents in my travel trailer. These cabinet latches from Camp’N keep the door closed but yet it isn’t a fight to open them. A perfect balance between keeping the door closed when you want and allowing it to open when you need it. Installation isn’t difficult but isn’t simple either. Lining up the receiver inside the cabinet is simple but determining the location of the section that protrudes from the door requires a little more work.
I feel like that’s the story with all our repairs or mods: it “isn’t difficult, but isn’t simple either”! We always have to allow for a little discovery time, and also expect we might mess it up the first time through :/